![[ICO]](/icons/blank.gif) | Name | Last modified | Size | Description |
|---|
|
|---|
![[PARENTDIR]](/icons/back.gif) | Parent Directory | | - | |
![[IMG]](/icons/image2.gif) | Hyundai-IONIQ-6-bagasjerom.jpg | 2022-11-23 12:58 | 539K | |
| Toyota-bZ4X-sletta-regn-front-venstre.jpg | 2022-11-26 15:44 | 462K | |
| Hyundai-IONIQ-6-front-hoeyre.jpg | 2022-11-23 12:59 | 450K | |
| Toyota-bZ4X-bru-front-low.jpg | 2022-11-26 15:44 | 444K | |
| Toyota-bZ4X-bru-bak-hoeyre.jpg | 2022-11-26 15:45 | 406K | |
| Toyota-bZ4X-bru-front-low-1440x1080.jpg | 2022-11-26 13:00 | 395K | |
| Toyota-bZ4X-slette-bak-hoeyre.jpg | 2022-11-26 15:44 | 395K | |
| Toyota-bZ4X-trippel-bilvask-front-3-biler.jpg | 2022-11-26 15:45 | 393K | |
| Hyundai-IONIQ-6-bak-venstre.jpg | 2022-11-23 12:58 | 381K | |
| Toyota-bZ4X-slette-side-hoeyre-front.jpg | 2022-11-26 15:44 | 377K | |
| Toyota-bZ4X-bru-bak-hoeyre-1440x1080.jpg | 2022-11-26 13:33 | 366K | |
| Toyota-bZ4X-trippelsb-sletta-front-venstre-1440x958.jpg | 2022-11-26 14:10 | 362K | |
| Toyota-bZ4X-trippelsb-sletta-helt-bak-1440x958.jpg | 2022-11-26 14:17 | 361K | |
| Hyundai-IONIQ-6-bak.jpg | 2022-11-23 12:58 | 359K | |
| Hyundai-IONIQ-6-side-venstre-front.jpg | 2022-11-23 12:58 | 355K | |
| Toyota-bZ4X-under-null-ladingen-til-100.jpg | 2022-11-26 15:44 | 354K | |
| Hyundai-IONIQ-6-bagasjerom-1440x1080.jpg | 2022-11-23 12:12 | 350K | |
| Toyota-bZ4X-under-null-hentet.jpg | 2022-11-26 15:44 | 350K | |
| Toyota-bZ4X-trippel-amfi-med-3-testere.jpg | 2022-11-26 15:45 | 344K | |
| Hyundai-IONIQ-6-front-hoeyre-1440x1080.jpg | 2022-11-23 12:45 | 342K | |
| Hyundai-IONIQ-6-side-venstre-bak.jpg | 2022-11-23 12:59 | 340K | |
| Ford-Ranger-Raptor-rock5-kult-bilde-1440x1080.jpg | 2022-11-30 11:20 | 332K | |
| Toyota-bZ4X-sletta-regn-front-venstre-1440x1080.jpg | 2022-11-26 13:05 | 331K | |
| Hyundai-IONIQ-6-bak-lysdetalj-ved-bremsing.jpg | 2022-11-23 12:58 | 330K | |
| Hyundai-IONIQ-6-bak-hoeyre.jpg | 2022-11-23 12:59 | 328K | |
| Ford-Ranger-Raptor-soloppgang-side-hoeyre-avstand-god-utsikt.jpg | 2022-12-02 14:07 | 327K | |
| Hyundai-IONIQ-6-fm-oversikt.jpg | 2022-11-23 12:58 | 325K | |
| b-sist-1440x1080.jpg | 2022-11-11 13:38 | 325K | |
| b-eksos-1440x1080.jpg | 2022-11-11 13:38 | 325K | |
| Toyota-bZ4X-lader-fokseroed-front-fokus-pakka.jpg | 2022-11-26 15:47 | 318K | |
| Toyota-bZ4X-trippel-amfi-med-3-testere-1440x952.jpg | 2022-11-26 13:43 | 318K | |
| Toyota-bZ4X-trippelsb-sletta-front-venstre.jpg | 2022-11-26 15:45 | 317K | |
| Toyota-bZ4X-under-null-valgte-stans-ved-42km.jpg | 2022-11-26 15:47 | 316K | |
| Polestar-3-fm-Bowers-Wilkins-dashborddetalj.jpg | 2022-11-28 20:46 | 315K | |
| Toyota-bZ4X-trippel-bilvask-front-3-biler-1440x1080.jpg | 2022-11-26 13:39 | 312K | |
| Toyota-bZ4X-lader-viser-nye-ladere-grimstad-bedre.jpg | 2022-11-26 15:47 | 311K | |
| Hyundai-IONIQ-6-frunk-mini-awd-1440x1080.jpg | 2022-11-23 12:42 | 308K | |
| Polestar-3-fm-ratt-med-skjerm-bak.jpg | 2022-11-28 20:46 | 307K | |
| Toyota-bZ4X-bagasjerom.jpg | 2022-11-26 15:47 | 307K | |
| Hyundai-IONIQ-6-fm-knapper-midtkonsoll.jpg | 2022-11-23 12:58 | 306K | |
| b27-1440x1080.jpg | 2022-11-11 13:39 | 305K | |
| Hyundai-IONIQ-6-frunk-mini-awd.jpg | 2022-11-23 12:59 | 303K | |
| Toyota-bZ4X-vann-rett-v-evje-taake-side-hoeyre-front.jpg | 2022-11-26 15:47 | 302K | |
| Toyota-bZ4X-bakseter.jpg | 2022-11-26 15:46 | 301K | |
| b2-1440x1080.jpg | 2022-11-11 13:38 | 296K | |
| Ford-Ranger-Raptor-rock5-kult-bilde.jpg | 2022-12-02 14:07 | 292K | |
| Toyota-bZ4X-trippelsb-paa-veien-1440x958.jpg | 2022-11-26 14:05 | 289K | |
| Toyota-bZ4X-under-null-stoa-sluppet-av-2km-til.jpg | 2022-11-26 15:44 | 287K | |
| Toyota-bZ4X-under-null-laderen-sjeldent-bilde.jpg | 2022-11-26 15:44 | 285K | |
| Hyundai-IONIQ-6-bakseter-med-bakdoer.jpg | 2022-11-23 12:58 | 284K | |
| Toyota-bZ4X-Toyota-Norge-front-hoeyre.jpg | 2022-11-26 15:44 | 283K | |
| Hyundai-IONIQ-6-front.jpg | 2022-11-23 12:59 | 281K | |
| Toyota-bZ4X-slette-bak-hoeyre-1440x1080.jpg | 2022-11-26 12:51 | 279K | |
| Polestar-3-bagasjerom.jpg | 2022-11-28 20:45 | 276K | |
| Polestar-3-frunk-lokk-aapent.jpg | 2022-12-02 14:07 | 271K | |
| Toyota-bZ4X-trippelsb-amfi-EQA-1440x958.jpg | 2022-11-26 13:49 | 270K | |
| Polestar-3-foerersete-informasjon-i-setet.jpg | 2022-11-28 20:45 | 268K | |
| Toyota-bZ4X-trippelsb-amfi-bZ4X-front-1440x958.jpg | 2022-11-26 13:45 | 267K | |
| Toyota-bZ4X-slette-side-hoeyre-front-1440x1080.jpg | 2022-11-26 12:57 | 267K | |
| Polestar-3-fm-meny-assistenter1.jpg | 2022-11-28 20:46 | 267K | |
| Toyota-bZ4X-under-null-ladingen-til-100-1440x1080.jpg | 2022-11-26 13:18 | 265K | |
| Hyundai-IONIQ-6-bak-venstre-1440x1080.jpg | 2022-11-23 11:49 | 265K | |
| Hyundai-IONIQ-6-bak-lysdetalj-ved-bremsing-1440x1080.jpg | 2022-11-23 12:10 | 265K | |
| Polestar-3-fm-meny-cruiseinnstillinger.jpg | 2022-11-28 20:46 | 264K | |
| Toyota-bZ4X-trippelsb-amfi-alle-front-1440x958.jpg | 2022-11-26 15:06 | 262K | |
| Toyota-bZ4X-trippelsb-sletta-helt-bak.jpg | 2022-11-26 15:45 | 262K | |
| Toyota-bZ4X-trippelsb-amfi-alle-front.jpg | 2022-11-26 15:46 | 262K | |
| Toyota-bZ4X-lader-fokseroed-front-fokus-pakka-1440x1080.jpg | 2022-11-26 15:24 | 260K | |
| Toyota-bZ4X-trippelsb-amfi-MG-1440x958.jpg | 2022-11-26 13:53 | 260K | |
| Ford-Ranger-Raptor-soloppgang-side-hoeyre-avstand-god-utsikt-1440x1080.jpg | 2022-11-30 11:26 | 258K | |
| Hyundai-IONIQ-6-bakseter-med-bakdoer-1440x1080.jpg | 2022-11-23 12:30 | 256K | |
| Toyota-bZ4X-lader-viser-nye-ladere-grimstad-bedre-1440x1080.jpg | 2022-11-26 15:15 | 254K | |
| Toyota-bZ4X-trippelsb-amfi-alle-bak-1440x958.jpg | 2022-11-26 14:58 | 254K | |
| Hyundai-IONIQ-6-front-1440x1080.jpg | 2022-11-23 12:39 | 254K | |
| Toyota-bZ4X-under-null-uakseptabel-lav-hastighet-over-80-pros.jpg | 2022-11-26 15:44 | 251K | |
| Toyota-bZ4X-trippelsb-paa-veien.jpg | 2022-11-26 15:45 | 250K | |
| b28-1440x1080.jpg | 2022-11-11 13:39 | 250K | |
| b3-1440x1080.jpg | 2022-11-11 13:38 | 248K | |
| Hyundai-IONIQ-6-bak-1440x1080.jpg | 2022-11-23 12:09 | 248K | |
| b-eksos.jpg | 2022-11-23 09:23 | 246K | |
| Hyundai-IONIQ-6-fm-oversikt-1440x1080.jpg | 2022-11-23 12:26 | 246K | |
| Hyundai-IONIQ-6-side-venstre-front-1440x1080.jpg | 2022-11-23 11:45 | 245K | |
| b24-1440x1080.jpg | 2022-11-11 13:39 | 245K | |
| Toyota-bZ4X-under-null-hentet-1440x1080.jpg | 2022-11-26 13:16 | 244K | |
| Polestar-3-fm-oversikt-fra-passasjerdoer.jpg | 2022-11-28 20:47 | 240K | |
| Hyundai-IONIQ-6-foererdoer-inn-til-forseter-1440x1080.jpg | 2022-11-23 12:14 | 239K | |
| b25-1440x1080.jpg | 2022-11-11 13:39 | 236K | |
| Polestar-3-fm-meny-assistenter2.jpg | 2022-11-28 20:46 | 235K | |
| Hyundai-IONIQ-6-side-venstre-bak-1440x1080.jpg | 2022-11-23 12:33 | 235K | |
| Hyundai-IONIQ-6-foererdoer-inn-til-forseter.jpg | 2022-11-23 12:58 | 234K | |
| b8-1440x1080.jpg | 2022-11-11 13:39 | 232K | |
| Toyota-bZ4X-bagasjerom-1440x1080.jpg | 2022-11-26 15:12 | 231K | |
| Toyota-bZ4X-under-null-valgte-stans-ved-42km-1440x1080.jpg | 2022-11-26 15:37 | 229K | |
| Polestar-3-fm-Bowers-Wilkins-dashborddetalj-1440x1080.jpg | 2022-11-28 20:27 | 228K | |
| Toyota-bZ4X-under-null-ladet-til-100-pros-og-67.15kWt.jpg | 2022-11-26 15:45 | 227K | |
| Polestar-3-bagasjerom-1440x1080.jpg | 2022-11-28 19:59 | 227K | |
| Hyundai-IONIQ-6-bak-hoeyre-1440x1080.jpg | 2022-11-23 12:50 | 227K | |
| Toyota-bZ4X-bakseter-1440x1080.jpg | 2022-11-26 15:10 | 226K | |
| Polestar-3-fm-oversikt-fra-passasjerdoer-1440x1080.jpg | 2022-11-28 20:30 | 225K | |
| b20-1440x1080.jpg | 2022-11-11 13:39 | 224K | |
| b-sist.jpg | 2022-11-23 09:23 | 222K | |
| Polestar-3-fm-oversikt-fra-nakkestoette-1440x1080.jpg | 2022-11-28 20:17 | 220K | |
| Toyota-bZ4X-Toyota-Norge-front-hoeyre-1440x1080.jpg | 2022-11-26 12:48 | 218K | |
| Toyota-bZ4X-fm-instilling-cruise-kurve.jpg | 2022-11-26 15:46 | 218K | |
| b1-1440x1080.jpg | 2022-11-11 13:38 | 218K | |
| b9-1440x1080.jpg | 2022-11-11 13:39 | 217K | |
| Toyota-bZ4X-bru-front-low-1024x768.jpg | 2022-11-26 13:00 | 212K | |
| Toyota-bZ4X-vann-rett-v-evje-taake-side-hoeyre-front-1440x1080.jpg | 2022-11-26 15:29 | 210K | |
| Toyota-bZ4X-under-null-stoa-sluppet-av-2km-til-1440x1080.jpg | 2022-11-26 13:17 | 209K | |
| Hyundai-IONIQ-6-fm-knapper-midtkonsoll-1440x1080.jpg | 2022-11-23 12:18 | 208K | |
| Polestar-3-fm-oversikt-fra-nakkestoette.jpg | 2022-11-28 20:46 | 208K | |
| Polestar-3-foerersete-informasjon-i-setet-1440x1080.jpg | 2022-11-28 20:09 | 207K | |
| Polestar-3-frunk-lokk-aapent-1440x1080.jpg | 2022-11-28 21:05 | 206K | |
| Polestar-3-fm-ratt-med-skjerm-bak-1440x1080.jpg | 2022-11-28 20:25 | 204K | |
| Toyota-bZ4X-trippelsb-amfi-alle-bak.jpg | 2022-11-26 15:46 | 203K | |
| Toyota-bZ4X-trippelsb-sletta-helt-bak-1024x681.jpg | 2022-11-26 14:17 | 202K | |
| Hyundai-IONIQ-6-forseter-1440x1080.jpg | 2022-11-23 12:21 | 202K | |
| Polestar-3-foererdoer-detalj-vindusheiser-og-doeraapner.jpg | 2022-11-28 20:45 | 200K | |
| Polestar-3-foererdoer-innsiden.jpg | 2022-11-28 20:45 | 200K | |
| Toyota-bZ4X-trippelsb-amfi-MG.jpg | 2022-11-26 15:45 | 199K | |
| Toyota-bZ4X-under-null-laderen-sjeldent-bilde-1440x1080.jpg | 2022-11-26 13:19 | 198K | |
| Toyota-bZ4X-bakkestart-front-venstre-med-litt-bylys.jpg | 2022-11-26 15:46 | 197K | |
| Polestar-3-fm-meny-cruiseinnstillinger-1440x1080.jpg | 2022-11-28 20:23 | 197K | |
| Toyota-bZ4X-trippelsb-sletta-front-venstre-1024x681.jpg | 2022-11-26 14:10 | 196K | |
| Toyota-bZ4X-bru-bak-hoeyre-1024x768.jpg | 2022-11-26 13:33 | 195K | |
| Polestar-3-bak-hoeyre.jpg | 2022-11-28 20:45 | 195K | |
| Toyota-bZ4X-under-null-uakseptabel-lav-hastighet-over-80-pros-1440x1080.jpg | 2022-11-26 13:25 | 194K | |
| b27.jpg | 2022-11-23 13:00 | 193K | |
| b2.jpg | 2022-11-23 09:23 | 193K | |
| Polestar-3-forseter-premium-skinn-1440x1080.jpg | 2022-11-28 20:07 | 192K | |
| Polestar-3-bak-venstre-1440x1080.jpg | 2022-11-28 20:38 | 192K | |
| b19-1440x1080.jpg | 2022-11-11 13:39 | 192K | |
| Polestar-3-bak-venstre.jpg | 2022-11-28 20:47 | 191K | |
| b7-1440x1080.jpg | 2022-11-11 13:39 | 190K | |
| Toyota-bZ4X-ladefart-peak-135.8kW-ved-28-pros.jpg | 2022-11-26 15:44 | 190K | |
| Toyota-bZ4X-trippelsb-amfi-EQA.jpg | 2022-11-26 15:45 | 190K | |
| Ford-Ranger-Raptor-rock5-kult-bilde-1024x768.jpg | 2022-11-30 11:20 | 189K | |
| Toyota-bZ4X-trippelsb-amfi-bZ4X-inni.jpg | 2022-11-26 15:46 | 188K | |
| Toyota-bZ4X-trippelsb-amfi-bZ4X-front.jpg | 2022-11-26 15:45 | 188K | |
| b4-1440x1080.jpg | 2022-11-11 13:38 | 188K | |
| b21-1440x1080.jpg | 2022-11-11 13:39 | 186K | |
| Toyota-bZ4X-fm-instilling-cruise.jpg | 2022-11-26 15:46 | 186K | |
| Toyota-bZ4X-bakkestart-front-venstre-med-litt-bylys-1440x1080.jpg | 2022-11-26 15:09 | 185K | |
| Polestar-3-forseter-premium-skinn.jpg | 2022-11-28 20:45 | 184K | |
| Toyota-bZ4X-trippelsb-amfi-MG-inni-1440x958.jpg | 2022-11-26 14:24 | 184K | |
| b16-1440x1080.jpg | 2022-11-11 13:39 | 184K | |
| Hyundai-IONIQ-6-front-hoeyre-1024x768.jpg | 2022-11-23 12:45 | 183K | |
| Hyundai-IONIQ-6-forseter.jpg | 2022-11-23 12:58 | 182K | |
| Polestar-3-foererdoer-innsiden-1440x1080.jpg | 2022-11-28 20:04 | 182K | |
| b15-1440x1080.jpg | 2022-11-11 13:39 | 182K | |
| Polestar-3-bak-hoeyre-1440x1080.jpg | 2022-11-28 19:43 | 181K | |
| Polestar-3-bakseter-1440x1080.jpg | 2022-11-28 20:28 | 180K | |
| Polestar-3-fm-meny-assistenter1-1440x1080.jpg | 2022-11-28 20:21 | 180K | |
| Polestar-3-fm-meny-assistenter2-1440x1080.jpg | 2022-11-28 20:22 | 178K | |
| Toyota-bZ4X-trippelsb-amfi-EQA-bakseter-1440x958.jpg | 2022-11-26 14:50 | 178K | |
| Toyota-bZ4X-trippelsb-amfi-MG-inni.jpg | 2022-11-26 15:46 | 177K | |
| b13-1440x1080.jpg | 2022-11-11 13:39 | 176K | |
| b-eksos-1024x768.jpg | 2022-11-11 13:38 | 176K | |
| Toyota-bZ4X-under-null-ladet-til-100-pros-og-67.15kWt-1440x1080.jpg | 2022-11-26 13:28 | 176K | |
| Hyundai-IONIQ-6-frunk-mini-awd-1024x768.jpg | 2022-11-23 12:42 | 176K | |
| Toyota-bZ4X-fm-instilling-cruise-1440x1080.jpg | 2022-11-26 14:40 | 175K | |
| b-sist-1024x768.jpg | 2022-11-11 13:38 | 175K | |
| Toyota-bZ4X-trippelsb-amfi-EQA-inni-1440x958.jpg | 2022-11-26 14:23 | 175K | |
| Hyundai-IONIQ-6-bagasjerom-1024x768.jpg | 2022-11-23 12:12 | 174K | |
| Polestar-3-front-litt-venstre.jpg | 2022-11-28 20:45 | 174K | |
| b14-1440x1080.jpg | 2022-11-11 13:39 | 174K | |
| b27-1024x768.jpg | 2022-11-11 13:39 | 172K | |
| Polestar-3-bakseter.jpg | 2022-11-28 20:46 | 171K | |
| Toyota-bZ4X-trippel-amfi-med-3-testere-1024x677.jpg | 2022-11-26 13:43 | 171K | |
| Toyota-bZ4X-sletta-regn-front-venstre-1024x768.jpg | 2022-11-26 13:05 | 170K | |
| b29-1440x1080.jpg | 2022-11-11 13:39 | 169K | |
| Toyota-bZ4X-trippelsb-amfi-bZ4X-inni-1440x958.jpg | 2022-11-26 14:35 | 169K | |
| b17-1440x1080.jpg | 2022-11-11 13:39 | 167K | |
| Toyota-bZ4X-trippelsb-amfi-bZ4X-bakseter-1440x958.jpg | 2022-11-26 14:53 | 166K | |
| b3.jpg | 2022-11-23 09:23 | 166K | |
| b2-1024x768.jpg | 2022-11-11 13:38 | 166K | |
| Toyota-bZ4X-fm-instilling-cruise-kurve-1440x1080.jpg | 2022-11-26 14:39 | 166K | |
| Toyota-bZ4X-trippel-bilvask-front-3-biler-1024x768.jpg | 2022-11-26 13:39 | 165K | |
| Toyota-bZ4X-trippelsb-amfi-bZ4X-forseter-1440x958.jpg | 2022-11-26 14:44 | 164K | |
| Toyota-bZ4X-trippelsb-amfi-MG-bakseter-1440x958.jpg | 2022-11-26 14:51 | 162K | |
| Toyota-bZ4X-trippelsb-amfi-EQA-inni.jpg | 2022-11-26 15:45 | 161K | |
| Polestar-3-bak-1440x1080.jpg | 2022-11-28 19:46 | 161K | |
| b28.jpg | 2022-11-23 13:00 | 157K | |
| Toyota-bZ4X-trippelsb-amfi-EQA-1024x681.jpg | 2022-11-26 13:49 | 157K | |
| Toyota-bZ4X-trippelsb-paa-veien-1024x681.jpg | 2022-11-26 14:05 | 157K | |
| Polestar-3-front-litt-venstre-1440x1080.jpg | 2022-11-28 19:39 | 157K | |
| b24.jpg | 2022-11-23 12:59 | 155K | |
| b6-1440x1080.jpg | 2022-11-11 13:38 | 155K | |
| b8.jpg | 2022-11-23 09:24 | 154K | |
| Toyota-bZ4X-trippelsb-amfi-bZ4X-front-1024x681.jpg | 2022-11-26 13:45 | 154K | |
| Polestar-3-bak.jpg | 2022-11-28 20:45 | 150K | |
| Toyota-bZ4X-trippelsb-amfi-MG-1024x681.jpg | 2022-11-26 13:53 | 149K | |
| Polestar-3-front-Smart-Zone-detalj-1440x1080.jpg | 2022-11-28 20:35 | 149K | |
| b9.1-1440x1080.jpg | 2022-11-11 13:39 | 148K | |
| Toyota-bZ4X-slette-bak-hoeyre-1024x768.jpg | 2022-11-26 12:51 | 148K | |
| Hyundai-IONIQ-6-bak-lysdetalj-ved-bremsing-1024x768.jpg | 2022-11-23 12:10 | 148K | |
| Polestar-3-foererdoer-detalj-vindusheiser-og-doeraapner-1440x1080.jpg | 2022-11-28 20:05 | 148K | |
| b20.jpg | 2022-11-23 12:59 | 147K | |
| b25.jpg | 2022-11-23 13:00 | 146K | |
| b28-1024x768.jpg | 2022-11-11 13:39 | 146K | |
| Polestar-3-front.jpg | 2022-11-28 20:46 | 146K | |
| Hyundai-IONIQ-6-bakseter-med-bakdoer-1024x768.jpg | 2022-11-23 12:30 | 144K | |
| Hyundai-IONIQ-6-bak-venstre-1024x768.jpg | 2022-11-23 11:49 | 144K | |
| Toyota-bZ4X-trippelsb-amfi-alle-front-1024x681.jpg | 2022-11-26 15:06 | 144K | |
| Hyundai-IONIQ-6-front-1024x768.jpg | 2022-11-23 12:39 | 144K | |
| Toyota-bZ4X-trippelsb-amfi-alle-bak-1024x681.jpg | 2022-11-26 14:58 | 144K | |
| Toyota-bZ4X-under-null-ladingen-til-100-1024x768.jpg | 2022-11-26 13:18 | 143K | |
| Toyota-bZ4X-lader-viser-nye-ladere-grimstad-bedre-1024x768.jpg | 2022-11-26 15:15 | 142K | |
| Toyota-bZ4X-lader-fokseroed-front-fokus-pakka-1024x768.jpg | 2022-11-26 15:24 | 142K | |
| b9.jpg | 2022-11-23 09:24 | 141K | |
| b3-1024x768.jpg | 2022-11-11 13:38 | 141K | |
| b24-1024x768.jpg | 2022-11-11 13:39 | 140K | |
| Toyota-bZ4X-slette-side-hoeyre-front-1024x768.jpg | 2022-11-26 12:57 | 140K | |
| b1.jpg | 2022-11-23 09:23 | 139K | |
| Toyota-bZ4X-bakkestart-bak-1440x1080.jpg | 2022-11-26 15:33 | 139K | |
| Polestar-3-front-1440x1080.jpg | 2022-11-28 20:11 | 138K | |
| b5-1440x1080.jpg | 2022-11-11 13:38 | 138K | |
| Hyundai-IONIQ-6-foererdoer-inn-til-forseter-1024x768.jpg | 2022-11-23 12:14 | 138K | |
| Toyota-bZ4X-trippelsb-amfi-EQA-bakseter.jpg | 2022-11-26 15:46 | 137K | |
| Ford-Ranger-Raptor-soloppgang-side-hoeyre-avstand-god-utsikt-1024x768.jpg | 2022-11-30 11:26 | 137K | |
| b18-1440x1080.jpg | 2022-11-11 13:39 | 136K | |
| Polestar-3-front-Smart-Zone-detalj.jpg | 2022-11-28 20:47 | 135K | |
| b25-1024x768.jpg | 2022-11-11 13:39 | 134K | |
| b8-1024x768.jpg | 2022-11-11 13:39 | 134K | |
| Hyundai-IONIQ-6-bak-1024x768.jpg | 2022-11-23 12:09 | 134K | |
| Hyundai-IONIQ-6-fm-oversikt-1024x768.jpg | 2022-11-23 12:26 | 133K | |
| Toyota-bZ4X-ladefart-peak-135.8kW-ved-28-pros-1440x1080.jpg | 2022-11-26 13:21 | 133K | |
| Hyundai-IONIQ-6-side-venstre-front-1024x768.jpg | 2022-11-23 11:45 | 133K | |
| Toyota-bZ4X-trippelsb-amfi-bZ4X-forseter.jpg | 2022-11-26 15:46 | 132K | |
| Toyota-bZ4X-under-null-hentet-1024x768.jpg | 2022-11-26 13:16 | 132K | |
| Toyota-bZ4X-under-null-fm-beskjed-under-null.jpg | 2022-11-26 15:44 | 131K | |
| joey-banks-YApiWyp0lqo-unsplash.jpg | 2022-11-23 13:00 | 130K | |
| Toyota-bZ4X-bakkestart-bak.jpg | 2022-11-26 15:47 | 130K | |
| Polestar-3-fm-oversikt-fra-passasjerdoer-1024x768.jpg | 2022-11-28 20:30 | 129K | |
| b1-1024x768.jpg | 2022-11-11 13:38 | 129K | |
| Hyundai-IONIQ-6-side-venstre-bak-1024x768.jpg | 2022-11-23 12:33 | 129K | |
| Toyota-bZ4X-trippelsb-amfi-bZ4X-bakseter.jpg | 2022-11-26 15:46 | 129K | |
| Toyota-bZ4X-trippelsb-amfi-bZ4X-ladeluke-front-venstre-1440x958.jpg | 2022-11-26 14:21 | 128K | |
| Toyota-bZ4X-under-null-valgte-stans-ved-42km-1024x768.jpg | 2022-11-26 15:37 | 128K | |
| Polestar-3-bagasjerom-1024x768.jpg | 2022-11-28 19:59 | 128K | |
| b9-1024x768.jpg | 2022-11-11 13:39 | 127K | |
| Polestar-3-fm-oversikt-fra-nakkestoette-1024x768.jpg | 2022-11-28 20:17 | 127K | |
| Hyundai-IONIQ-6-bak-hoeyre-1024x768.jpg | 2022-11-23 12:50 | 125K | |
| Toyota-bZ4X-bagasjerom-1024x768.jpg | 2022-11-26 15:12 | 125K | |
| Toyota-bZ4X-trippelsb-sletta-helt-bak-768x511.jpg | 2022-11-26 14:17 | 123K | |
| Polestar-3-fm-Bowers-Wilkins-dashborddetalj-1024x768.jpg | 2022-11-28 20:27 | 123K | |
| joey-banks-YApiWyp0lqo-unsplash-1440x960.jpg | 2022-11-23 09:22 | 123K | |
| b19.jpg | 2022-11-23 12:59 | 123K | |
| b23-1440x1080.jpg | 2022-11-11 13:39 | 123K | |
| Toyota-bZ4X-bru-front-low-768x576.jpg | 2022-11-26 13:00 | 122K | |
| Toyota-bZ4X-fm-kveldsbilde.jpg | 2022-11-26 15:47 | 122K | |
| Toyota-bZ4X-bakseter-1024x768.jpg | 2022-11-26 15:10 | 122K | |
| b20-1024x768.jpg | 2022-11-11 13:39 | 122K | |
| b7.jpg | 2022-11-23 09:24 | 121K | |
| Toyota-bZ4X-Toyota-Norge-front-hoeyre-1024x768.jpg | 2022-11-26 12:48 | 121K | |
| Toyota-bZ4X-under-null-stoa-sluppet-av-2km-til-1024x768.jpg | 2022-11-26 13:17 | 120K | |
| b16.jpg | 2022-11-23 09:25 | 120K | |
| Hyundai-IONIQ-6-forseter-1024x768.jpg | 2022-11-23 12:21 | 119K | |
| b4.jpg | 2022-11-23 09:24 | 118K | |
| b15.jpg | 2022-11-23 09:24 | 118K | |
| b21.jpg | 2022-11-23 12:59 | 118K | |
| Polestar-3-foerersete-informasjon-i-setet-1024x768.jpg | 2022-11-28 20:09 | 117K | |
| Toyota-bZ4X-trippelsb-sletta-front-venstre-768x511.jpg | 2022-11-26 14:10 | 116K | |
| b22-1440x1080.jpg | 2022-11-11 13:39 | 116K | |
| Ford-Ranger-Raptor-rock5-kult-bilde-768x576.jpg | 2022-11-30 11:20 | 115K | |
| b13.jpg | 2022-11-23 09:24 | 114K | |
| b19-1024x768.jpg | 2022-11-11 13:39 | 113K | |
| Toyota-bZ4X-bru-bak-hoeyre-768x576.jpg | 2022-11-26 13:33 | 113K | |
| b11-1440x1080.jpg | 2022-11-11 13:39 | 113K | |
| Toyota-bZ4X-under-null-laderen-sjeldent-bilde-1024x768.jpg | 2022-11-26 13:19 | 113K | |
| Toyota-bZ4X-under-null-uakseptabel-lav-hastighet-over-80-pros-1024x768.jpg | 2022-11-26 13:25 | 112K | |
| Polestar-3-bak-venstre-1024x768.jpg | 2022-11-28 20:38 | 112K | |
| Polestar-3-forseter-premium-skinn-1024x768.jpg | 2022-11-28 20:07 | 112K | |
| Toyota-bZ4X-trippelsb-amfi-MG-bakseter.jpg | 2022-11-26 15:46 | 111K | |
| b14.jpg | 2022-11-23 09:24 | 111K | |
| Hyundai-IONIQ-6-fm-knapper-midtkonsoll-1024x768.jpg | 2022-11-23 12:18 | 111K | |
| Toyota-bZ4X-vann-rett-v-evje-taake-side-hoeyre-front-1024x768.jpg | 2022-11-26 15:29 | 110K | |
| Polestar-3-fm-ratt-med-skjerm-bak-1024x768.jpg | 2022-11-28 20:25 | 109K | |
| Polestar-3-fm-meny-cruiseinnstillinger-1024x768.jpg | 2022-11-28 20:23 | 109K | |
| Hyundai-IONIQ-6-frunk-mini-awd-768x576.jpg | 2022-11-23 12:42 | 109K | |
| Polestar-3-frunk-lokk-aapent-1024x768.jpg | 2022-11-28 21:05 | 108K | |
| Toyota-bZ4X-trippelsb-amfi-EQA-bakseter-1024x681.jpg | 2022-11-26 14:50 | 108K | |
| Toyota-bZ4X-trippelsb-amfi-MG-inni-1024x681.jpg | 2022-11-26 14:24 | 108K | |
| b4-1024x768.jpg | 2022-11-11 13:38 | 108K | |
| b15-1024x768.jpg | 2022-11-11 13:39 | 107K | |
| b7-1024x768.jpg | 2022-11-11 13:39 | 107K | |
| Hyundai-IONIQ-6-front-hoeyre-768x576.jpg | 2022-11-23 12:45 | 107K | |
| b21-1024x768.jpg | 2022-11-11 13:39 | 106K | |
| b17.jpg | 2022-11-23 09:25 | 106K | |
| b16-1024x768.jpg | 2022-11-11 13:39 | 106K | |
| Polestar-3-bakseter-1024x768.jpg | 2022-11-28 20:28 | 106K | |
| b29.jpg | 2022-11-23 13:00 | 105K | |
| Polestar-3-bak-hoeyre-1024x768.jpg | 2022-11-28 19:43 | 105K | |
| b13-1024x768.jpg | 2022-11-11 13:39 | 105K | |
| b27-768x576.jpg | 2022-11-11 13:39 | 104K | |
| Toyota-bZ4X-bakkestart-front-venstre-med-litt-bylys-1024x768.jpg | 2022-11-26 15:09 | 104K | |
| b10-1440x1080.jpg | 2022-11-11 13:39 | 104K | |
| Toyota-bZ4X-under-null-ladet-til-100-pros-og-67.15kWt-1024x768.jpg | 2022-11-26 13:28 | 104K | |
| Toyota-bZ4X-trippelsb-amfi-EQA-inni-1024x681.jpg | 2022-11-26 14:23 | 103K | |
| b14-1024x768.jpg | 2022-11-11 13:39 | 103K | |
| b-eksos-768x576.jpg | 2022-11-11 13:38 | 102K | |
| b17-1024x768.jpg | 2022-11-11 13:39 | 101K | |
| b-sist-768x576.jpg | 2022-11-11 13:38 | 101K | |
| Polestar-3-foererdoer-innsiden-1024x768.jpg | 2022-11-28 20:04 | 101K | |
| Toyota-bZ4X-trippelsb-amfi-MG-bakseter-1024x681.jpg | 2022-11-26 14:51 | 101K | |
| Polestar-3-fm-meny-assistenter1-1024x768.jpg | 2022-11-28 20:21 | 101K | |
| Toyota-bZ4X-fm-instilling-cruise-1024x768.jpg | 2022-11-26 14:40 | 101K | |
| Toyota-bZ4X-trippelsb-amfi-bZ4X-bakseter-1024x681.jpg | 2022-11-26 14:53 | 100K | |
| Polestar-3-fm-meny-assistenter2-1024x768.jpg | 2022-11-28 20:22 | 100K | |
| b2-768x576.jpg | 2022-11-11 13:38 | 99K | |
| Toyota-bZ4X-trippelsb-amfi-EQA-768x511.jpg | 2022-11-26 13:49 | 99K | |
| Toyota-bZ4X-trippel-amfi-med-3-testere-768x508.jpg | 2022-11-26 13:43 | 99K | |
| Toyota-bZ4X-trippelsb-amfi-bZ4X-inni-1024x681.jpg | 2022-11-26 14:35 | 99K | |
| Toyota-bZ4X-trippelsb-amfi-bZ4X-forseter-1024x681.jpg | 2022-11-26 14:44 | 98K | |
| Toyota-bZ4X-trippelsb-amfi-bZ4X-ladeluke-front-venstre.jpg | 2022-11-26 15:45 | 97K | |
| Toyota-bZ4X-fm-kveldsbilde-1440x1080.jpg | 2022-11-26 15:27 | 97K | |
| Toyota-bZ4X-trippel-bilvask-front-3-biler-768x576.jpg | 2022-11-26 13:39 | 96K | |
| Toyota-bZ4X-trippelsb-amfi-bZ4X-front-768x511.jpg | 2022-11-26 13:45 | 96K | |
| b29-1024x768.jpg | 2022-11-11 13:39 | 95K | |
| Polestar-3-bak-1024x768.jpg | 2022-11-28 19:46 | 95K | |
| Toyota-bZ4X-sletta-regn-front-venstre-768x576.jpg | 2022-11-26 13:05 | 94K | |
| Toyota-bZ4X-trippelsb-paa-veien-768x511.jpg | 2022-11-26 14:05 | 94K | |
| b6.jpg | 2022-11-23 09:24 | 94K | |
| b6-1024x768.jpg | 2022-11-11 13:38 | 93K | |
| Hyundai-IONIQ-6-bagasjerom-768x576.jpg | 2022-11-23 12:12 | 93K | |
| Toyota-bZ4X-trippelsb-amfi-MG-768x511.jpg | 2022-11-26 13:53 | 93K | |
| Toyota-bZ4X-under-null-fm-beskjed-under-null-1440x1080.jpg | 2022-11-26 13:10 | 93K | |
| Toyota-bZ4X-fm-instilling-cruise-kurve-1024x768.jpg | 2022-11-26 14:39 | 93K | |
| Hyundai-IONIQ-6-bak-lysdetalj-ved-bremsing-768x576.jpg | 2022-11-23 12:10 | 91K | |
| b28-768x576.jpg | 2022-11-11 13:39 | 90K | |
| b9.1.jpg | 2022-11-23 09:24 | 90K | |
| Polestar-3-front-litt-venstre-1024x768.jpg | 2022-11-28 19:39 | 90K | |
| Toyota-bZ4X-trippelsb-amfi-alle-bak-768x511.jpg | 2022-11-26 14:58 | 89K | |
| Polestar-3-front-Smart-Zone-detalj-1024x768.jpg | 2022-11-28 20:35 | 89K | |
| Hyundai-IONIQ-6-bakseter-med-bakdoer-768x576.jpg | 2022-11-23 12:30 | 89K | |
| Hyundai-IONIQ-6-front-768x576.jpg | 2022-11-23 12:39 | 88K | |
| b9.1-1024x768.jpg | 2022-11-11 13:39 | 88K | |
| Toyota-bZ4X-lader-viser-nye-ladere-grimstad-bedre-768x576.jpg | 2022-11-26 15:15 | 88K | |
| Toyota-bZ4X-trippelsb-amfi-alle-front-768x511.jpg | 2022-11-26 15:06 | 87K | |
| Hyundai-IONIQ-6-foererdoer-inn-til-forseter-768x576.jpg | 2022-11-23 12:14 | 86K | |
| Hyundai-IONIQ-6-bak-venstre-768x576.jpg | 2022-11-23 11:49 | 86K | |
| Toyota-bZ4X-under-null-ladingen-til-100-768x576.jpg | 2022-11-26 13:18 | 86K | |
| Toyota-bZ4X-slette-bak-hoeyre-768x576.jpg | 2022-11-26 12:51 | 86K | |
| b24-768x576.jpg | 2022-11-11 13:39 | 86K | |
| b3-768x576.jpg | 2022-11-11 13:38 | 85K | |
| Toyota-bZ4X-lader-fokseroed-front-fokus-pakka-768x576.jpg | 2022-11-26 15:24 | 85K | |
| Polestar-3-foererdoer-detalj-vindusheiser-og-doeraapner-1024x768.jpg | 2022-11-28 20:05 | 85K | |
| b5-1024x768.jpg | 2022-11-11 13:38 | 84K | |
| b8-768x576.jpg | 2022-11-11 13:39 | 83K | |
| b18-1024x768.jpg | 2022-11-11 13:39 | 82K | |
| b18.jpg | 2022-11-23 12:59 | 82K | |
| Toyota-bZ4X-bakkestart-bak-1024x768.jpg | 2022-11-26 15:33 | 82K | |
| Toyota-bZ4X-trippelsb-sletta-helt-bak-600x399.jpg | 2022-11-26 14:17 | 82K | |
| b5.jpg | 2022-11-23 09:24 | 82K | |
| b25-768x576.jpg | 2022-11-11 13:39 | 82K | |
| b1-768x576.jpg | 2022-11-11 13:38 | 81K | |
| b9-768x576.jpg | 2022-11-11 13:39 | 81K | |
| Polestar-3-front-1024x768.jpg | 2022-11-28 20:11 | 81K | |
| Hyundai-IONIQ-6-fm-oversikt-768x576.jpg | 2022-11-23 12:26 | 80K | |
| Toyota-bZ4X-ladefart-peak-135.8kW-ved-28-pros-1024x768.jpg | 2022-11-26 13:21 | 80K | |
| Toyota-bZ4X-slette-side-hoeyre-front-768x576.jpg | 2022-11-26 12:57 | 80K | |
| Toyota-bZ4X-trippelsb-amfi-bZ4X-ladeluke-front-venstre-1024x681.jpg | 2022-11-26 14:21 | 80K | |
| Polestar-3-fm-oversikt-fra-passasjerdoer-768x576.jpg | 2022-11-28 20:30 | 80K | |
| Ford-Ranger-Raptor-soloppgang-side-hoeyre-avstand-god-utsikt-768x576.jpg | 2022-11-30 11:26 | 80K | |
| Polestar-3-fm-oversikt-fra-nakkestoette-768x576.jpg | 2022-11-28 20:17 | 80K | |
| Hyundai-IONIQ-6-bak-768x576.jpg | 2022-11-23 12:09 | 80K | |
| Polestar-3-bagasjerom-768x576.jpg | 2022-11-28 19:59 | 79K | |
| Hyundai-IONIQ-6-side-venstre-front-768x576.jpg | 2022-11-23 11:45 | 79K | |
| Toyota-bZ4X-under-null-hentet-768x576.jpg | 2022-11-26 13:16 | 78K | |
| Hyundai-IONIQ-6-side-venstre-bak-768x576.jpg | 2022-11-23 12:33 | 78K | |
| Toyota-bZ4X-under-null-valgte-stans-ved-42km-768x576.jpg | 2022-11-26 15:37 | 78K | |
| Toyota-bZ4X-bru-front-low-600x450.jpg | 2022-11-26 13:00 | 77K | |
| Hyundai-IONIQ-6-forseter-768x576.jpg | 2022-11-23 12:21 | 77K | |
| Hyundai-IONIQ-6-bak-hoeyre-768x576.jpg | 2022-11-23 12:50 | 76K | |
| Ford-Ranger-Raptor-rock5-kult-bilde-600x450.jpg | 2022-11-30 11:20 | 76K | |
| Toyota-bZ4X-bagasjerom-768x576.jpg | 2022-11-26 15:12 | 76K | |
| Toyota-bZ4X-trippelsb-sletta-front-venstre-600x399.jpg | 2022-11-26 14:10 | 76K | |
| Polestar-3-foerersete-informasjon-i-setet-768x576.jpg | 2022-11-28 20:09 | 75K | |
| Toyota-bZ4X-under-null-stoa-sluppet-av-2km-til-768x576.jpg | 2022-11-26 13:17 | 75K | |
| Toyota-bZ4X-bakseter-768x576.jpg | 2022-11-26 15:10 | 75K | |
| Toyota-bZ4X-Toyota-Norge-front-hoeyre-768x576.jpg | 2022-11-26 12:48 | 74K | |
| Hyundai-IONIQ-6-frunk-mini-awd-600x450.jpg | 2022-11-23 12:42 | 73K | |
| b19-768x576.jpg | 2022-11-11 13:39 | 73K | |
| Toyota-bZ4X-bru-bak-hoeyre-600x450.jpg | 2022-11-26 13:33 | 72K | |
| Polestar-3-fm-Bowers-Wilkins-dashborddetalj-768x576.jpg | 2022-11-28 20:27 | 72K | |
| Toyota-bZ4X-trippelsb-amfi-EQA-bakseter-768x511.jpg | 2022-11-26 14:50 | 72K | |
| b23-1024x768.jpg | 2022-11-11 13:39 | 72K | |
| Polestar-3-forseter-premium-skinn-768x576.jpg | 2022-11-28 20:07 | 72K | |
| Toyota-bZ4X-under-null-uakseptabel-lav-hastighet-over-80-pros-768x576.jpg | 2022-11-26 13:25 | 72K | |
| b23.jpg | 2022-11-23 12:59 | 71K | |
| Toyota-bZ4X-under-null-laderen-sjeldent-bilde-768x576.jpg | 2022-11-26 13:19 | 71K | |
| Polestar-3-bak-venstre-768x576.jpg | 2022-11-28 20:38 | 71K | |
| Toyota-bZ4X-trippelsb-amfi-MG-inni-768x511.jpg | 2022-11-26 14:24 | 70K | |
| b20-768x576.jpg | 2022-11-11 13:39 | 70K | |
| Polestar-3-fm-meny-cruiseinnstillinger-768x576.jpg | 2022-11-28 20:23 | 69K | |
| joey-banks-YApiWyp0lqo-unsplash-1024x683.jpg | 2022-11-23 09:22 | 69K | |
| Toyota-bZ4X-trippelsb-amfi-MG-bakseter-768x511.jpg | 2022-11-26 14:51 | 69K | |
| Polestar-3-bakseter-768x576.jpg | 2022-11-28 20:28 | 69K | |
| b27-600x450.jpg | 2022-11-11 13:39 | 68K | |
| Polestar-3-fm-ratt-med-skjerm-bak-768x576.jpg | 2022-11-28 20:25 | 68K | |
| Hyundai-IONIQ-6-front-hoeyre-600x450.jpg | 2022-11-23 12:45 | 68K | |
| b11-1024x768.jpg | 2022-11-11 13:39 | 68K | |
| b22-1024x768.jpg | 2022-11-11 13:39 | 68K | |
| b15-768x576.jpg | 2022-11-11 13:39 | 68K | |
| Toyota-bZ4X-trippelsb-amfi-EQA-inni-768x511.jpg | 2022-11-26 14:23 | 68K | |
| Toyota-bZ4X-under-null-ladet-til-100-pros-og-67.15kWt-768x576.jpg | 2022-11-26 13:28 | 68K | |
| Toyota-bZ4X-trippelsb-amfi-EQA-600x399.jpg | 2022-11-26 13:49 | 67K | |
| Toyota-bZ4X-trippelsb-amfi-bZ4X-bakseter-768x511.jpg | 2022-11-26 14:53 | 67K | |
| b13-768x576.jpg | 2022-11-11 13:39 | 67K | |
| Polestar-3-bak-hoeyre-768x576.jpg | 2022-11-28 19:43 | 66K | |
| b16-768x576.jpg | 2022-11-11 13:39 | 66K | |
| Hyundai-IONIQ-6-fm-knapper-midtkonsoll-768x576.jpg | 2022-11-23 12:18 | 66K | |
| b11.jpg | 2022-11-23 09:24 | 66K | |
| b4-768x576.jpg | 2022-11-11 13:38 | 66K | |
| b17-768x576.jpg | 2022-11-11 13:39 | 66K | |
| b14-768x576.jpg | 2022-11-11 13:39 | 66K | |
| b21-768x576.jpg | 2022-11-11 13:39 | 65K | |
| Toyota-bZ4X-trippelsb-amfi-bZ4X-front-600x399.jpg | 2022-11-26 13:45 | 65K | |
| Toyota-bZ4X-trippelsb-amfi-bZ4X-forseter-768x511.jpg | 2022-11-26 14:44 | 65K | |
| Toyota-bZ4X-fm-instilling-cruise-768x576.jpg | 2022-11-26 14:40 | 65K | |
| b22.jpg | 2022-11-23 12:59 | 65K | |
| b7-768x576.jpg | 2022-11-11 13:39 | 65K | |
| Polestar-3-frunk-lokk-aapent-768x576.jpg | 2022-11-28 21:05 | 65K | |
| Polestar-3-fm-meny-assistenter1-768x576.jpg | 2022-11-28 20:21 | 64K | |
| b10-1024x768.jpg | 2022-11-11 13:39 | 64K | |
| Polestar-3-fm-meny-assistenter2-768x576.jpg | 2022-11-28 20:22 | 64K | |
| Toyota-bZ4X-trippelsb-amfi-bZ4X-inni-768x511.jpg | 2022-11-26 14:35 | 64K | |
| Toyota-bZ4X-bakkestart-front-venstre-med-litt-bylys-768x576.jpg | 2022-11-26 15:09 | 64K | |
| prisliste-768x327.png | 2022-11-23 12:07 | 64K | |
| b-sist-600x450.jpg | 2022-11-11 13:38 | 64K | |
| b-eksos-600x450.jpg | 2022-11-11 13:38 | 64K | |
| b2-600x450.jpg | 2022-11-11 13:38 | 63K | |
| Toyota-bZ4X-vann-rett-v-evje-taake-side-hoeyre-front-768x576.jpg | 2022-11-26 15:29 | 63K | |
| Toyota-bZ4X-trippelsb-amfi-MG-600x399.jpg | 2022-11-26 13:53 | 63K | |
| Toyota-bZ4X-trippel-amfi-med-3-testere-600x397.jpg | 2022-11-26 13:43 | 63K | |
| Polestar-3-foererdoer-innsiden-768x576.jpg | 2022-11-28 20:04 | 63K | |
| Toyota-bZ4X-trippelsb-paa-veien-600x399.jpg | 2022-11-26 14:05 | 63K | |
| Toyota-bZ4X-trippel-bilvask-front-3-biler-600x450.jpg | 2022-11-26 13:39 | 62K | |
| Hyundai-IONIQ-6-bak-lysdetalj-ved-bremsing-600x450.jpg | 2022-11-23 12:10 | 61K | |
| Polestar-3-bak-768x576.jpg | 2022-11-28 19:46 | 61K | |
| Toyota-bZ4X-fm-kveldsbilde-1024x768.jpg | 2022-11-26 15:27 | 61K | |
| Toyota-bZ4X-trippelsb-amfi-alle-bak-600x399.jpg | 2022-11-26 14:58 | 61K | |
| Hyundai-IONIQ-6-bakseter-med-bakdoer-600x450.jpg | 2022-11-23 12:30 | 60K | |
| b6-768x576.jpg | 2022-11-11 13:38 | 60K | |
| b28-600x450.jpg | 2022-11-11 13:39 | 60K | |
| Hyundai-IONIQ-6-foererdoer-inn-til-forseter-600x450.jpg | 2022-11-23 12:14 | 59K | |
| Toyota-bZ4X-lader-viser-nye-ladere-grimstad-bedre-600x450.jpg | 2022-11-26 15:15 | 59K | |
| Polestar-3-front-Smart-Zone-detalj-768x576.jpg | 2022-11-28 20:35 | 59K | |
| Toyota-bZ4X-fm-instilling-cruise-kurve-768x576.jpg | 2022-11-26 14:39 | 59K | |
| Hyundai-IONIQ-6-front-600x450.jpg | 2022-11-23 12:39 | 59K | |
| Toyota-bZ4X-sletta-regn-front-venstre-600x450.jpg | 2022-11-26 13:05 | 59K | |
| b10.jpg | 2022-11-23 09:24 | 58K | |
| Toyota-bZ4X-trippelsb-amfi-alle-front-600x399.jpg | 2022-11-26 15:06 | 58K | |
| b29-768x576.jpg | 2022-11-11 13:39 | 58K | |
| Toyota-bZ4X-trippelsb-sletta-helt-bak-480x319.jpg | 2022-11-26 14:17 | 58K | |
| Polestar-3-front-litt-venstre-768x576.jpg | 2022-11-28 19:39 | 57K | |
| Toyota-bZ4X-under-null-fm-beskjed-under-null-1024x768.jpg | 2022-11-26 13:10 | 57K | |
| Toyota-bZ4X-under-null-ladingen-til-100-600x450.jpg | 2022-11-26 13:18 | 56K | |
| Hyundai-IONIQ-6-bak-venstre-600x450.jpg | 2022-11-23 11:49 | 56K | |
| Toyota-bZ4X-lader-fokseroed-front-fokus-pakka-600x450.jpg | 2022-11-26 15:24 | 56K | |
| b24-600x450.jpg | 2022-11-11 13:39 | 56K | |
| b9-600x450.jpg | 2022-11-11 13:39 | 55K | |
| b8-600x450.jpg | 2022-11-11 13:39 | 55K | |
| Polestar-3-fm-oversikt-fra-nakkestoette-600x450.jpg | 2022-11-28 20:17 | 55K | |
| Toyota-bZ4X-slette-bak-hoeyre-600x450.jpg | 2022-11-26 12:51 | 55K | |
| b5-768x576.jpg | 2022-11-11 13:38 | 55K | |
| b3-600x450.jpg | 2022-11-11 13:38 | 55K | |
| Polestar-3-fm-oversikt-fra-passasjerdoer-600x450.jpg | 2022-11-28 20:30 | 55K | |
| b9.1-768x576.jpg | 2022-11-11 13:39 | 55K | |
| Toyota-bZ4X-trippelsb-amfi-bZ4X-ladeluke-front-venstre-768x511.jpg | 2022-11-26 14:21 | 55K | |
| Hyundai-IONIQ-6-bagasjerom-600x450.jpg | 2022-11-23 12:12 | 54K | |
| b1-600x450.jpg | 2022-11-11 13:38 | 54K | |
| Hyundai-IONIQ-6-fm-oversikt-600x450.jpg | 2022-11-23 12:26 | 54K | |
| Hyundai-IONIQ-6-forseter-600x450.jpg | 2022-11-23 12:21 | 54K | |
| Polestar-3-bagasjerom-600x450.jpg | 2022-11-28 19:59 | 54K | |
| Toyota-bZ4X-ladefart-peak-135.8kW-ved-28-pros-768x576.jpg | 2022-11-26 13:21 | 54K | |
| b18-768x576.jpg | 2022-11-11 13:39 | 53K | |
| Toyota-bZ4X-trippelsb-sletta-front-venstre-480x319.jpg | 2022-11-26 14:10 | 53K | |
| Polestar-3-foererdoer-detalj-vindusheiser-og-doeraapner-768x576.jpg | 2022-11-28 20:05 | 53K | |
| b25-600x450.jpg | 2022-11-11 13:39 | 53K | |
| Toyota-bZ4X-bakkestart-bak-768x576.jpg | 2022-11-26 15:33 | 53K | |
| Hyundai-IONIQ-6-bak-600x450.jpg | 2022-11-23 12:09 | 53K | |
| Hyundai-IONIQ-6-side-venstre-front-600x450.jpg | 2022-11-23 11:45 | 53K | |
| Polestar-3-foerersete-informasjon-i-setet-600x450.jpg | 2022-11-28 20:09 | 53K | |
| Polestar-3-front-768x576.jpg | 2022-11-28 20:11 | 53K | |
| Hyundai-IONIQ-6-side-venstre-bak-600x450.jpg | 2022-11-23 12:33 | 52K | |
| Ford-Ranger-Raptor-soloppgang-side-hoeyre-avstand-god-utsikt-600x450.jpg | 2022-11-30 11:26 | 52K | |
| Toyota-bZ4X-trippelsb-amfi-EQA-bakseter-600x399.jpg | 2022-11-26 14:50 | 52K | |
| Ford-Ranger-Raptor-rock5-kult-bilde-480x360.jpg | 2022-11-30 11:20 | 52K | |
| Toyota-bZ4X-under-null-valgte-stans-ved-42km-600x450.jpg | 2022-11-26 15:37 | 52K | |
| Hyundai-IONIQ-6-bak-hoeyre-600x450.jpg | 2022-11-23 12:50 | 51K | |
| Toyota-bZ4X-under-null-hentet-600x450.jpg | 2022-11-26 13:16 | 51K | |
| Hyundai-IONIQ-6-frunk-mini-awd-480x360.jpg | 2022-11-23 12:42 | 51K | |
| Toyota-bZ4X-slette-side-hoeyre-front-600x450.jpg | 2022-11-26 12:57 | 51K | |
| Toyota-bZ4X-bru-front-low-480x360.jpg | 2022-11-26 13:00 | 51K | |
| Toyota-bZ4X-bagasjerom-600x450.jpg | 2022-11-26 15:12 | 51K | |
| Polestar-3-forseter-premium-skinn-600x450.jpg | 2022-11-28 20:07 | 51K | |
| Toyota-bZ4X-bakseter-600x450.jpg | 2022-11-26 15:10 | 51K | |
| Toyota-bZ4X-under-null-stoa-sluppet-av-2km-til-600x450.jpg | 2022-11-26 13:17 | 50K | |
| Toyota-bZ4X-trippelsb-amfi-MG-bakseter-600x399.jpg | 2022-11-26 14:51 | 50K | |
| b19-600x450.jpg | 2022-11-11 13:39 | 50K | |
| Toyota-bZ4X-trippelsb-amfi-MG-inni-600x399.jpg | 2022-11-26 14:24 | 50K | |
| Toyota-bZ4X-under-null-uakseptabel-lav-hastighet-over-80-pros-600x450.jpg | 2022-11-26 13:25 | 50K | |
| Toyota-bZ4X-Toyota-Norge-front-hoeyre-600x450.jpg | 2022-11-26 12:48 | 50K | |
| Toyota-bZ4X-bru-bak-hoeyre-480x360.jpg | 2022-11-26 13:33 | 49K | |
| Toyota-bZ4X-trippelsb-amfi-bZ4X-bakseter-600x399.jpg | 2022-11-26 14:53 | 49K | |
| Polestar-3-bakseter-600x450.jpg | 2022-11-28 20:28 | 49K | |
| Polestar-3-bak-venstre-600x450.jpg | 2022-11-28 20:38 | 49K | |
| Toyota-bZ4X-trippelsb-amfi-EQA-inni-600x399.jpg | 2022-11-26 14:23 | 49K | |
| prisliste-600x256.png | 2022-11-23 12:07 | 49K | |
| Toyota-bZ4X-trippelsb-amfi-EQA-480x319.jpg | 2022-11-26 13:49 | 48K | |
| Polestar-3-fm-meny-cruiseinnstillinger-600x450.jpg | 2022-11-28 20:23 | 48K | |
| Toyota-bZ4X-under-null-laderen-sjeldent-bilde-600x450.jpg | 2022-11-26 13:19 | 48K | |
| Polestar-3-fm-ratt-med-skjerm-bak-600x450.jpg | 2022-11-28 20:25 | 48K | |
| Toyota-bZ4X-under-null-ladet-til-100-pros-og-67.15kWt-600x450.jpg | 2022-11-26 13:28 | 48K | |
| Toyota-bZ4X-trippelsb-amfi-bZ4X-forseter-600x399.jpg | 2022-11-26 14:44 | 47K | |
| Polestar-3-fm-Bowers-Wilkins-dashborddetalj-600x450.jpg | 2022-11-28 20:27 | 47K | |
| Toyota-bZ4X-trippelsb-amfi-bZ4X-front-480x319.jpg | 2022-11-26 13:45 | 47K | |
| Hyundai-IONIQ-6-front-hoeyre-480x360.jpg | 2022-11-23 12:45 | 47K | |
| b15-600x450.jpg | 2022-11-11 13:39 | 46K | |
| Toyota-bZ4X-trippelsb-amfi-bZ4X-inni-600x399.jpg | 2022-11-26 14:35 | 46K | |
| b27-480x360.jpg | 2022-11-11 13:39 | 46K | |
| Polestar-3-bak-hoeyre-600x450.jpg | 2022-11-28 19:43 | 46K | |
| b23-768x576.jpg | 2022-11-11 13:39 | 46K | |
| Toyota-bZ4X-trippelsb-amfi-MG-480x319.jpg | 2022-11-26 13:53 | 46K | |
| b17-600x450.jpg | 2022-11-11 13:39 | 46K | |
| b13-600x450.jpg | 2022-11-11 13:39 | 46K | |
| Polestar-3-fm-meny-assistenter2-600x450.jpg | 2022-11-28 20:22 | 46K | |
| Polestar-3-fm-meny-assistenter1-600x450.jpg | 2022-11-28 20:21 | 45K | |
| Toyota-bZ4X-fm-instilling-cruise-600x450.jpg | 2022-11-26 14:40 | 45K | |
| b16-600x450.jpg | 2022-11-11 13:39 | 45K | |
| Toyota-bZ4X-trippelsb-paa-veien-480x319.jpg | 2022-11-26 14:05 | 45K | |
| b11-768x576.jpg | 2022-11-11 13:39 | 45K | |
| b14-600x450.jpg | 2022-11-11 13:39 | 44K | |
| Toyota-bZ4X-trippelsb-amfi-alle-bak-480x319.jpg | 2022-11-26 14:58 | 44K | |
| b20-600x450.jpg | 2022-11-11 13:39 | 44K | |
| Hyundai-IONIQ-6-fm-knapper-midtkonsoll-600x450.jpg | 2022-11-23 12:18 | 43K | |
| Polestar-3-bak-600x450.jpg | 2022-11-28 19:46 | 43K | |
| b21-600x450.jpg | 2022-11-11 13:39 | 43K | |
| b4-600x450.jpg | 2022-11-11 13:38 | 43K | |
| Polestar-3-foererdoer-innsiden-600x450.jpg | 2022-11-28 20:04 | 43K | |
| Toyota-bZ4X-bakkestart-front-venstre-med-litt-bylys-600x450.jpg | 2022-11-26 15:09 | 43K | |
| Polestar-3-frunk-lokk-aapent-600x450.jpg | 2022-11-28 21:05 | 43K | |
| b22-768x576.jpg | 2022-11-11 13:39 | 43K | |
| Hyundai-IONIQ-6-bak-lysdetalj-ved-bremsing-480x360.jpg | 2022-11-23 12:10 | 43K | |
| Toyota-bZ4X-trippel-amfi-med-3-testere-480x317.jpg | 2022-11-26 13:43 | 43K | |
| b10-768x576.jpg | 2022-11-11 13:39 | 43K | |
| Toyota-bZ4X-trippel-bilvask-front-3-biler-480x360.jpg | 2022-11-26 13:39 | 42K | |
| Hyundai-IONIQ-6-bakseter-med-bakdoer-480x360.jpg | 2022-11-23 12:30 | 42K | |
| b7-600x450.jpg | 2022-11-11 13:39 | 42K | |
| Hyundai-IONIQ-6-foererdoer-inn-til-forseter-480x360.jpg | 2022-11-23 12:14 | 42K | |
| b2-480x360.jpg | 2022-11-11 13:38 | 42K | |
| Polestar-3-front-Smart-Zone-detalj-600x450.jpg | 2022-11-28 20:35 | 42K | |
| joey-banks-YApiWyp0lqo-unsplash-768x512.jpg | 2022-11-23 09:22 | 42K | |
| Toyota-bZ4X-fm-kveldsbilde-768x576.jpg | 2022-11-26 15:27 | 42K | |
| Toyota-bZ4X-lader-viser-nye-ladere-grimstad-bedre-480x360.jpg | 2022-11-26 15:15 | 42K | |
| b-eksos-480x360.jpg | 2022-11-11 13:38 | 42K | |
| b-sist-480x360.jpg | 2022-11-11 13:38 | 42K | |
| Toyota-bZ4X-vann-rett-v-evje-taake-side-hoeyre-front-600x450.jpg | 2022-11-26 15:29 | 41K | |
| b6-600x450.jpg | 2022-11-11 13:38 | 41K | |
| Toyota-bZ4X-fm-instilling-cruise-kurve-600x450.jpg | 2022-11-26 14:39 | 41K | |
| Toyota-bZ4X-trippelsb-amfi-alle-front-480x319.jpg | 2022-11-26 15:06 | 41K | |
| Toyota-bZ4X-trippelsb-sletta-helt-bak-375x250.jpg | 2022-11-26 14:17 | 41K | |
| Toyota-bZ4X-trippelsb-amfi-bZ4X-ladeluke-front-venstre-600x399.jpg | 2022-11-26 14:21 | 41K | |
| Hyundai-IONIQ-6-front-480x360.jpg | 2022-11-23 12:39 | 40K | |
| b28-480x360.jpg | 2022-11-11 13:39 | 40K | |
| Polestar-3-front-litt-venstre-600x450.jpg | 2022-11-28 19:39 | 40K | |
| Toyota-bZ4X-trippelsb-amfi-EQA-bakseter-480x319.jpg | 2022-11-26 14:50 | 40K | |
| Polestar-3-fm-oversikt-fra-nakkestoette-480x360.jpg | 2022-11-28 20:17 | 40K | |
| Hyundai-IONIQ-6-forseter-480x360.jpg | 2022-11-23 12:21 | 40K | |
| Hyundai-IONIQ-6-fm-oversikt-480x360.jpg | 2022-11-23 12:26 | 40K | |
| Toyota-bZ4X-under-null-ladingen-til-100-480x360.jpg | 2022-11-26 13:18 | 39K | |
| Toyota-bZ4X-lader-fokseroed-front-fokus-pakka-480x360.jpg | 2022-11-26 15:24 | 39K | |
| Hyundai-IONIQ-6-bak-venstre-480x360.jpg | 2022-11-23 11:49 | 39K | |
| Toyota-bZ4X-sletta-regn-front-venstre-480x360.jpg | 2022-11-26 13:05 | 39K | |
| Toyota-bZ4X-under-null-fm-beskjed-under-null-768x576.jpg | 2022-11-26 13:10 | 39K | |
| Toyota-bZ4X-ladefart-peak-135.8kW-ved-28-pros-600x450.jpg | 2022-11-26 13:21 | 39K | |
| Toyota-bZ4X-trippelsb-amfi-MG-bakseter-480x319.jpg | 2022-11-26 14:51 | 39K | |
| Polestar-3-fm-oversikt-fra-passasjerdoer-480x360.jpg | 2022-11-28 20:30 | 39K | |
| b9-480x360.jpg | 2022-11-11 13:39 | 39K | |
| b5-600x450.jpg | 2022-11-11 13:38 | 38K | |
| Polestar-3-foerersete-informasjon-i-setet-480x360.jpg | 2022-11-28 20:09 | 38K | |
| Polestar-3-bagasjerom-480x360.jpg | 2022-11-28 19:59 | 38K | |
| b24-480x360.jpg | 2022-11-11 13:39 | 38K | |
| Toyota-bZ4X-trippelsb-amfi-bZ4X-bakseter-480x319.jpg | 2022-11-26 14:53 | 38K | |
| b8-480x360.jpg | 2022-11-11 13:39 | 38K | |
| Toyota-bZ4X-slette-bak-hoeyre-480x360.jpg | 2022-11-26 12:51 | 38K | |
| Polestar-3-forseter-premium-skinn-480x360.jpg | 2022-11-28 20:07 | 38K | |
| Toyota-bZ4X-trippelsb-sletta-front-venstre-375x250.jpg | 2022-11-26 14:10 | 38K | |
| Toyota-bZ4X-trippelsb-amfi-MG-inni-480x319.jpg | 2022-11-26 14:24 | 37K | |
| Polestar-3-front-600x450.jpg | 2022-11-28 20:11 | 37K | |
| b18-600x450.jpg | 2022-11-11 13:39 | 37K | |
| Toyota-bZ4X-trippelsb-amfi-EQA-inni-480x319.jpg | 2022-11-26 14:23 | 37K | |
| b29-600x450.jpg | 2022-11-11 13:39 | 37K | |
| b1-480x360.jpg | 2022-11-11 13:38 | 37K | |
| Toyota-bZ4X-bakkestart-bak-600x450.jpg | 2022-11-26 15:33 | 37K | |
| Hyundai-IONIQ-6-side-venstre-bak-480x360.jpg | 2022-11-23 12:33 | 37K | |
| Hyundai-IONIQ-6-side-venstre-front-480x360.jpg | 2022-11-23 11:45 | 37K | |
| Hyundai-IONIQ-6-bak-480x360.jpg | 2022-11-23 12:09 | 37K | |
| b9.1-600x450.jpg | 2022-11-11 13:39 | 37K | |
| Toyota-bZ4X-bagasjerom-480x360.jpg | 2022-11-26 15:12 | 37K | |
| Toyota-bZ4X-bakseter-480x360.jpg | 2022-11-26 15:10 | 36K | |
| b3-480x360.jpg | 2022-11-11 13:38 | 36K | |
| Polestar-3-foererdoer-detalj-vindusheiser-og-doeraapner-600x450.jpg | 2022-11-28 20:05 | 36K | |
| Polestar-3-bakseter-480x360.jpg | 2022-11-28 20:28 | 36K | |
| Toyota-bZ4X-trippelsb-amfi-bZ4X-forseter-480x319.jpg | 2022-11-26 14:44 | 36K | |
| Hyundai-IONIQ-6-bak-hoeyre-480x360.jpg | 2022-11-23 12:50 | 36K | |
| prisliste-480x205.png | 2022-11-23 12:07 | 36K | |
| b25-480x360.jpg | 2022-11-11 13:39 | 36K | |
| Ford-Ranger-Raptor-soloppgang-side-hoeyre-avstand-god-utsikt-480x360.jpg | 2022-11-30 11:26 | 36K | |
| Hyundai-IONIQ-6-frunk-mini-awd-375x281.jpg | 2022-11-23 12:42 | 36K | |
| Toyota-bZ4X-under-null-stoa-sluppet-av-2km-til-480x360.jpg | 2022-11-26 13:17 | 36K | |
| Toyota-bZ4X-under-null-valgte-stans-ved-42km-480x360.jpg | 2022-11-26 15:37 | 36K | |
| Polestar-3-fm-meny-cruiseinnstillinger-480x360.jpg | 2022-11-28 20:23 | 36K | |
| Polestar-3-bak-venstre-480x360.jpg | 2022-11-28 20:38 | 36K | |
| Toyota-bZ4X-under-null-uakseptabel-lav-hastighet-over-80-pros-480x360.jpg | 2022-11-26 13:25 | 35K | |
| Ford-Ranger-Raptor-rock5-kult-bilde-375x281.jpg | 2022-11-30 11:20 | 35K | |
| Toyota-bZ4X-trippelsb-amfi-bZ4X-inni-480x319.jpg | 2022-11-26 14:35 | 35K | |
| Toyota-bZ4X-under-null-hentet-480x360.jpg | 2022-11-26 13:16 | 35K | |
| b19-480x360.jpg | 2022-11-11 13:39 | 35K | |
| Toyota-bZ4X-Toyota-Norge-front-hoeyre-480x360.jpg | 2022-11-26 12:48 | 35K | |
| Toyota-bZ4X-trippelsb-amfi-EQA-375x250.jpg | 2022-11-26 13:49 | 35K | |
| Toyota-bZ4X-slette-side-hoeyre-front-480x360.jpg | 2022-11-26 12:57 | 35K | |
| Polestar-3-fm-ratt-med-skjerm-bak-480x360.jpg | 2022-11-28 20:25 | 35K | |
| Toyota-bZ4X-under-null-ladet-til-100-pros-og-67.15kWt-480x360.jpg | 2022-11-26 13:28 | 34K | |
| Toyota-bZ4X-under-null-laderen-sjeldent-bilde-480x360.jpg | 2022-11-26 13:19 | 34K | |
| Toyota-bZ4X-trippelsb-amfi-bZ4X-front-375x250.jpg | 2022-11-26 13:45 | 34K | |
| Toyota-bZ4X-bru-front-low-375x281.jpg | 2022-11-26 13:00 | 34K | |
| Hyundai-IONIQ-6-bagasjerom-480x360.jpg | 2022-11-23 12:12 | 34K | |
| Polestar-3-bak-hoeyre-480x360.jpg | 2022-11-28 19:43 | 34K | |
| Toyota-bZ4X-bru-bak-hoeyre-375x281.jpg | 2022-11-26 13:33 | 34K | |
| Polestar-3-fm-meny-assistenter2-480x360.jpg | 2022-11-28 20:22 | 33K | |
| Toyota-bZ4X-trippelsb-amfi-MG-375x250.jpg | 2022-11-26 13:53 | 33K | |
| Polestar-3-fm-meny-assistenter1-480x360.jpg | 2022-11-28 20:21 | 33K | |
| Toyota-bZ4X-fm-instilling-cruise-480x360.jpg | 2022-11-26 14:40 | 33K | |
| Toyota-bZ4X-trippelsb-paa-veien-375x250.jpg | 2022-11-26 14:05 | 33K | |
| Polestar-3-fm-Bowers-Wilkins-dashborddetalj-480x360.jpg | 2022-11-28 20:27 | 33K | |
| b15-480x360.jpg | 2022-11-11 13:39 | 33K | |
| Toyota-bZ4X-trippelsb-sletta-helt-bak-320x213.jpg | 2022-11-26 14:17 | 32K | |
| Toyota-bZ4X-trippelsb-amfi-alle-bak-375x250.jpg | 2022-11-26 14:58 | 32K | |
| b13-480x360.jpg | 2022-11-11 13:39 | 32K | |
| b17-480x360.jpg | 2022-11-11 13:39 | 32K | |
| Hyundai-IONIQ-6-front-hoeyre-375x281.jpg | 2022-11-23 12:45 | 32K | |
| Polestar-3-bak-480x360.jpg | 2022-11-28 19:46 | 32K | |
| Polestar-3-foererdoer-innsiden-480x360.jpg | 2022-11-28 20:04 | 32K | |
| Toyota-bZ4X-trippelsb-amfi-bZ4X-ladeluke-front-venstre-480x319.jpg | 2022-11-26 14:21 | 32K | |
| b16-480x360.jpg | 2022-11-11 13:39 | 32K | |
| b23-600x450.jpg | 2022-11-11 13:39 | 32K | |
| b14-480x360.jpg | 2022-11-11 13:39 | 31K | |
| Toyota-bZ4X-fm-kveldsbilde-600x450.jpg | 2022-11-26 15:27 | 31K | |
| Polestar-3-front-Smart-Zone-detalj-480x360.jpg | 2022-11-28 20:35 | 31K | |
| b11-600x450.jpg | 2022-11-11 13:39 | 31K | |
| Polestar-3-frunk-lokk-aapent-480x360.jpg | 2022-11-28 21:05 | 31K | |
| b21-480x360.jpg | 2022-11-11 13:39 | 31K | |
| Toyota-bZ4X-fm-instilling-cruise-kurve-480x360.jpg | 2022-11-26 14:39 | 31K | |
| Toyota-bZ4X-trippelsb-amfi-EQA-bakseter-375x250.jpg | 2022-11-26 14:50 | 30K | |
| b27-375x281.jpg | 2022-11-11 13:39 | 30K | |
| Hyundai-IONIQ-6-bak-lysdetalj-ved-bremsing-375x281.jpg | 2022-11-23 12:10 | 30K | |
| Toyota-bZ4X-trippelsb-sletta-front-venstre-320x213.jpg | 2022-11-26 14:10 | 30K | |
| Hyundai-IONIQ-6-fm-knapper-midtkonsoll-480x360.jpg | 2022-11-23 12:18 | 30K | |
| Toyota-bZ4X-bakkestart-front-venstre-med-litt-bylys-480x360.jpg | 2022-11-26 15:09 | 30K | |
| Toyota-bZ4X-trippelsb-amfi-MG-bakseter-375x250.jpg | 2022-11-26 14:51 | 30K | |
| b10-600x450.jpg | 2022-11-11 13:39 | 30K | |
| Toyota-bZ4X-trippelsb-amfi-alle-front-375x250.jpg | 2022-11-26 15:06 | 30K | |
| Hyundai-IONIQ-6-bakseter-med-bakdoer-375x281.jpg | 2022-11-23 12:30 | 30K | |
| Hyundai-IONIQ-6-foererdoer-inn-til-forseter-375x281.jpg | 2022-11-23 12:14 | 30K | |
| Polestar-3-front-litt-venstre-480x360.jpg | 2022-11-28 19:39 | 30K | |
| Toyota-bZ4X-trippel-bilvask-front-3-biler-375x281.jpg | 2022-11-26 13:39 | 30K | |
| Toyota-bZ4X-lader-viser-nye-ladere-grimstad-bedre-375x281.jpg | 2022-11-26 15:15 | 29K | |
| b22-600x450.jpg | 2022-11-11 13:39 | 29K | |
| Toyota-bZ4X-trippelsb-amfi-bZ4X-bakseter-375x250.jpg | 2022-11-26 14:53 | 29K | |
| Toyota-bZ4X-ladefart-peak-135.8kW-ved-28-pros-480x360.jpg | 2022-11-26 13:21 | 29K | |
| Toyota-bZ4X-trippel-amfi-med-3-testere-375x248.jpg | 2022-11-26 13:43 | 29K | |
| b6-480x360.jpg | 2022-11-11 13:38 | 29K | |
| b4-480x360.jpg | 2022-11-11 13:38 | 29K | |
| b20-480x360.jpg | 2022-11-11 13:39 | 29K | |
| Polestar-3-fm-oversikt-fra-nakkestoette-375x281.jpg | 2022-11-28 20:17 | 29K | |
| Toyota-bZ4X-vann-rett-v-evje-taake-side-hoeyre-front-480x360.jpg | 2022-11-26 15:29 | 29K | |
| Hyundai-IONIQ-6-fm-oversikt-375x281.jpg | 2022-11-23 12:26 | 29K | |
| Hyundai-IONIQ-6-forseter-375x281.jpg | 2022-11-23 12:21 | 29K | |
| Toyota-bZ4X-under-null-fm-beskjed-under-null-600x450.jpg | 2022-11-26 13:10 | 29K | |
| Hyundai-IONIQ-6-front-375x281.jpg | 2022-11-23 12:39 | 29K | |
| Toyota-bZ4X-trippelsb-amfi-MG-inni-375x250.jpg | 2022-11-26 14:24 | 29K | |
| Toyota-bZ4X-trippelsb-amfi-EQA-320x213.jpg | 2022-11-26 13:49 | 29K | |
| Toyota-bZ4X-trippelsb-amfi-EQA-inni-375x250.jpg | 2022-11-26 14:23 | 28K | |
| Hyundai-IONIQ-6-frunk-mini-awd-320x240.jpg | 2022-11-23 12:42 | 28K | |
| Toyota-bZ4X-trippelsb-amfi-bZ4X-forseter-375x250.jpg | 2022-11-26 14:44 | 28K | |
| Polestar-3-front-480x360.jpg | 2022-11-28 20:11 | 28K | |
| Toyota-bZ4X-trippelsb-amfi-bZ4X-front-320x213.jpg | 2022-11-26 13:45 | 28K | |
| Polestar-3-fm-oversikt-fra-passasjerdoer-375x281.jpg | 2022-11-28 20:30 | 28K | |
| b7-480x360.jpg | 2022-11-11 13:39 | 28K | |
| Toyota-bZ4X-lader-fokseroed-front-fokus-pakka-375x281.jpg | 2022-11-26 15:24 | 28K | |
| Toyota-bZ4X-under-null-ladingen-til-100-375x281.jpg | 2022-11-26 13:18 | 28K | |
| Ford-Ranger-Raptor-rock5-kult-bilde-320x240.jpg | 2022-11-30 11:20 | 28K | |
| b5-480x360.jpg | 2022-11-11 13:38 | 28K | |
| joey-banks-YApiWyp0lqo-unsplash-600x400.jpg | 2022-11-23 09:22 | 28K | |
| Polestar-3-forseter-premium-skinn-375x281.jpg | 2022-11-28 20:07 | 28K | |
| Toyota-bZ4X-trippelsb-amfi-bZ4X-inni-375x250.jpg | 2022-11-26 14:35 | 27K | |
| Hyundai-IONIQ-6-bak-venstre-375x281.jpg | 2022-11-23 11:49 | 27K | |
| Toyota-bZ4X-trippelsb-amfi-MG-320x213.jpg | 2022-11-26 13:53 | 27K | |
| Polestar-3-foerersete-informasjon-i-setet-375x281.jpg | 2022-11-28 20:09 | 27K | |
| Polestar-3-bagasjerom-375x281.jpg | 2022-11-28 19:59 | 27K | |
| b2-375x281.jpg | 2022-11-11 13:38 | 27K | |
| Toyota-bZ4X-bakkestart-bak-480x360.jpg | 2022-11-26 15:33 | 27K | |
| Polestar-3-bakseter-375x281.jpg | 2022-11-28 20:28 | 27K | |
| Toyota-bZ4X-trippelsb-paa-veien-320x213.jpg | 2022-11-26 14:05 | 27K | |
| Toyota-bZ4X-trippelsb-amfi-alle-bak-320x213.jpg | 2022-11-26 14:58 | 27K | |
| Toyota-bZ4X-sletta-regn-front-venstre-375x281.jpg | 2022-11-26 13:05 | 27K | |
| b18-480x360.jpg | 2022-11-11 13:39 | 27K | |
| Toyota-bZ4X-bagasjerom-375x281.jpg | 2022-11-26 15:12 | 27K | |
| b-sist-375x281.jpg | 2022-11-11 13:38 | 27K | |
| Toyota-bZ4X-bakseter-375x281.jpg | 2022-11-26 15:10 | 26K | |
| b9-375x281.jpg | 2022-11-11 13:39 | 26K | |
| b-eksos-375x281.jpg | 2022-11-11 13:38 | 26K | |
| Polestar-3-foererdoer-detalj-vindusheiser-og-doeraapner-480x360.jpg | 2022-11-28 20:05 | 26K | |
| b28-375x281.jpg | 2022-11-11 13:39 | 26K | |
| Hyundai-IONIQ-6-side-venstre-bak-375x281.jpg | 2022-11-23 12:33 | 26K | |
| Toyota-bZ4X-slette-bak-hoeyre-375x281.jpg | 2022-11-26 12:51 | 26K | |
| Hyundai-IONIQ-6-bak-375x281.jpg | 2022-11-23 12:09 | 26K | |
| Toyota-bZ4X-bru-bak-hoeyre-320x240.jpg | 2022-11-26 13:33 | 26K | |
| prisliste-375x160.png | 2022-11-23 12:07 | 26K | |
| Toyota-bZ4X-bru-front-low-320x240.jpg | 2022-11-26 13:00 | 26K | |
| Hyundai-IONIQ-6-side-venstre-front-375x281.jpg | 2022-11-23 11:45 | 26K | |
| Hyundai-IONIQ-6-bak-hoeyre-375x281.jpg | 2022-11-23 12:50 | 26K | |
| Polestar-3-fm-meny-cruiseinnstillinger-375x281.jpg | 2022-11-28 20:23 | 26K | |
| Toyota-bZ4X-trippelsb-amfi-MG-bakseter-320x213.jpg | 2022-11-26 14:51 | 26K | |
| Toyota-bZ4X-trippelsb-amfi-EQA-bakseter-320x213.jpg | 2022-11-26 14:50 | 26K | |
| b9.1-480x360.jpg | 2022-11-11 13:39 | 26K | |
| Polestar-3-bak-venstre-375x281.jpg | 2022-11-28 20:38 | 25K | |
| Toyota-bZ4X-under-null-uakseptabel-lav-hastighet-over-80-pros-375x281.jpg | 2022-11-26 13:25 | 25K | |
| Polestar-3-fm-ratt-med-skjerm-bak-375x281.jpg | 2022-11-28 20:25 | 25K | |
| b8-375x281.jpg | 2022-11-11 13:39 | 25K | |
| Toyota-bZ4X-under-null-stoa-sluppet-av-2km-til-375x281.jpg | 2022-11-26 13:17 | 25K | |
| b24-375x281.jpg | 2022-11-11 13:39 | 25K | |
| Toyota-bZ4X-Toyota-Norge-front-hoeyre-375x281.jpg | 2022-11-26 12:48 | 25K | |
| Hyundai-IONIQ-6-front-hoeyre-320x240.jpg | 2022-11-23 12:45 | 25K | |
| Toyota-bZ4X-trippelsb-amfi-bZ4X-ladeluke-front-venstre-375x250.jpg | 2022-11-26 14:21 | 25K | |
| Toyota-bZ4X-under-null-valgte-stans-ved-42km-375x281.jpg | 2022-11-26 15:37 | 25K | |
| Ford-Ranger-Raptor-soloppgang-side-hoeyre-avstand-god-utsikt-375x281.jpg | 2022-11-30 11:26 | 25K | |
| Toyota-bZ4X-trippelsb-amfi-bZ4X-bakseter-320x213.jpg | 2022-11-26 14:53 | 25K | |
| b29-480x360.jpg | 2022-11-11 13:39 | 25K | |
| Toyota-bZ4X-under-null-hentet-375x281.jpg | 2022-11-26 13:16 | 25K | |
| Polestar-3-fm-meny-assistenter1-375x281.jpg | 2022-11-28 20:21 | 25K | |
| Toyota-bZ4X-trippelsb-amfi-alle-front-320x213.jpg | 2022-11-26 15:06 | 25K | |
| Polestar-3-fm-meny-assistenter2-375x281.jpg | 2022-11-28 20:22 | 25K | |
| b1-375x281.jpg | 2022-11-11 13:38 | 25K | |
| Toyota-bZ4X-under-null-ladet-til-100-pros-og-67.15kWt-375x281.jpg | 2022-11-26 13:28 | 25K | |
| Toyota-bZ4X-slette-side-hoeyre-front-375x281.jpg | 2022-11-26 12:57 | 24K | |
| Polestar-3-bak-hoeyre-375x281.jpg | 2022-11-28 19:43 | 24K | |
| Toyota-bZ4X-fm-instilling-cruise-375x281.jpg | 2022-11-26 14:40 | 24K | |
| b19-375x281.jpg | 2022-11-11 13:39 | 24K | |
| Toyota-bZ4X-trippelsb-amfi-EQA-inni-320x213.jpg | 2022-11-26 14:23 | 24K | |
| Toyota-bZ4X-trippelsb-amfi-MG-inni-320x213.jpg | 2022-11-26 14:24 | 24K | |
| Hyundai-IONIQ-6-foererdoer-inn-til-forseter-320x240.jpg | 2022-11-23 12:14 | 24K | |
| Toyota-bZ4X-fm-kveldsbilde-480x360.jpg | 2022-11-26 15:27 | 24K | |
| Hyundai-IONIQ-6-bak-lysdetalj-ved-bremsing-320x240.jpg | 2022-11-23 12:10 | 24K | |
| Toyota-bZ4X-under-null-laderen-sjeldent-bilde-375x281.jpg | 2022-11-26 13:19 | 24K | |
| Toyota-bZ4X-trippelsb-amfi-bZ4X-forseter-320x213.jpg | 2022-11-26 14:44 | 24K | |
| Hyundai-IONIQ-6-bakseter-med-bakdoer-320x240.jpg | 2022-11-23 12:30 | 24K | |
| b3-375x281.jpg | 2022-11-11 13:38 | 24K | |
| Toyota-bZ4X-lader-viser-nye-ladere-grimstad-bedre-320x240.jpg | 2022-11-26 15:15 | 24K | |
| Polestar-3-foererdoer-innsiden-375x281.jpg | 2022-11-28 20:04 | 24K | |
| Polestar-3-bak-375x281.jpg | 2022-11-28 19:46 | 24K | |
| Polestar-3-fm-oversikt-fra-nakkestoette-320x240.jpg | 2022-11-28 20:17 | 23K | |
| Hyundai-IONIQ-6-forseter-320x240.jpg | 2022-11-23 12:21 | 23K | |
| b25-375x281.jpg | 2022-11-11 13:39 | 23K | |
| Toyota-bZ4X-trippelsb-amfi-bZ4X-inni-320x213.jpg | 2022-11-26 14:35 | 23K | |
| Polestar-3-fm-Bowers-Wilkins-dashborddetalj-375x281.jpg | 2022-11-28 20:27 | 23K | |
| Polestar-3-front-Smart-Zone-detalj-375x281.jpg | 2022-11-28 20:35 | 23K | |
| Hyundai-IONIQ-6-fm-oversikt-320x240.jpg | 2022-11-23 12:26 | 23K | |
| Toyota-bZ4X-trippel-bilvask-front-3-biler-320x240.jpg | 2022-11-26 13:39 | 23K | |
| Toyota-bZ4X-trippel-amfi-med-3-testere-320x212.jpg | 2022-11-26 13:43 | 23K | |
| Hyundai-IONIQ-6-front-320x240.jpg | 2022-11-23 12:39 | 23K | |
| b13-375x281.jpg | 2022-11-11 13:39 | 23K | |
| Toyota-bZ4X-under-null-fm-beskjed-under-null-480x360.jpg | 2022-11-26 13:10 | 23K | |
| b27-320x240.jpg | 2022-11-11 13:39 | 23K | |
| Polestar-3-forseter-premium-skinn-320x240.jpg | 2022-11-28 20:07 | 23K | |
| Toyota-bZ4X-fm-instilling-cruise-kurve-375x281.jpg | 2022-11-26 14:39 | 22K | |
| b23-480x360.jpg | 2022-11-11 13:39 | 22K | |
| Polestar-3-fm-oversikt-fra-passasjerdoer-320x240.jpg | 2022-11-28 20:30 | 22K | |
| Polestar-3-frunk-lokk-aapent-375x281.jpg | 2022-11-28 21:05 | 22K | |
| b15-375x281.jpg | 2022-11-11 13:39 | 22K | |
| b17-375x281.jpg | 2022-11-11 13:39 | 22K | |
| Hyundai-IONIQ-6-bagasjerom-375x281.jpg | 2022-11-23 12:12 | 22K | |
| b11-480x360.jpg | 2022-11-11 13:39 | 22K | |
| Polestar-3-front-litt-venstre-375x281.jpg | 2022-11-28 19:39 | 22K | |
| Toyota-bZ4X-lader-fokseroed-front-fokus-pakka-320x240.jpg | 2022-11-26 15:24 | 22K | |
| Polestar-3-bakseter-320x240.jpg | 2022-11-28 20:28 | 22K | |
| Toyota-bZ4X-under-null-ladingen-til-100-320x240.jpg | 2022-11-26 13:18 | 22K | |
| Polestar-3-bagasjerom-320x240.jpg | 2022-11-28 19:59 | 22K | |
| Toyota-bZ4X-trippelsb-amfi-bZ4X-ladeluke-front-venstre-320x213.jpg | 2022-11-26 14:21 | 22K | |
| b14-375x281.jpg | 2022-11-11 13:39 | 22K | |
| b10-480x360.jpg | 2022-11-11 13:39 | 22K | |
| Toyota-bZ4X-ladefart-peak-135.8kW-ved-28-pros-375x281.jpg | 2022-11-26 13:21 | 22K | |
| b16-375x281.jpg | 2022-11-11 13:39 | 22K | |
| Hyundai-IONIQ-6-bak-venstre-320x240.jpg | 2022-11-23 11:49 | 22K | |
| Toyota-bZ4X-bakkestart-front-venstre-med-litt-bylys-375x281.jpg | 2022-11-26 15:09 | 22K | |
| Hyundai-IONIQ-6-fm-knapper-midtkonsoll-375x281.jpg | 2022-11-23 12:18 | 22K | |
| Toyota-bZ4X-bagasjerom-320x240.jpg | 2022-11-26 15:12 | 21K | |
| Polestar-3-foerersete-informasjon-i-setet-320x240.jpg | 2022-11-28 20:09 | 21K | |
| Toyota-bZ4X-bakseter-320x240.jpg | 2022-11-26 15:10 | 21K | |
| Polestar-3-fm-meny-cruiseinnstillinger-320x240.jpg | 2022-11-28 20:23 | 21K | |
| Hyundai-IONIQ-6-side-venstre-bak-320x240.jpg | 2022-11-23 12:33 | 21K | |
| b21-375x281.jpg | 2022-11-11 13:39 | 21K | |
| Polestar-3-front-375x281.jpg | 2022-11-28 20:11 | 21K | |
| Hyundai-IONIQ-6-bak-hoeyre-320x240.jpg | 2022-11-23 12:50 | 21K | |
| Polestar-3-bak-venstre-320x240.jpg | 2022-11-28 20:38 | 21K | |
| Hyundai-IONIQ-6-bak-320x240.jpg | 2022-11-23 12:09 | 21K | |
| Polestar-3-fm-ratt-med-skjerm-bak-320x240.jpg | 2022-11-28 20:25 | 21K | |
| Toyota-bZ4X-sletta-regn-front-venstre-320x240.jpg | 2022-11-26 13:05 | 21K | |
| Toyota-bZ4X-slette-bak-hoeyre-320x240.jpg | 2022-11-26 12:51 | 21K | |
| Toyota-bZ4X-vann-rett-v-evje-taake-side-hoeyre-front-375x281.jpg | 2022-11-26 15:29 | 21K | |
| Hyundai-IONIQ-6-side-venstre-front-320x240.jpg | 2022-11-23 11:45 | 21K | |
| prisliste-320x136.png | 2022-11-23 12:07 | 21K | |
| Toyota-bZ4X-under-null-stoa-sluppet-av-2km-til-320x240.jpg | 2022-11-26 13:17 | 21K | |
| Polestar-3-fm-meny-assistenter2-320x240.jpg | 2022-11-28 20:22 | 20K | |
| b22-480x360.jpg | 2022-11-11 13:39 | 20K | |
| Toyota-bZ4X-under-null-uakseptabel-lav-hastighet-over-80-pros-320x240.jpg | 2022-11-26 13:25 | 20K | |
| Toyota-bZ4X-Toyota-Norge-front-hoeyre-320x240.jpg | 2022-11-26 12:48 | 20K | |
| b9-320x240.jpg | 2022-11-11 13:39 | 20K | |
| Polestar-3-fm-meny-assistenter1-320x240.jpg | 2022-11-28 20:21 | 20K | |
| Toyota-bZ4X-bakkestart-bak-375x281.jpg | 2022-11-26 15:33 | 20K | |
| b2-320x240.jpg | 2022-11-11 13:38 | 20K | |
| b6-375x281.jpg | 2022-11-11 13:38 | 20K | |
| Polestar-3-bak-hoeyre-320x240.jpg | 2022-11-28 19:43 | 20K | |
| Toyota-bZ4X-fm-instilling-cruise-320x240.jpg | 2022-11-26 14:40 | 20K | |
| Toyota-bZ4X-under-null-hentet-320x240.jpg | 2022-11-26 13:16 | 20K | |
| Toyota-bZ4X-under-null-ladet-til-100-pros-og-67.15kWt-320x240.jpg | 2022-11-26 13:28 | 20K | |
| Toyota-bZ4X-under-null-valgte-stans-ved-42km-320x240.jpg | 2022-11-26 15:37 | 20K | |
| Ford-Ranger-Raptor-soloppgang-side-hoeyre-avstand-god-utsikt-320x240.jpg | 2022-11-30 11:26 | 20K | |
| Polestar-3-foererdoer-detalj-vindusheiser-og-doeraapner-375x281.jpg | 2022-11-28 20:05 | 20K | |
| b28-320x240.jpg | 2022-11-11 13:39 | 20K | |
| Toyota-bZ4X-slette-side-hoeyre-front-320x240.jpg | 2022-11-26 12:57 | 19K | |
| Polestar-3-bak-320x240.jpg | 2022-11-28 19:46 | 19K | |
| b-eksos-320x240.jpg | 2022-11-11 13:38 | 19K | |
| b-sist-320x240.jpg | 2022-11-11 13:38 | 19K | |
| b5-375x281.jpg | 2022-11-11 13:38 | 19K | |
| Polestar-3-foererdoer-innsiden-320x240.jpg | 2022-11-28 20:04 | 19K | |
| b20-375x281.jpg | 2022-11-11 13:39 | 19K | |
| b4-375x281.jpg | 2022-11-11 13:38 | 19K | |
| joey-banks-YApiWyp0lqo-unsplash-480x320.jpg | 2022-11-23 09:22 | 19K | |
| b8-320x240.jpg | 2022-11-11 13:39 | 19K | |
| b24-320x240.jpg | 2022-11-11 13:39 | 19K | |
| Toyota-bZ4X-under-null-laderen-sjeldent-bilde-320x240.jpg | 2022-11-26 13:19 | 19K | |
| Toyota-bZ4X-fm-kveldsbilde-375x281.jpg | 2022-11-26 15:27 | 19K | |
| Polestar-3-front-Smart-Zone-detalj-320x240.jpg | 2022-11-28 20:35 | 19K | |
| Toyota-bZ4X-fm-instilling-cruise-kurve-320x240.jpg | 2022-11-26 14:39 | 19K | |
| b18-375x281.jpg | 2022-11-11 13:39 | 19K | |
| b19-320x240.jpg | 2022-11-11 13:39 | 19K | |
| b1-320x240.jpg | 2022-11-11 13:38 | 19K | |
| Polestar-3-fm-Bowers-Wilkins-dashborddetalj-320x240.jpg | 2022-11-28 20:27 | 19K | |
| Toyota-bZ4X-ladefart-peak-135.8kW-ved-28-pros-320x240.jpg | 2022-11-26 13:21 | 19K | |
| b7-375x281.jpg | 2022-11-11 13:39 | 18K | |
| Polestar-3-front-litt-venstre-320x240.jpg | 2022-11-28 19:39 | 18K | |
| Polestar-3-frunk-lokk-aapent-320x240.jpg | 2022-11-28 21:05 | 18K | |
| Toyota-bZ4X-trippelsb-sletta-helt-bak-150x150.jpg | 2022-11-26 14:17 | 18K | |
| Toyota-bZ4X-under-null-fm-beskjed-under-null-375x281.jpg | 2022-11-26 13:10 | 18K | |
| b9.1-375x281.jpg | 2022-11-11 13:39 | 18K | |
| Toyota-bZ4X-bakkestart-front-venstre-med-litt-bylys-320x240.jpg | 2022-11-26 15:09 | 18K | |
| b25-320x240.jpg | 2022-11-11 13:39 | 18K | |
| Polestar-3-front-320x240.jpg | 2022-11-28 20:11 | 18K | |
| Hyundai-IONIQ-6-fm-knapper-midtkonsoll-320x240.jpg | 2022-11-23 12:18 | 17K | |
| b3-320x240.jpg | 2022-11-11 13:38 | 17K | |
| b13-320x240.jpg | 2022-11-11 13:39 | 17K | |
| b17-320x240.jpg | 2022-11-11 13:39 | 17K | |
| b15-320x240.jpg | 2022-11-11 13:39 | 17K | |
| Toyota-bZ4X-trippelsb-sletta-front-venstre-150x150.jpg | 2022-11-26 14:10 | 17K | |
| b14-320x240.jpg | 2022-11-11 13:39 | 17K | |
| Hyundai-IONIQ-6-bagasjerom-320x240.jpg | 2022-11-23 12:12 | 17K | |
| b16-320x240.jpg | 2022-11-11 13:39 | 17K | |
| Toyota-bZ4X-bakkestart-bak-320x240.jpg | 2022-11-26 15:33 | 17K | |
| Toyota-bZ4X-trippelsb-paa-veien-150x150.jpg | 2022-11-26 14:05 | 17K | |
| b29-375x281.jpg | 2022-11-11 13:39 | 17K | |
| Toyota-bZ4X-trippelsb-amfi-EQA-150x150.jpg | 2022-11-26 13:49 | 17K | |
| Toyota-bZ4X-vann-rett-v-evje-taake-side-hoeyre-front-320x240.jpg | 2022-11-26 15:29 | 17K | |
| Toyota-bZ4X-trippelsb-amfi-MG-bakseter-150x150.jpg | 2022-11-26 14:51 | 17K | |
| Toyota-bZ4X-trippelsb-amfi-MG-150x150.jpg | 2022-11-26 13:53 | 17K | |
| Toyota-bZ4X-trippelsb-sletta-helt-bak-160x106.jpg | 2022-11-26 14:17 | 16K | |
| Polestar-3-foererdoer-detalj-vindusheiser-og-doeraapner-320x240.jpg | 2022-11-28 20:05 | 16K | |
| Toyota-bZ4X-trippelsb-amfi-bZ4X-front-150x150.jpg | 2022-11-26 13:45 | 16K | |
| Toyota-bZ4X-fm-kveldsbilde-320x240.jpg | 2022-11-26 15:27 | 16K | |
| Toyota-bZ4X-trippelsb-amfi-MG-inni-150x150.jpg | 2022-11-26 14:24 | 16K | |
| Toyota-bZ4X-trippelsb-amfi-alle-bak-150x150.jpg | 2022-11-26 14:58 | 16K | |
| b21-320x240.jpg | 2022-11-11 13:39 | 16K | |
| Toyota-bZ4X-trippelsb-amfi-EQA-inni-150x150.jpg | 2022-11-26 14:23 | 16K | |
| Toyota-bZ4X-trippelsb-amfi-EQA-bakseter-150x150.jpg | 2022-11-26 14:50 | 16K | |
| Toyota-bZ4X-trippelsb-amfi-bZ4X-bakseter-150x150.jpg | 2022-11-26 14:53 | 16K | |
| Toyota-bZ4X-trippelsb-sletta-front-venstre-160x106.jpg | 2022-11-26 14:10 | 16K | |
| Toyota-bZ4X-trippelsb-amfi-bZ4X-forseter-150x150.jpg | 2022-11-26 14:44 | 16K | |
| b10-375x281.jpg | 2022-11-11 13:39 | 16K | |
| b23-375x281.jpg | 2022-11-11 13:39 | 16K | |
| b11-375x281.jpg | 2022-11-11 13:39 | 16K | |
| b6-320x240.jpg | 2022-11-11 13:38 | 16K | |
| Toyota-bZ4X-trippelsb-amfi-bZ4X-inni-150x150.jpg | 2022-11-26 14:35 | 15K | |
| Toyota-bZ4X-trippelsb-amfi-EQA-160x106.jpg | 2022-11-26 13:49 | 15K | |
| Toyota-bZ4X-trippelsb-amfi-MG-bakseter-160x106.jpg | 2022-11-26 14:51 | 15K | |
| Toyota-bZ4X-trippelsb-amfi-alle-front-150x150.jpg | 2022-11-26 15:06 | 15K | |
| Toyota-bZ4X-trippelsb-amfi-bZ4X-front-160x106.jpg | 2022-11-26 13:45 | 15K | |
| Toyota-bZ4X-trippelsb-amfi-EQA-bakseter-160x106.jpg | 2022-11-26 14:50 | 15K | |
| Toyota-bZ4X-under-null-fm-beskjed-under-null-320x240.jpg | 2022-11-26 13:10 | 15K | |
| Toyota-bZ4X-trippelsb-amfi-alle-bak-160x106.jpg | 2022-11-26 14:58 | 15K | |
| b5-320x240.jpg | 2022-11-11 13:38 | 15K | |
| Toyota-bZ4X-trippelsb-paa-veien-160x106.jpg | 2022-11-26 14:05 | 15K | |
| Toyota-bZ4X-trippelsb-amfi-MG-160x106.jpg | 2022-11-26 13:53 | 15K | |
| Toyota-bZ4X-trippelsb-amfi-bZ4X-bakseter-160x106.jpg | 2022-11-26 14:53 | 15K | |
| Toyota-bZ4X-trippelsb-amfi-bZ4X-ladeluke-front-venstre-150x150.jpg | 2022-11-26 14:21 | 15K | |
| Toyota-bZ4X-trippelsb-amfi-EQA-inni-160x106.jpg | 2022-11-26 14:23 | 15K | |
| Toyota-bZ4X-trippelsb-amfi-MG-inni-160x106.jpg | 2022-11-26 14:24 | 15K | |
| Toyota-bZ4X-trippelsb-amfi-bZ4X-forseter-160x106.jpg | 2022-11-26 14:44 | 15K | |
| b18-320x240.jpg | 2022-11-11 13:39 | 15K | |
| Toyota-bZ4X-trippelsb-amfi-bZ4X-inni-160x106.jpg | 2022-11-26 14:35 | 14K | |
| b20-320x240.jpg | 2022-11-11 13:39 | 14K | |
| b22-375x281.jpg | 2022-11-11 13:39 | 14K | |
| Toyota-bZ4X-trippelsb-amfi-bZ4X-ladeluke-front-venstre-160x106.jpg | 2022-11-26 14:21 | 14K | |
| b4-320x240.jpg | 2022-11-11 13:38 | 14K | |
| Toyota-bZ4X-trippelsb-amfi-alle-front-160x106.jpg | 2022-11-26 15:06 | 14K | |
| b9.1-320x240.jpg | 2022-11-11 13:39 | 14K | |
| Hyundai-IONIQ-6-frunk-mini-awd-150x150.jpg | 2022-11-23 12:42 | 14K | |
| b7-320x240.jpg | 2022-11-11 13:39 | 14K | |
| joey-banks-YApiWyp0lqo-unsplash-375x250.jpg | 2022-11-23 09:22 | 13K | |
| Ford-Ranger-Raptor-rock5-kult-bilde-150x150.jpg | 2022-11-30 11:20 | 13K | |
| Hyundai-IONIQ-6-front-hoeyre-150x150.jpg | 2022-11-23 12:45 | 13K | |
| Toyota-bZ4X-bru-bak-hoeyre-150x150.jpg | 2022-11-26 13:33 | 13K | |
| Hyundai-IONIQ-6-foererdoer-inn-til-forseter-150x150.jpg | 2022-11-23 12:14 | 13K | |
| b10-320x240.jpg | 2022-11-11 13:39 | 13K | |
| Hyundai-IONIQ-6-frunk-mini-awd-160x120.jpg | 2022-11-23 12:42 | 13K | |
| Toyota-bZ4X-bru-front-low-150x150.jpg | 2022-11-26 13:00 | 12K | |
| Polestar-3-fm-oversikt-fra-nakkestoette-150x150.jpg | 2022-11-28 20:17 | 12K | |
| Hyundai-IONIQ-6-bak-lysdetalj-ved-bremsing-150x150.jpg | 2022-11-23 12:10 | 12K | |
| Hyundai-IONIQ-6-forseter-150x150.jpg | 2022-11-23 12:21 | 12K | |
| Hyundai-IONIQ-6-bakseter-med-bakdoer-150x150.jpg | 2022-11-23 12:30 | 12K | |
| Hyundai-IONIQ-6-fm-oversikt-150x150.jpg | 2022-11-23 12:26 | 12K | |
| b23-320x240.jpg | 2022-11-11 13:39 | 12K | |
| b29-320x240.jpg | 2022-11-11 13:39 | 12K | |
| Polestar-3-forseter-premium-skinn-150x150.jpg | 2022-11-28 20:07 | 12K | |
| Polestar-3-fm-meny-cruiseinnstillinger-150x150.jpg | 2022-11-28 20:23 | 12K | |
| b11-320x240.jpg | 2022-11-11 13:39 | 12K | |
| Polestar-3-fm-oversikt-fra-passasjerdoer-150x150.jpg | 2022-11-28 20:30 | 12K | |
| Ford-Ranger-Raptor-rock5-kult-bilde-160x120.jpg | 2022-11-30 11:20 | 12K | |
| Hyundai-IONIQ-6-front-hoeyre-160x120.jpg | 2022-11-23 12:45 | 12K | |
| Polestar-3-fm-meny-assistenter2-150x150.jpg | 2022-11-28 20:22 | 12K | |
| Toyota-bZ4X-trippel-amfi-med-3-testere-150x150.jpg | 2022-11-26 13:43 | 12K | |
| Toyota-bZ4X-lader-viser-nye-ladere-grimstad-bedre-150x150.jpg | 2022-11-26 15:15 | 12K | |
| Polestar-3-fm-meny-assistenter1-150x150.jpg | 2022-11-28 20:21 | 12K | |
| Toyota-bZ4X-under-null-ladingen-til-100-150x150.jpg | 2022-11-26 13:18 | 12K | |
| Toyota-bZ4X-bru-bak-hoeyre-160x120.jpg | 2022-11-26 13:33 | 12K | |
| Toyota-bZ4X-trippel-bilvask-front-3-biler-150x150.jpg | 2022-11-26 13:39 | 12K | |
| Hyundai-IONIQ-6-front-150x150.jpg | 2022-11-23 12:39 | 12K | |
| Hyundai-IONIQ-6-fm-oversikt-160x120.jpg | 2022-11-23 12:26 | 12K | |
| Hyundai-IONIQ-6-foererdoer-inn-til-forseter-160x120.jpg | 2022-11-23 12:14 | 12K | |
| Polestar-3-bakseter-150x150.jpg | 2022-11-28 20:28 | 12K | |
| Toyota-bZ4X-under-null-stoa-sluppet-av-2km-til-150x150.jpg | 2022-11-26 13:17 | 12K | |
| Polestar-3-fm-oversikt-fra-nakkestoette-160x120.jpg | 2022-11-28 20:17 | 12K | |
| Hyundai-IONIQ-6-forseter-160x120.jpg | 2022-11-23 12:21 | 12K | |
| Polestar-3-bak-venstre-150x150.jpg | 2022-11-28 20:38 | 12K | |
| Hyundai-IONIQ-6-bakseter-med-bakdoer-160x120.jpg | 2022-11-23 12:30 | 12K | |
| Toyota-bZ4X-bagasjerom-150x150.jpg | 2022-11-26 15:12 | 11K | |
| Hyundai-IONIQ-6-bak-lysdetalj-ved-bremsing-160x120.jpg | 2022-11-23 12:10 | 11K | |
| Polestar-3-bagasjerom-150x150.jpg | 2022-11-28 19:59 | 11K | |
| Polestar-3-forseter-premium-skinn-160x120.jpg | 2022-11-28 20:07 | 11K | |
| Toyota-bZ4X-lader-viser-nye-ladere-grimstad-bedre-160x120.jpg | 2022-11-26 15:15 | 11K | |
| Toyota-bZ4X-under-null-ladet-til-100-pros-og-67.15kWt-150x150.jpg | 2022-11-26 13:28 | 11K | |
| Toyota-bZ4X-under-null-hentet-150x150.jpg | 2022-11-26 13:16 | 11K | |
| Toyota-bZ4X-ladefart-peak-135.8kW-ved-28-pros-150x150.jpg | 2022-11-26 13:21 | 11K | |
| Toyota-bZ4X-slette-bak-hoeyre-150x150.jpg | 2022-11-26 12:51 | 11K | |
| Hyundai-IONIQ-6-bak-venstre-150x150.jpg | 2022-11-23 11:49 | 11K | |
| Polestar-3-fm-ratt-med-skjerm-bak-150x150.jpg | 2022-11-28 20:25 | 11K | |
| Hyundai-IONIQ-6-bak-150x150.jpg | 2022-11-23 12:09 | 11K | |
| Toyota-bZ4X-bakseter-150x150.jpg | 2022-11-26 15:10 | 11K | |
| Hyundai-IONIQ-6-side-venstre-bak-150x150.jpg | 2022-11-23 12:33 | 11K | |
| Toyota-bZ4X-fm-instilling-cruise-150x150.jpg | 2022-11-26 14:40 | 11K | |
| Hyundai-IONIQ-6-side-venstre-front-150x150.jpg | 2022-11-23 11:45 | 11K | |
| Toyota-bZ4X-bru-front-low-160x120.jpg | 2022-11-26 13:00 | 11K | |
| Toyota-bZ4X-trippelsb-sletta-helt-bak-50x50.jpg | 2022-11-26 14:17 | 11K | |
| Polestar-3-bakseter-160x120.jpg | 2022-11-28 20:28 | 11K | |
| Toyota-bZ4X-under-null-uakseptabel-lav-hastighet-over-80-pros-150x150.jpg | 2022-11-26 13:25 | 11K | |
| Toyota-bZ4X-Toyota-Norge-front-hoeyre-150x150.jpg | 2022-11-26 12:48 | 11K | |
| Polestar-3-bak-hoeyre-150x150.jpg | 2022-11-28 19:43 | 11K | |
| Polestar-3-bak-150x150.jpg | 2022-11-28 19:46 | 11K | |
| Toyota-bZ4X-trippelsb-sletta-front-venstre-50x50.jpg | 2022-11-26 14:10 | 11K | |
| Toyota-bZ4X-trippelsb-amfi-MG-bakseter-50x50.jpg | 2022-11-26 14:51 | 11K | |
| Polestar-3-fm-oversikt-fra-passasjerdoer-160x120.jpg | 2022-11-28 20:30 | 11K | |
| Hyundai-IONIQ-6-bak-hoeyre-150x150.jpg | 2022-11-23 12:50 | 11K | |
| Toyota-bZ4X-trippelsb-amfi-MG-inni-50x50.jpg | 2022-11-26 14:24 | 11K | |
| Toyota-bZ4X-trippelsb-amfi-EQA-inni-50x50.jpg | 2022-11-26 14:23 | 11K | |
| Toyota-bZ4X-trippelsb-amfi-EQA-bakseter-50x50.jpg | 2022-11-26 14:50 | 11K | |
| Toyota-bZ4X-trippelsb-amfi-bZ4X-bakseter-50x50.jpg | 2022-11-26 14:53 | 11K | |
| b22-320x240.jpg | 2022-11-11 13:39 | 11K | |
| Polestar-3-fm-meny-cruiseinnstillinger-160x120.jpg | 2022-11-28 20:23 | 11K | |
| Toyota-bZ4X-trippelsb-amfi-bZ4X-forseter-50x50.jpg | 2022-11-26 14:44 | 11K | |
| Toyota-bZ4X-bakseter-160x120.jpg | 2022-11-26 15:10 | 11K | |
| Toyota-bZ4X-lader-fokseroed-front-fokus-pakka-150x150.jpg | 2022-11-26 15:24 | 11K | |
| Toyota-bZ4X-trippelsb-paa-veien-50x50.jpg | 2022-11-26 14:05 | 11K | |
| Toyota-bZ4X-sletta-regn-front-venstre-150x150.jpg | 2022-11-26 13:05 | 11K | |
| Toyota-bZ4X-trippelsb-amfi-alle-bak-50x50.jpg | 2022-11-26 14:58 | 11K | |
| Toyota-bZ4X-bagasjerom-160x120.jpg | 2022-11-26 15:12 | 11K | |
| Toyota-bZ4X-trippelsb-amfi-MG-50x50.jpg | 2022-11-26 13:53 | 11K | |
| Toyota-bZ4X-trippelsb-amfi-bZ4X-front-50x50.jpg | 2022-11-26 13:45 | 11K | |
| Toyota-bZ4X-lader-fokseroed-front-fokus-pakka-160x120.jpg | 2022-11-26 15:24 | 11K | |
| Toyota-bZ4X-trippelsb-amfi-EQA-50x50.jpg | 2022-11-26 13:49 | 11K | |
| Toyota-bZ4X-under-null-valgte-stans-ved-42km-150x150.jpg | 2022-11-26 15:37 | 11K | |
| Toyota-bZ4X-trippelsb-amfi-bZ4X-inni-50x50.jpg | 2022-11-26 14:35 | 11K | |
| Hyundai-IONIQ-6-front-160x120.jpg | 2022-11-23 12:39 | 11K | |
| Toyota-bZ4X-under-null-ladingen-til-100-160x120.jpg | 2022-11-26 13:18 | 11K | |
| Toyota-bZ4X-trippel-bilvask-front-3-biler-160x120.jpg | 2022-11-26 13:39 | 11K | |
| Polestar-3-fm-ratt-med-skjerm-bak-160x120.jpg | 2022-11-28 20:25 | 11K | |
| Toyota-bZ4X-under-null-laderen-sjeldent-bilde-150x150.jpg | 2022-11-26 13:19 | 11K | |
| Toyota-bZ4X-slette-side-hoeyre-front-150x150.jpg | 2022-11-26 12:57 | 11K | |
| Toyota-bZ4X-trippelsb-amfi-bZ4X-ladeluke-front-venstre-50x50.jpg | 2022-11-26 14:21 | 11K | |
| Toyota-bZ4X-under-null-stoa-sluppet-av-2km-til-160x120.jpg | 2022-11-26 13:17 | 11K | |
| Polestar-3-foererdoer-innsiden-150x150.jpg | 2022-11-28 20:04 | 11K | |
| Polestar-3-fm-meny-assistenter2-160x120.jpg | 2022-11-28 20:22 | 11K | |
| Polestar-3-bagasjerom-160x120.jpg | 2022-11-28 19:59 | 11K | |
| Polestar-3-foerersete-informasjon-i-setet-150x150.jpg | 2022-11-28 20:09 | 11K | |
| Toyota-bZ4X-trippelsb-amfi-alle-front-50x50.jpg | 2022-11-26 15:06 | 11K | |
| Toyota-bZ4X-fm-instilling-cruise-kurve-150x150.jpg | 2022-11-26 14:39 | 11K | |
| Toyota-bZ4X-trippel-amfi-med-3-testere-160x106.jpg | 2022-11-26 13:43 | 11K | |
| Polestar-3-fm-meny-assistenter1-160x120.jpg | 2022-11-28 20:21 | 11K | |
| Polestar-3-bak-venstre-160x120.jpg | 2022-11-28 20:38 | 11K | |
| Hyundai-IONIQ-6-side-venstre-bak-160x120.jpg | 2022-11-23 12:33 | 11K | |
| Polestar-3-front-150x150.jpg | 2022-11-28 20:11 | 11K | |
| Ford-Ranger-Raptor-soloppgang-side-hoeyre-avstand-god-utsikt-150x150.jpg | 2022-11-30 11:26 | 11K | |
| Hyundai-IONIQ-6-bak-hoeyre-160x120.jpg | 2022-11-23 12:50 | 11K | |
| Toyota-bZ4X-fm-instilling-cruise-160x120.jpg | 2022-11-26 14:40 | 11K | |
| Hyundai-IONIQ-6-bak-venstre-160x120.jpg | 2022-11-23 11:49 | 11K | |
| Polestar-3-front-litt-venstre-150x150.jpg | 2022-11-28 19:39 | 11K | |
| Hyundai-IONIQ-6-fm-knapper-midtkonsoll-150x150.jpg | 2022-11-23 12:18 | 11K | |
| Hyundai-IONIQ-6-bak-160x120.jpg | 2022-11-23 12:09 | 11K | |
| Polestar-3-bak-hoeyre-160x120.jpg | 2022-11-28 19:43 | 11K | |
| Polestar-3-front-Smart-Zone-detalj-150x150.jpg | 2022-11-28 20:35 | 10K | |
| Hyundai-IONIQ-6-side-venstre-front-160x120.jpg | 2022-11-23 11:45 | 10K | |
| Polestar-3-fm-Bowers-Wilkins-dashborddetalj-150x150.jpg | 2022-11-28 20:27 | 10K | |
| Toyota-bZ4X-fm-kveldsbilde-150x150.jpg | 2022-11-26 15:27 | 10K | |
| Toyota-bZ4X-Toyota-Norge-front-hoeyre-160x120.jpg | 2022-11-26 12:48 | 10K | |
| Toyota-bZ4X-under-null-uakseptabel-lav-hastighet-over-80-pros-160x120.jpg | 2022-11-26 13:25 | 10K | |
| Toyota-bZ4X-under-null-hentet-160x120.jpg | 2022-11-26 13:16 | 10K | |
| Toyota-bZ4X-slette-bak-hoeyre-160x120.jpg | 2022-11-26 12:51 | 10K | |
| Polestar-3-bak-160x120.jpg | 2022-11-28 19:46 | 10K | |
| Polestar-3-foererdoer-innsiden-160x120.jpg | 2022-11-28 20:04 | 10K | |
| Toyota-bZ4X-bakkestart-front-venstre-med-litt-bylys-150x150.jpg | 2022-11-26 15:09 | 10K | |
| Toyota-bZ4X-ladefart-peak-135.8kW-ved-28-pros-160x120.jpg | 2022-11-26 13:21 | 10K | |
| Toyota-bZ4X-fm-instilling-cruise-kurve-160x120.jpg | 2022-11-26 14:39 | 10K | |
| Toyota-bZ4X-under-null-valgte-stans-ved-42km-160x120.jpg | 2022-11-26 15:37 | 10K | |
| joey-banks-YApiWyp0lqo-unsplash-320x213.jpg | 2022-11-23 09:22 | 10K | |
| Toyota-bZ4X-under-null-ladet-til-100-pros-og-67.15kWt-160x120.jpg | 2022-11-26 13:28 | 10K | |
| Polestar-3-frunk-lokk-aapent-150x150.jpg | 2022-11-28 21:05 | 10K | |
| Polestar-3-front-Smart-Zone-detalj-160x120.jpg | 2022-11-28 20:35 | 10K | |
| Toyota-bZ4X-sletta-regn-front-venstre-160x120.jpg | 2022-11-26 13:05 | 10K | |
| Toyota-bZ4X-bakkestart-bak-150x150.jpg | 2022-11-26 15:33 | 10K | |
| Toyota-bZ4X-under-null-laderen-sjeldent-bilde-160x120.jpg | 2022-11-26 13:19 | 10K | |
| Toyota-bZ4X-slette-side-hoeyre-front-160x120.jpg | 2022-11-26 12:57 | 10K | |
| Polestar-3-frunk-lokk-aapent-160x120.jpg | 2022-11-28 21:05 | 10K | |
| Polestar-3-front-litt-venstre-160x120.jpg | 2022-11-28 19:39 | 10K | |
| Ford-Ranger-Raptor-soloppgang-side-hoeyre-avstand-god-utsikt-160x120.jpg | 2022-11-30 11:26 | 9.9K | |
| Toyota-bZ4X-fm-kveldsbilde-160x120.jpg | 2022-11-26 15:27 | 9.9K | |
| Toyota-bZ4X-under-null-fm-beskjed-under-null-150x150.jpg | 2022-11-26 13:10 | 9.9K | |
| Polestar-3-foererdoer-detalj-vindusheiser-og-doeraapner-150x150.jpg | 2022-11-28 20:05 | 9.9K | |
| Hyundai-IONIQ-6-fm-knapper-midtkonsoll-160x120.jpg | 2022-11-23 12:18 | 9.9K | |
| Polestar-3-front-160x120.jpg | 2022-11-28 20:11 | 9.9K | |
| Polestar-3-foerersete-informasjon-i-setet-160x120.jpg | 2022-11-28 20:09 | 9.9K | |
| Toyota-bZ4X-vann-rett-v-evje-taake-side-hoeyre-front-150x150.jpg | 2022-11-26 15:29 | 9.8K | |
| Polestar-3-fm-Bowers-Wilkins-dashborddetalj-160x120.jpg | 2022-11-28 20:27 | 9.8K | |
| Toyota-bZ4X-bakkestart-bak-160x120.jpg | 2022-11-26 15:33 | 9.7K | |
| Toyota-bZ4X-bakkestart-front-venstre-med-litt-bylys-160x120.jpg | 2022-11-26 15:09 | 9.7K | |
| Toyota-bZ4X-under-null-fm-beskjed-under-null-160x120.jpg | 2022-11-26 13:10 | 9.5K | |
| Polestar-3-foererdoer-detalj-vindusheiser-og-doeraapner-160x120.jpg | 2022-11-28 20:05 | 9.4K | |
| Toyota-bZ4X-vann-rett-v-evje-taake-side-hoeyre-front-160x120.jpg | 2022-11-26 15:29 | 9.3K | |
| Hyundai-IONIQ-6-bagasjerom-150x150.jpg | 2022-11-23 12:12 | 9.2K | |
| Hyundai-IONIQ-6-bagasjerom-160x120.jpg | 2022-11-23 12:12 | 8.6K | |
| b27-150x150.jpg | 2022-11-11 13:39 | 8.1K | |
| Hyundai-IONIQ-6-front-hoeyre-50x50.jpg | 2022-11-23 12:45 | 7.8K | |
| b9-150x150.jpg | 2022-11-11 13:39 | 7.8K | |
| b19-150x150.jpg | 2022-11-11 13:39 | 7.5K | |
| Toyota-bZ4X-under-null-stoa-sluppet-av-2km-til-50x50.jpg | 2022-11-26 13:17 | 7.4K | |
| Toyota-bZ4X-under-null-hentet-50x50.jpg | 2022-11-26 13:16 | 7.4K | |
| b8-150x150.jpg | 2022-11-11 13:39 | 7.4K | |
| Toyota-bZ4X-under-null-valgte-stans-ved-42km-50x50.jpg | 2022-11-26 15:37 | 7.4K | |
| Toyota-bZ4X-fm-kveldsbilde-50x50.jpg | 2022-11-26 15:27 | 7.3K | |
| Toyota-bZ4X-bakkestart-bak-50x50.jpg | 2022-11-26 15:33 | 7.3K | |
| prisliste-160x68.png | 2022-11-23 12:07 | 7.3K | |
| Toyota-bZ4X-bakkestart-front-venstre-med-litt-bylys-50x50.jpg | 2022-11-26 15:09 | 7.3K | |
| Toyota-bZ4X-bru-bak-hoeyre-50x50.jpg | 2022-11-26 13:33 | 7.2K | |
| Hyundai-IONIQ-6-frunk-mini-awd-50x50.jpg | 2022-11-23 12:42 | 7.2K | |
| Hyundai-IONIQ-6-foererdoer-inn-til-forseter-50x50.jpg | 2022-11-23 12:14 | 7.2K | |
| Toyota-bZ4X-under-null-fm-beskjed-under-null-50x50.jpg | 2022-11-26 13:10 | 7.2K | |
| Hyundai-IONIQ-6-fm-oversikt-50x50.jpg | 2022-11-23 12:26 | 7.2K | |
| Hyundai-IONIQ-6-forseter-50x50.jpg | 2022-11-23 12:21 | 7.2K | |
| Hyundai-IONIQ-6-bakseter-med-bakdoer-50x50.jpg | 2022-11-23 12:30 | 7.2K | |
| Polestar-3-forseter-premium-skinn-50x50.jpg | 2022-11-28 20:07 | 7.2K | |
| Polestar-3-fm-meny-assistenter1-50x50.jpg | 2022-11-28 20:21 | 7.1K | |
| Hyundai-IONIQ-6-bak-lysdetalj-ved-bremsing-50x50.jpg | 2022-11-23 12:10 | 7.1K | |
| Ford-Ranger-Raptor-rock5-kult-bilde-50x50.jpg | 2022-11-30 11:20 | 7.1K | |
| Polestar-3-fm-oversikt-fra-nakkestoette-50x50.jpg | 2022-11-28 20:17 | 7.1K | |
| Polestar-3-fm-meny-cruiseinnstillinger-50x50.jpg | 2022-11-28 20:23 | 7.1K | |
| Polestar-3-bakseter-50x50.jpg | 2022-11-28 20:28 | 7.1K | |
| Polestar-3-fm-meny-assistenter2-50x50.jpg | 2022-11-28 20:22 | 7.1K | |
| Polestar-3-fm-oversikt-fra-passasjerdoer-50x50.jpg | 2022-11-28 20:30 | 7.1K | |
| Toyota-bZ4X-under-null-ladingen-til-100-50x50.jpg | 2022-11-26 13:18 | 7.1K | |
| Toyota-bZ4X-bagasjerom-50x50.jpg | 2022-11-26 15:12 | 7.0K | |
| Toyota-bZ4X-ladefart-peak-135.8kW-ved-28-pros-50x50.jpg | 2022-11-26 13:21 | 7.0K | |
| Toyota-bZ4X-bakseter-50x50.jpg | 2022-11-26 15:10 | 7.0K | |
| Polestar-3-fm-ratt-med-skjerm-bak-50x50.jpg | 2022-11-28 20:25 | 7.0K | |
| Toyota-bZ4X-slette-bak-hoeyre-50x50.jpg | 2022-11-26 12:51 | 7.0K | |
| Toyota-bZ4X-lader-viser-nye-ladere-grimstad-bedre-50x50.jpg | 2022-11-26 15:15 | 7.0K | |
| Hyundai-IONIQ-6-front-50x50.jpg | 2022-11-23 12:39 | 7.0K | |
| b2-150x150.jpg | 2022-11-11 13:38 | 7.0K | |
| Toyota-bZ4X-trippel-bilvask-front-3-biler-50x50.jpg | 2022-11-26 13:39 | 7.0K | |
| Polestar-3-bak-venstre-50x50.jpg | 2022-11-28 20:38 | 7.0K | |
| Polestar-3-foererdoer-innsiden-50x50.jpg | 2022-11-28 20:04 | 7.0K | |
| Polestar-3-bak-50x50.jpg | 2022-11-28 19:46 | 7.0K | |
| Polestar-3-bak-hoeyre-50x50.jpg | 2022-11-28 19:43 | 7.0K | |
| Toyota-bZ4X-lader-fokseroed-front-fokus-pakka-50x50.jpg | 2022-11-26 15:24 | 7.0K | |
| Hyundai-IONIQ-6-side-venstre-bak-50x50.jpg | 2022-11-23 12:33 | 7.0K | |
| Toyota-bZ4X-fm-instilling-cruise-50x50.jpg | 2022-11-26 14:40 | 7.0K | |
| Toyota-bZ4X-under-null-ladet-til-100-pros-og-67.15kWt-50x50.jpg | 2022-11-26 13:28 | 7.0K | |
| Toyota-bZ4X-Toyota-Norge-front-hoeyre-50x50.jpg | 2022-11-26 12:48 | 7.0K | |
| Toyota-bZ4X-trippel-amfi-med-3-testere-50x50.jpg | 2022-11-26 13:43 | 7.0K | |
| b28-150x150.jpg | 2022-11-11 13:39 | 7.0K | |
| b9-160x120.jpg | 2022-11-11 13:39 | 7.0K | |
| Toyota-bZ4X-under-null-uakseptabel-lav-hastighet-over-80-pros-50x50.jpg | 2022-11-26 13:25 | 6.9K | |
| Toyota-bZ4X-slette-side-hoeyre-front-50x50.jpg | 2022-11-26 12:57 | 6.9K | |
| b27-160x120.jpg | 2022-11-11 13:39 | 6.9K | |
| Hyundai-IONIQ-6-side-venstre-front-50x50.jpg | 2022-11-23 11:45 | 6.9K | |
| Hyundai-IONIQ-6-fm-knapper-midtkonsoll-50x50.jpg | 2022-11-23 12:18 | 6.9K | |
| Hyundai-IONIQ-6-bak-50x50.jpg | 2022-11-23 12:09 | 6.9K | |
| Toyota-bZ4X-bru-front-low-50x50.jpg | 2022-11-26 13:00 | 6.9K | |
| Hyundai-IONIQ-6-bak-venstre-50x50.jpg | 2022-11-23 11:49 | 6.9K | |
| Hyundai-IONIQ-6-bak-hoeyre-50x50.jpg | 2022-11-23 12:50 | 6.9K | |
| Toyota-bZ4X-under-null-laderen-sjeldent-bilde-50x50.jpg | 2022-11-26 13:19 | 6.9K | |
| Toyota-bZ4X-fm-instilling-cruise-kurve-50x50.jpg | 2022-11-26 14:39 | 6.9K | |
| Polestar-3-bagasjerom-50x50.jpg | 2022-11-28 19:59 | 6.9K | |
| Toyota-bZ4X-sletta-regn-front-venstre-50x50.jpg | 2022-11-26 13:05 | 6.9K | |
| Polestar-3-front-litt-venstre-50x50.jpg | 2022-11-28 19:39 | 6.9K | |
| b25-150x150.jpg | 2022-11-11 13:39 | 6.9K | |
| Polestar-3-front-Smart-Zone-detalj-50x50.jpg | 2022-11-28 20:35 | 6.9K | |
| Polestar-3-frunk-lokk-aapent-50x50.jpg | 2022-11-28 21:05 | 6.9K | |
| b13-150x150.jpg | 2022-11-11 13:39 | 6.9K | |
| Polestar-3-front-50x50.jpg | 2022-11-28 20:11 | 6.9K | |
| Ford-Ranger-Raptor-soloppgang-side-hoeyre-avstand-god-utsikt-50x50.jpg | 2022-11-30 11:26 | 6.8K | |
| Polestar-3-foererdoer-detalj-vindusheiser-og-doeraapner-50x50.jpg | 2022-11-28 20:05 | 6.8K | |
| b-sist-150x150.jpg | 2022-11-11 13:38 | 6.8K | |
| Polestar-3-fm-Bowers-Wilkins-dashborddetalj-50x50.jpg | 2022-11-28 20:27 | 6.8K | |
| Toyota-bZ4X-vann-rett-v-evje-taake-side-hoeyre-front-50x50.jpg | 2022-11-26 15:29 | 6.8K | |
| b19-160x120.jpg | 2022-11-11 13:39 | 6.7K | |
| b15-150x150.jpg | 2022-11-11 13:39 | 6.7K | |
| Polestar-3-foerersete-informasjon-i-setet-50x50.jpg | 2022-11-28 20:09 | 6.7K | |
| b1-150x150.jpg | 2022-11-11 13:38 | 6.7K | |
| b16-150x150.jpg | 2022-11-11 13:39 | 6.6K | |
| b14-150x150.jpg | 2022-11-11 13:39 | 6.6K | |
| b17-150x150.jpg | 2022-11-11 13:39 | 6.6K | |
| Hyundai-IONIQ-6-bagasjerom-50x50.jpg | 2022-11-23 12:12 | 6.6K | |
| b3-150x150.jpg | 2022-11-11 13:38 | 6.4K | |
| b21-150x150.jpg | 2022-11-11 13:39 | 6.4K | |
| b6-150x150.jpg | 2022-11-11 13:38 | 6.4K | |
| b24-160x120.jpg | 2022-11-11 13:39 | 6.4K | |
| b8-160x120.jpg | 2022-11-11 13:39 | 6.3K | |
| b-eksos-150x150.jpg | 2022-11-11 13:38 | 6.3K | |
| b24-150x150.jpg | 2022-11-11 13:39 | 6.3K | |
| b15-160x120.jpg | 2022-11-11 13:39 | 6.3K | |
| b13-160x120.jpg | 2022-11-11 13:39 | 6.2K | |
| b14-160x120.jpg | 2022-11-11 13:39 | 6.2K | |
| b5-150x150.jpg | 2022-11-11 13:38 | 6.2K | |
| b2-160x120.jpg | 2022-11-11 13:38 | 6.1K | |
| b28-160x120.jpg | 2022-11-11 13:39 | 6.1K | |
| b1-160x120.jpg | 2022-11-11 13:38 | 6.0K | |
| b17-160x120.jpg | 2022-11-11 13:39 | 6.0K | |
| b16-160x120.jpg | 2022-11-11 13:39 | 6.0K | |
| b18-150x150.jpg | 2022-11-11 13:39 | 6.0K | |
| b-eksos-160x120.jpg | 2022-11-11 13:38 | 5.8K | |
| b21-160x120.jpg | 2022-11-11 13:39 | 5.8K | |
| prisliste-150x150.png | 2022-11-23 12:07 | 5.8K | |
| b25-160x120.jpg | 2022-11-11 13:39 | 5.8K | |
| b-sist-160x120.jpg | 2022-11-11 13:38 | 5.7K | |
| b9.1-150x150.jpg | 2022-11-11 13:39 | 5.7K | |
| b6-160x120.jpg | 2022-11-11 13:38 | 5.6K | |
| b10-150x150.jpg | 2022-11-11 13:39 | 5.6K | |
| b5-160x120.jpg | 2022-11-11 13:38 | 5.6K | |
| b20-150x150.jpg | 2022-11-11 13:39 | 5.5K | |
| b4-150x150.jpg | 2022-11-11 13:38 | 5.5K | |
| b3-160x120.jpg | 2022-11-11 13:38 | 5.3K | |
| b18-160x120.jpg | 2022-11-11 13:39 | 5.3K | |
| b23-150x150.jpg | 2022-11-11 13:39 | 5.2K | |
| b9.1-160x120.jpg | 2022-11-11 13:39 | 5.1K | |
| b10-160x120.jpg | 2022-11-11 13:39 | 5.0K | |
| b7-150x150.jpg | 2022-11-11 13:39 | 5.0K | |
| b20-160x120.jpg | 2022-11-11 13:39 | 5.0K | |
| b29-150x150.jpg | 2022-11-11 13:39 | 4.9K | |
| b11-150x150.jpg | 2022-11-11 13:39 | 4.8K | |
| b11-160x120.jpg | 2022-11-11 13:39 | 4.7K | |
| b23-160x120.jpg | 2022-11-11 13:39 | 4.7K | |
| b22-150x150.jpg | 2022-11-11 13:39 | 4.7K | |
| joey-banks-YApiWyp0lqo-unsplash-150x150.jpg | 2022-11-23 09:22 | 4.6K | |
| b4-160x120.jpg | 2022-11-11 13:38 | 4.5K | |
| b22-160x120.jpg | 2022-11-11 13:39 | 4.4K | |
| b7-160x120.jpg | 2022-11-11 13:39 | 4.3K | |
| prisliste.png | 2022-11-23 12:58 | 4.2K | |
| b29-160x120.jpg | 2022-11-11 13:39 | 4.1K | |
| joey-banks-YApiWyp0lqo-unsplash-160x107.jpg | 2022-11-23 09:22 | 3.7K | |
| b19-50x50.jpg | 2022-11-11 13:39 | 2.1K | |
| b9-50x50.jpg | 2022-11-11 13:39 | 2.0K | |
| b8-50x50.jpg | 2022-11-11 13:39 | 2.0K | |
| b16-50x50.jpg | 2022-11-11 13:39 | 1.9K | |
| b21-50x50.jpg | 2022-11-11 13:39 | 1.9K | |
| b17-50x50.jpg | 2022-11-11 13:39 | 1.9K | |
| b27-50x50.jpg | 2022-11-11 13:39 | 1.9K | |
| b15-50x50.jpg | 2022-11-11 13:39 | 1.8K | |
| b24-50x50.jpg | 2022-11-11 13:39 | 1.8K | |
| b13-50x50.jpg | 2022-11-11 13:39 | 1.8K | |
| b6-50x50.jpg | 2022-11-11 13:38 | 1.8K | |
| b14-50x50.jpg | 2022-11-11 13:39 | 1.8K | |
| b25-50x50.jpg | 2022-11-11 13:39 | 1.8K | |
| b5-50x50.jpg | 2022-11-11 13:38 | 1.8K | |
| b1-50x50.jpg | 2022-11-11 13:38 | 1.8K | |
| b28-50x50.jpg | 2022-11-11 13:39 | 1.8K | |
| b2-50x50.jpg | 2022-11-11 13:38 | 1.7K | |
| b18-50x50.jpg | 2022-11-11 13:39 | 1.7K | |
| b10-50x50.jpg | 2022-11-11 13:39 | 1.7K | |
| b9.1-50x50.jpg | 2022-11-11 13:39 | 1.7K | |
| b20-50x50.jpg | 2022-11-11 13:39 | 1.7K | |
| b-sist-50x50.jpg | 2022-11-11 13:38 | 1.7K | |
| b3-50x50.jpg | 2022-11-11 13:38 | 1.7K | |
| b-eksos-50x50.jpg | 2022-11-11 13:38 | 1.7K | |
| b22-50x50.jpg | 2022-11-11 13:39 | 1.7K | |
| b23-50x50.jpg | 2022-11-11 13:39 | 1.7K | |
| b11-50x50.jpg | 2022-11-11 13:39 | 1.5K | |
| b4-50x50.jpg | 2022-11-11 13:38 | 1.5K | |
| b29-50x50.jpg | 2022-11-11 13:39 | 1.5K | |
| b7-50x50.jpg | 2022-11-11 13:39 | 1.5K | |
| joey-banks-YApiWyp0lqo-unsplash-50x50.jpg | 2022-11-23 09:22 | 1.2K | |
| prisliste-50x50.png | 2022-11-23 12:07 | 1.1K | |
|
|---|
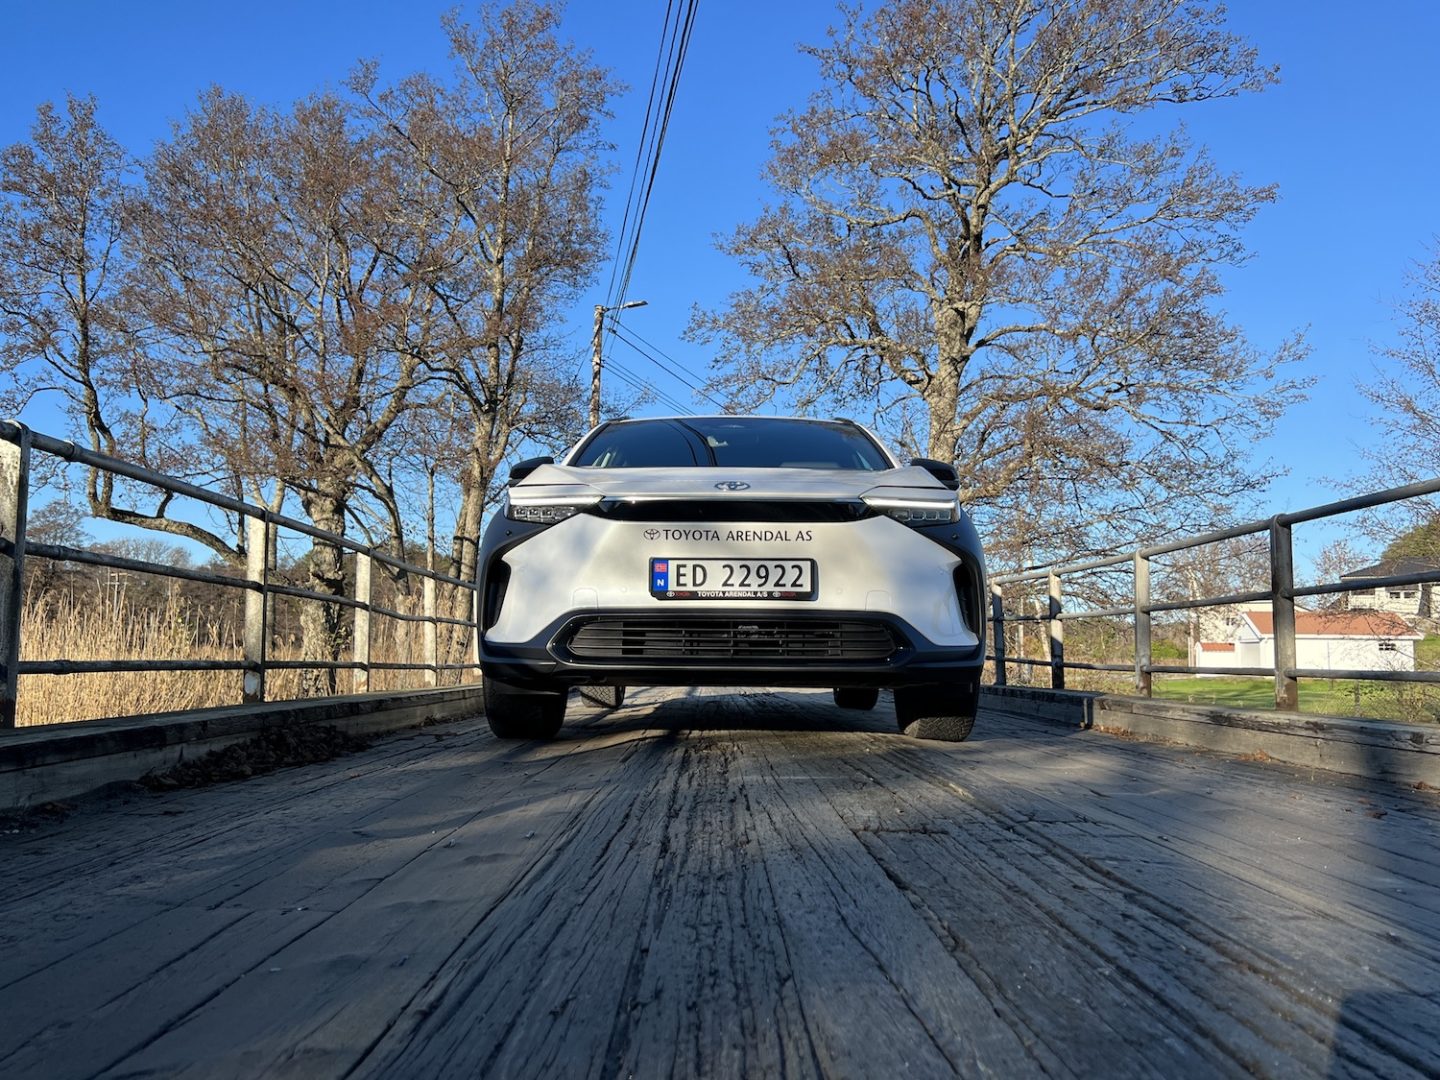
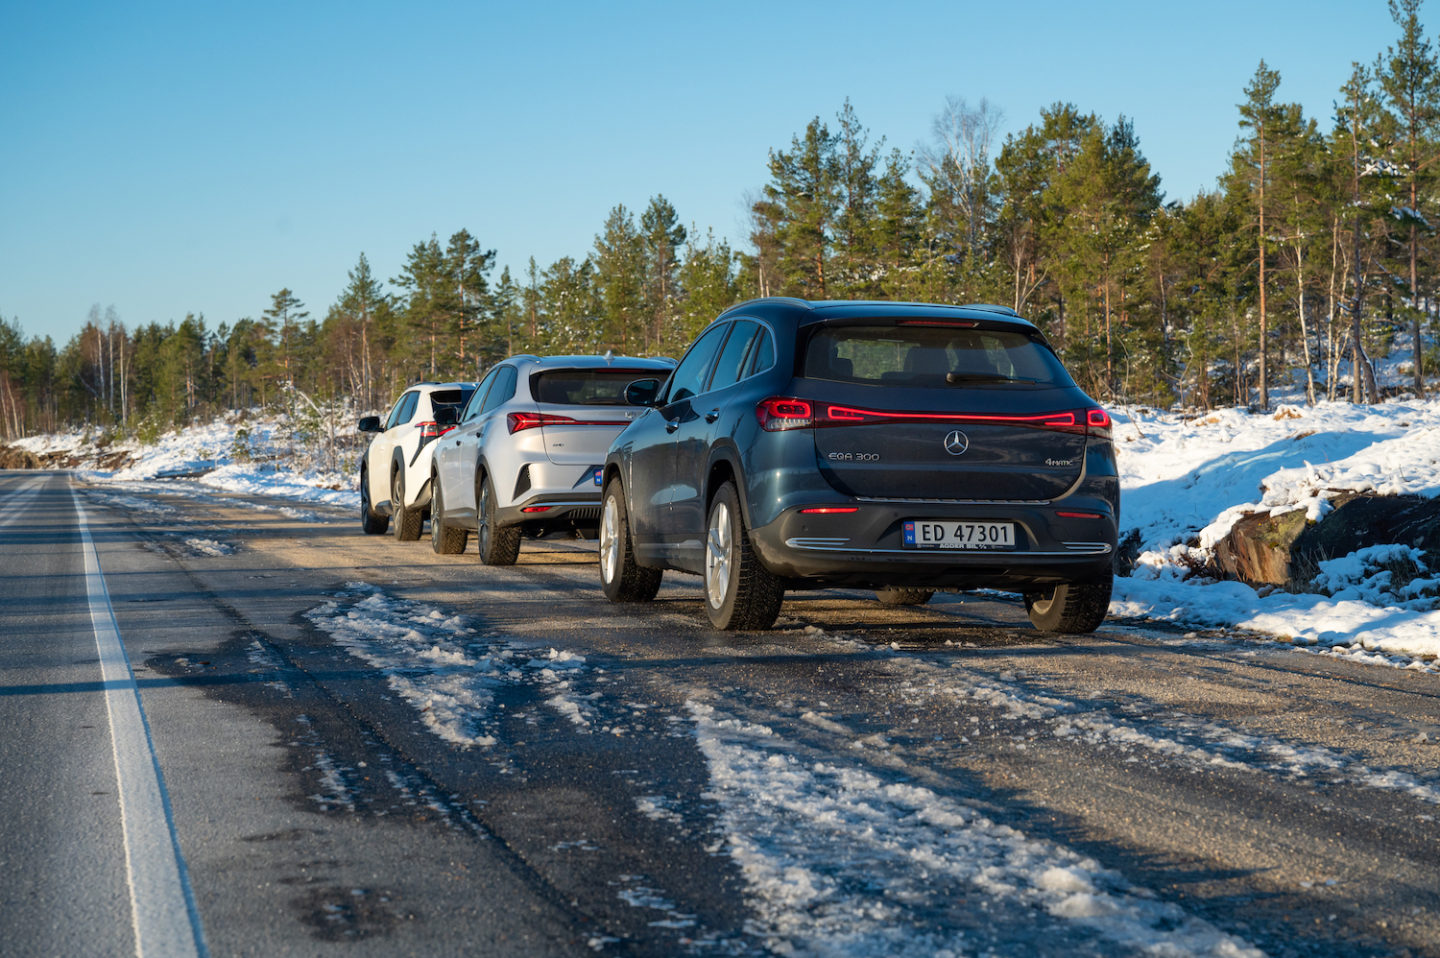
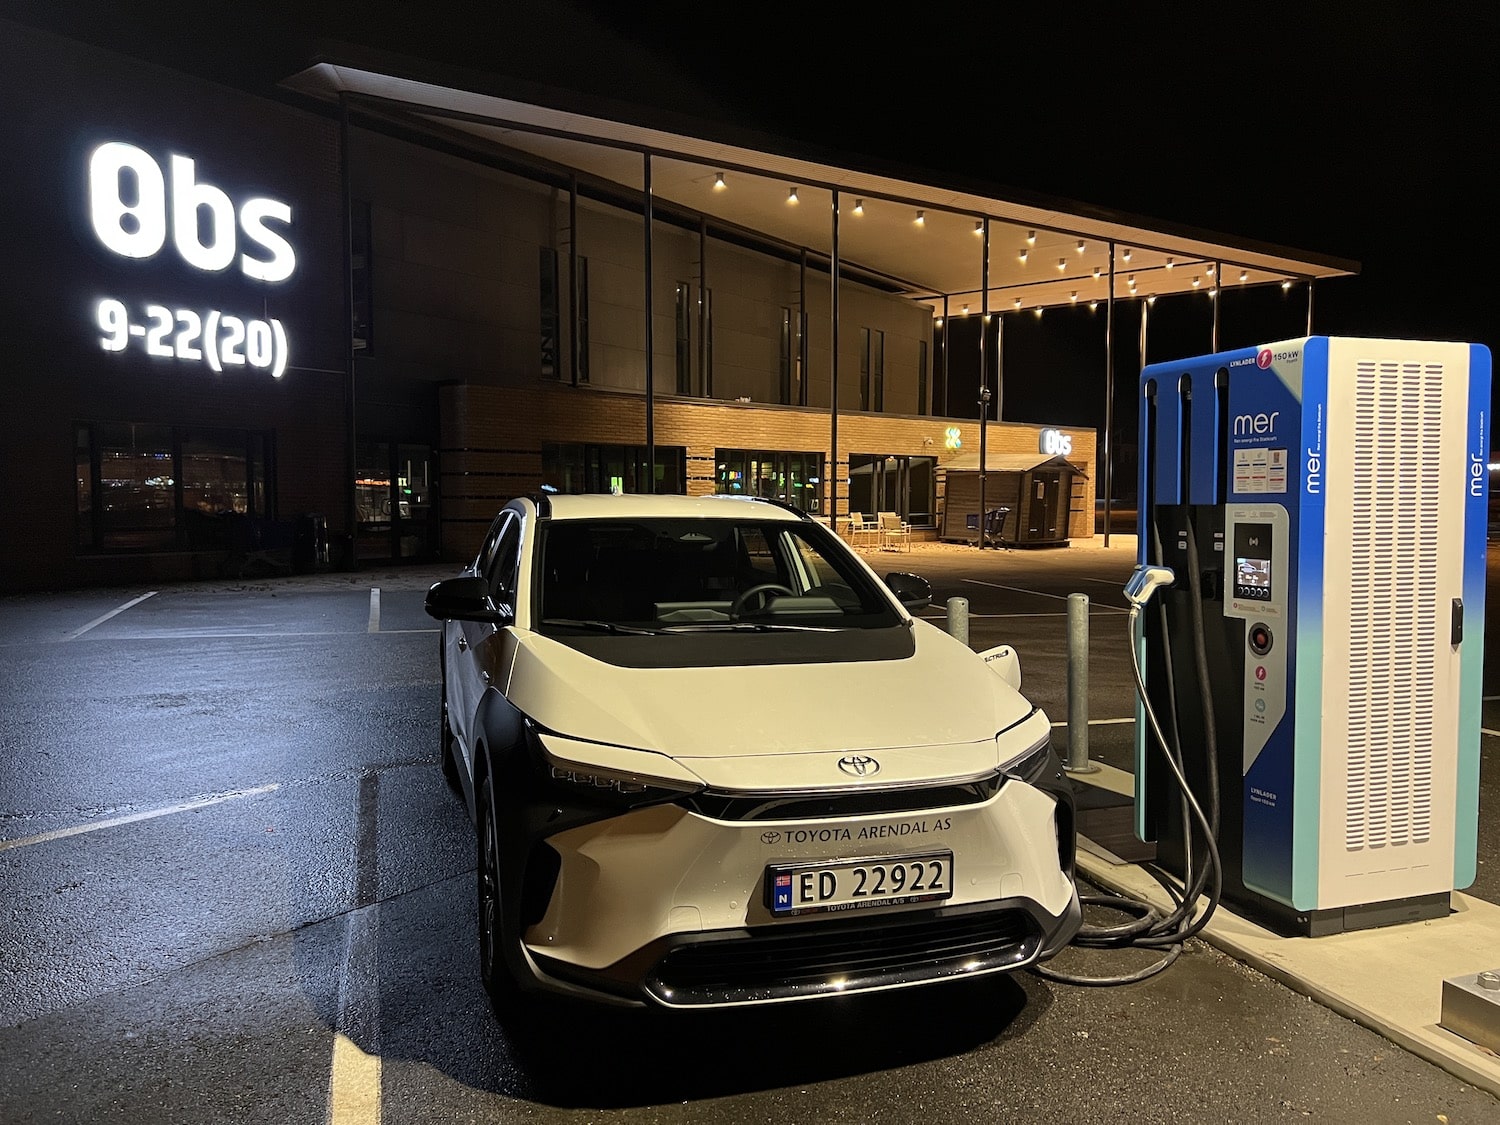
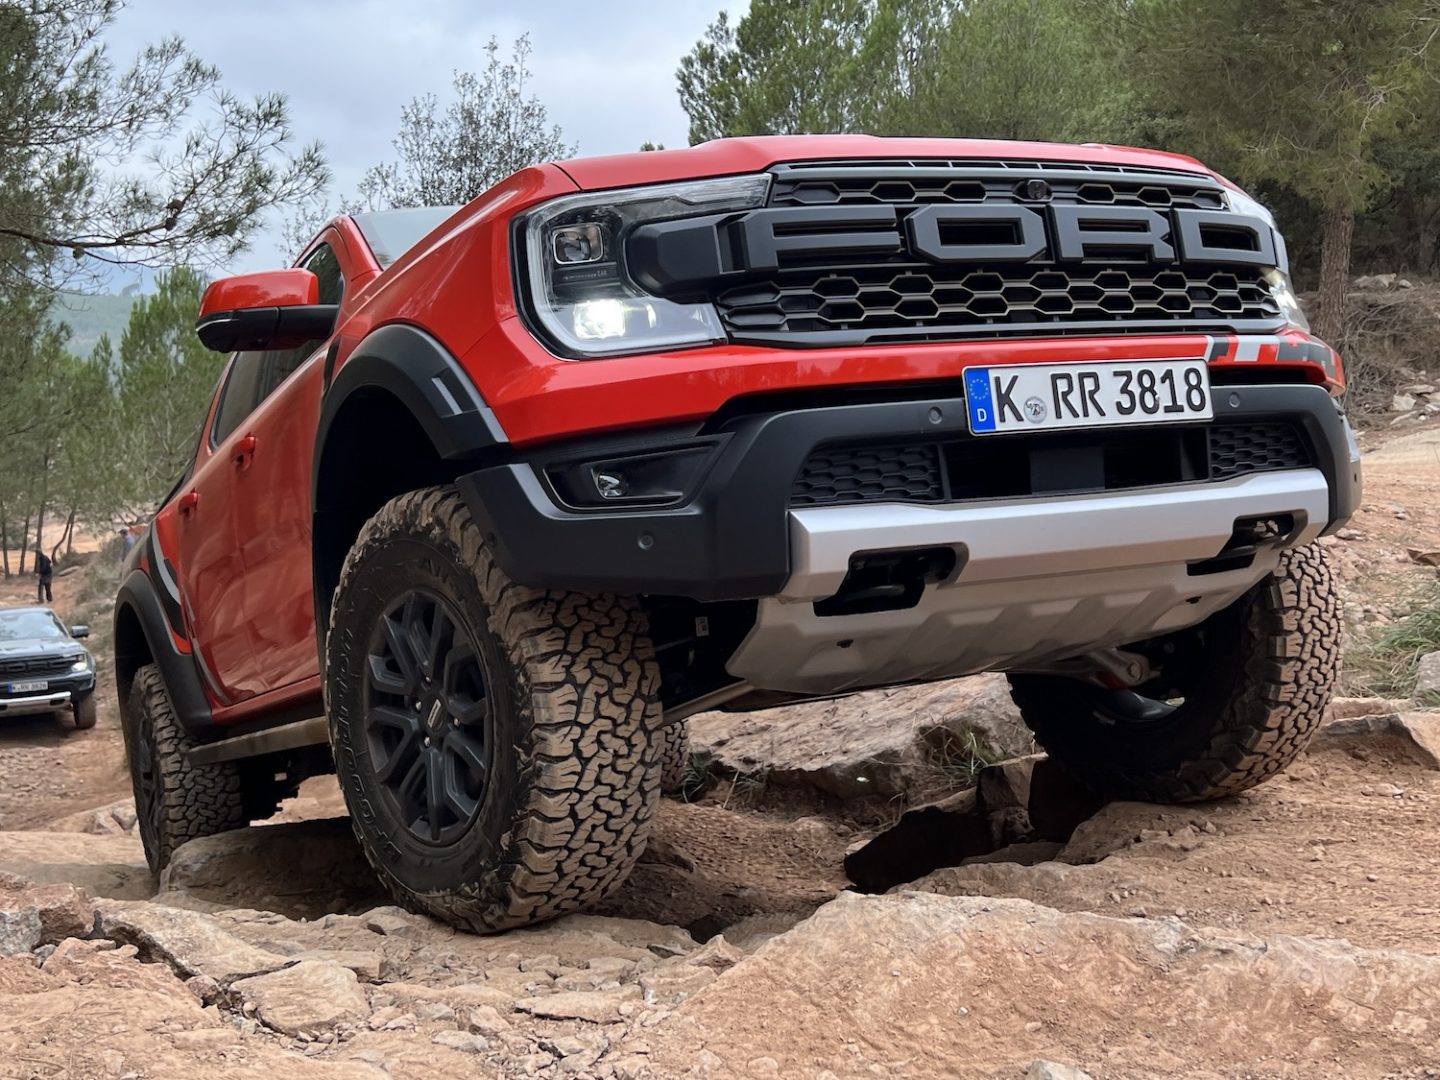
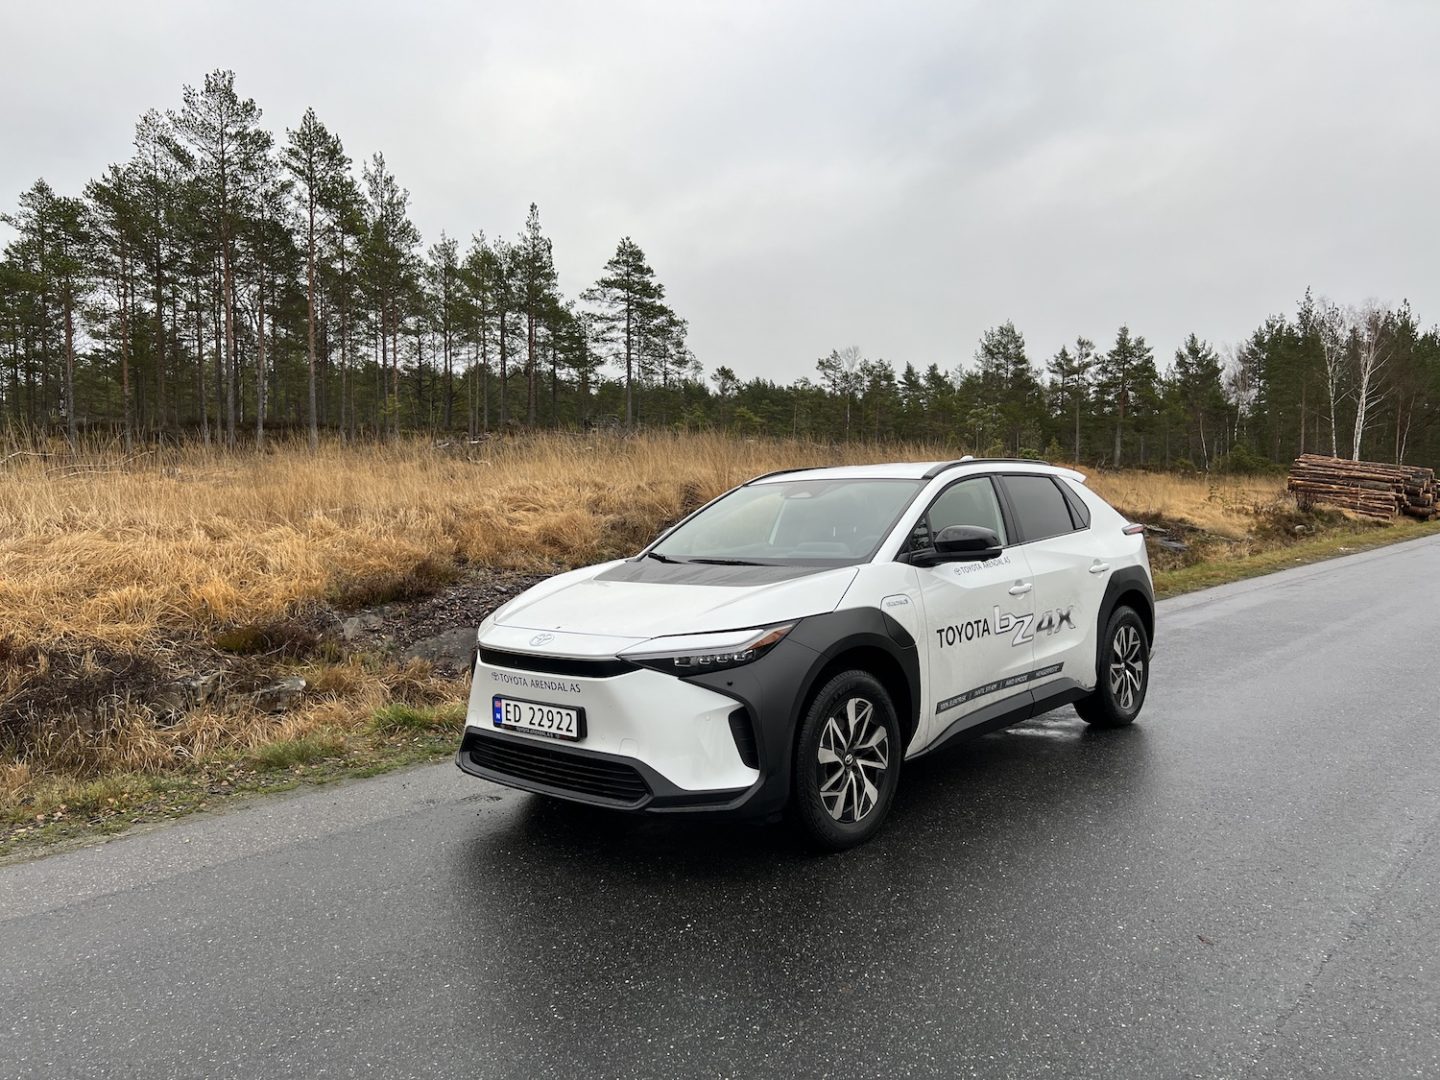
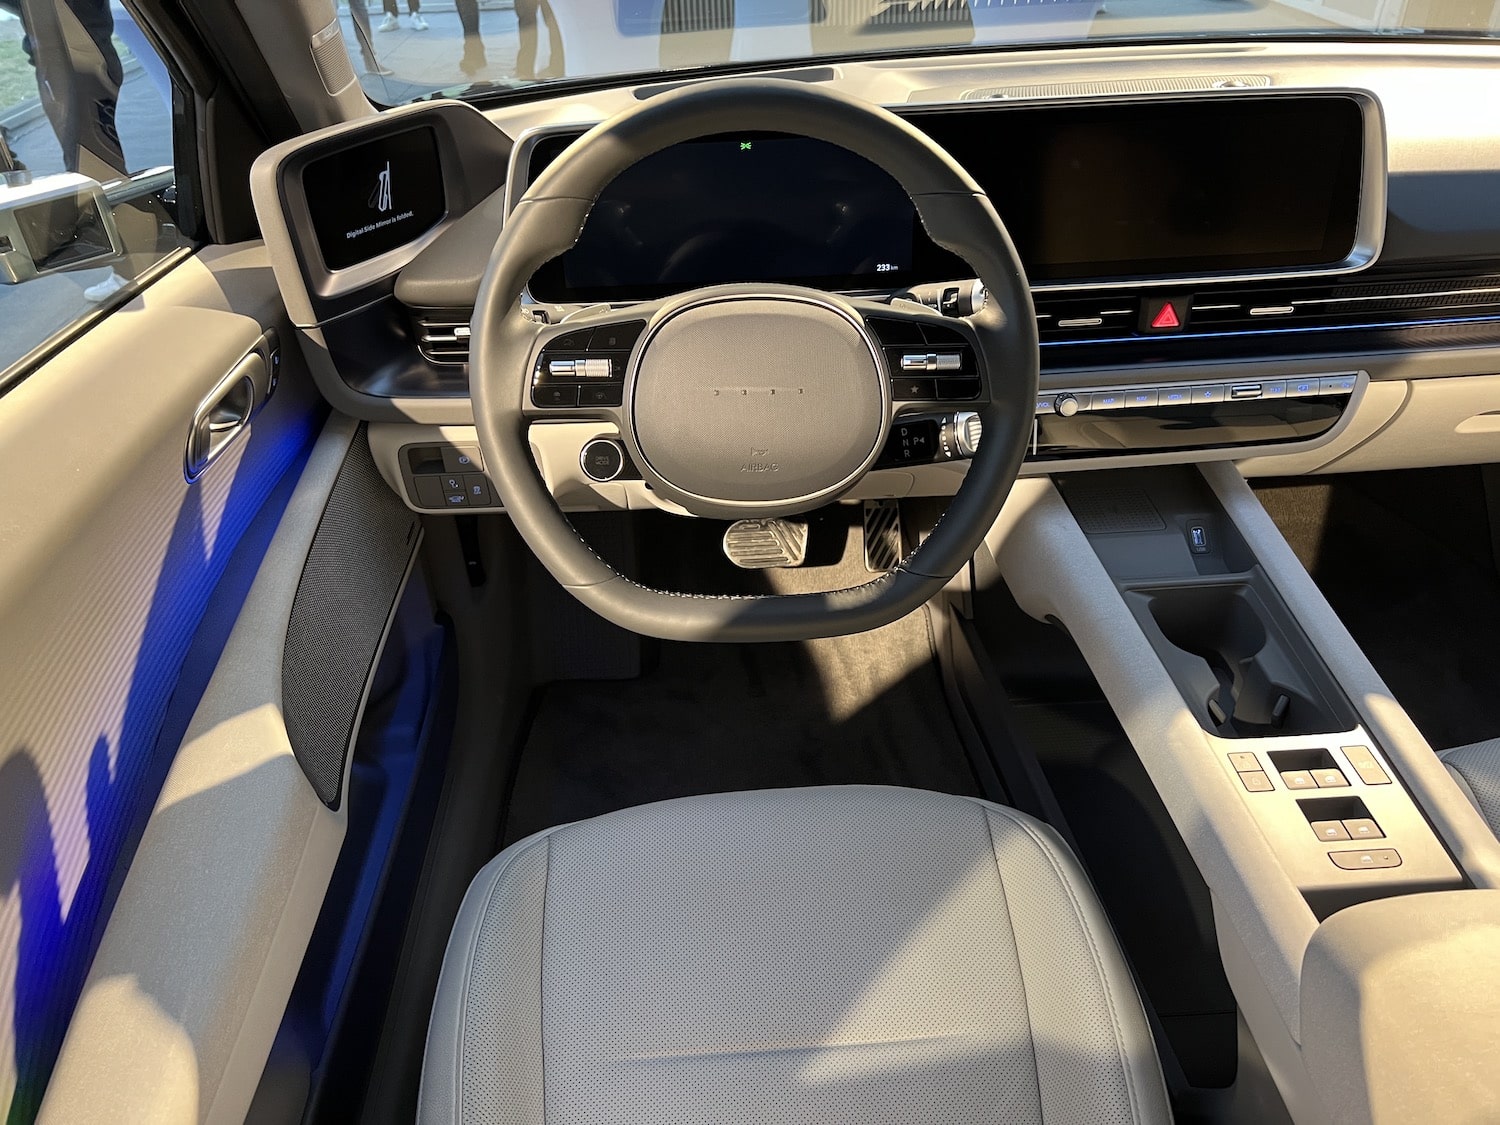
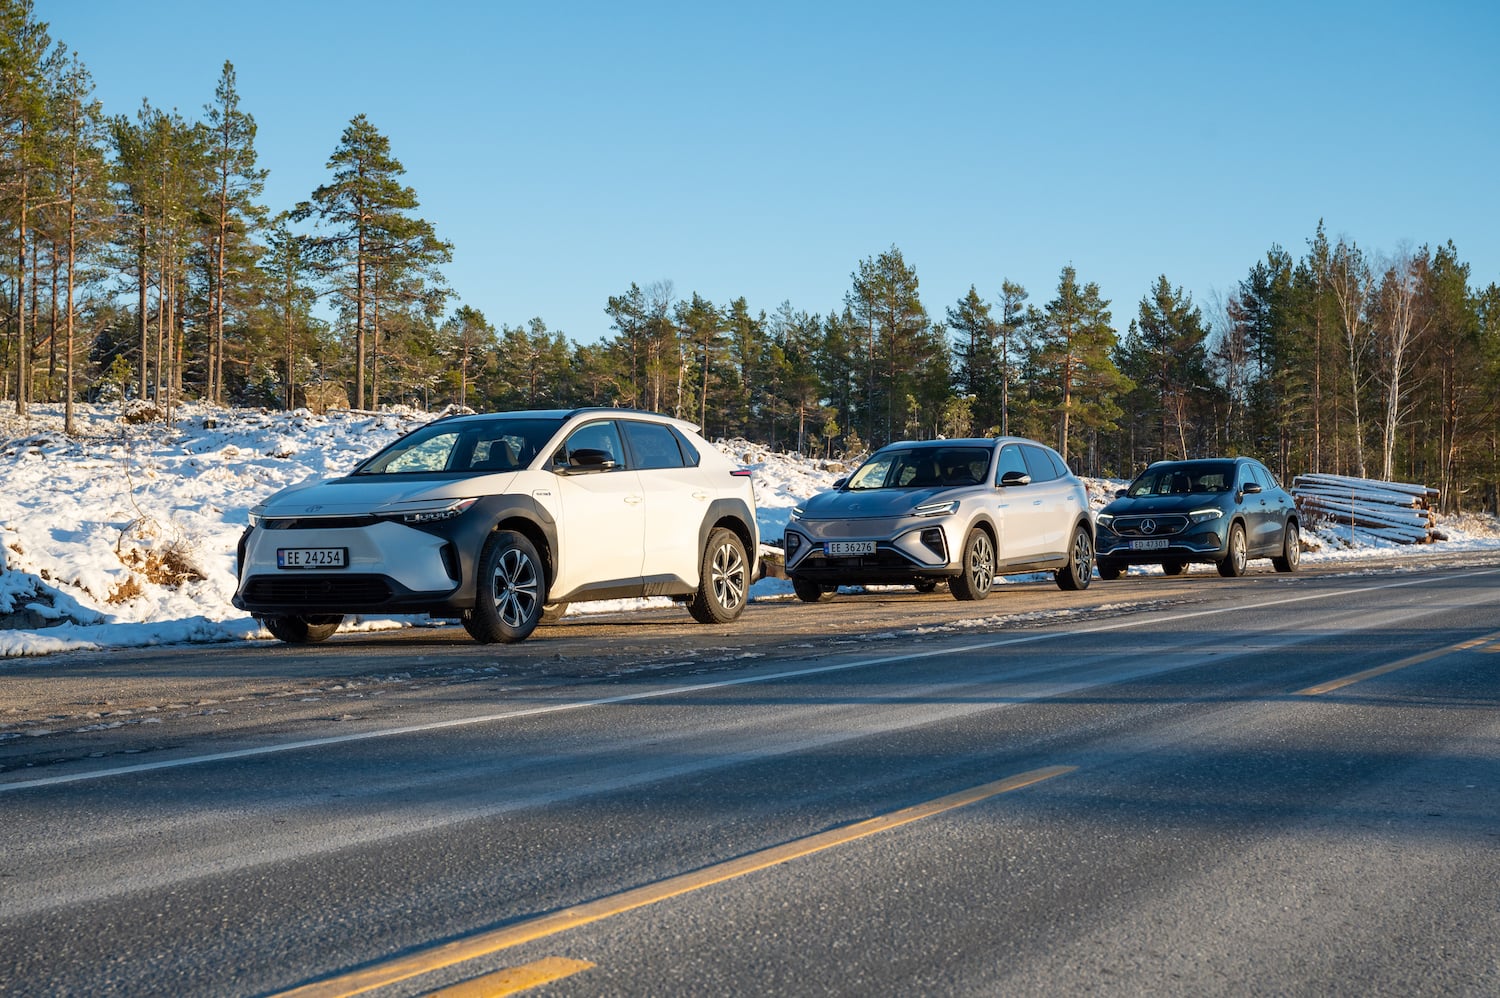
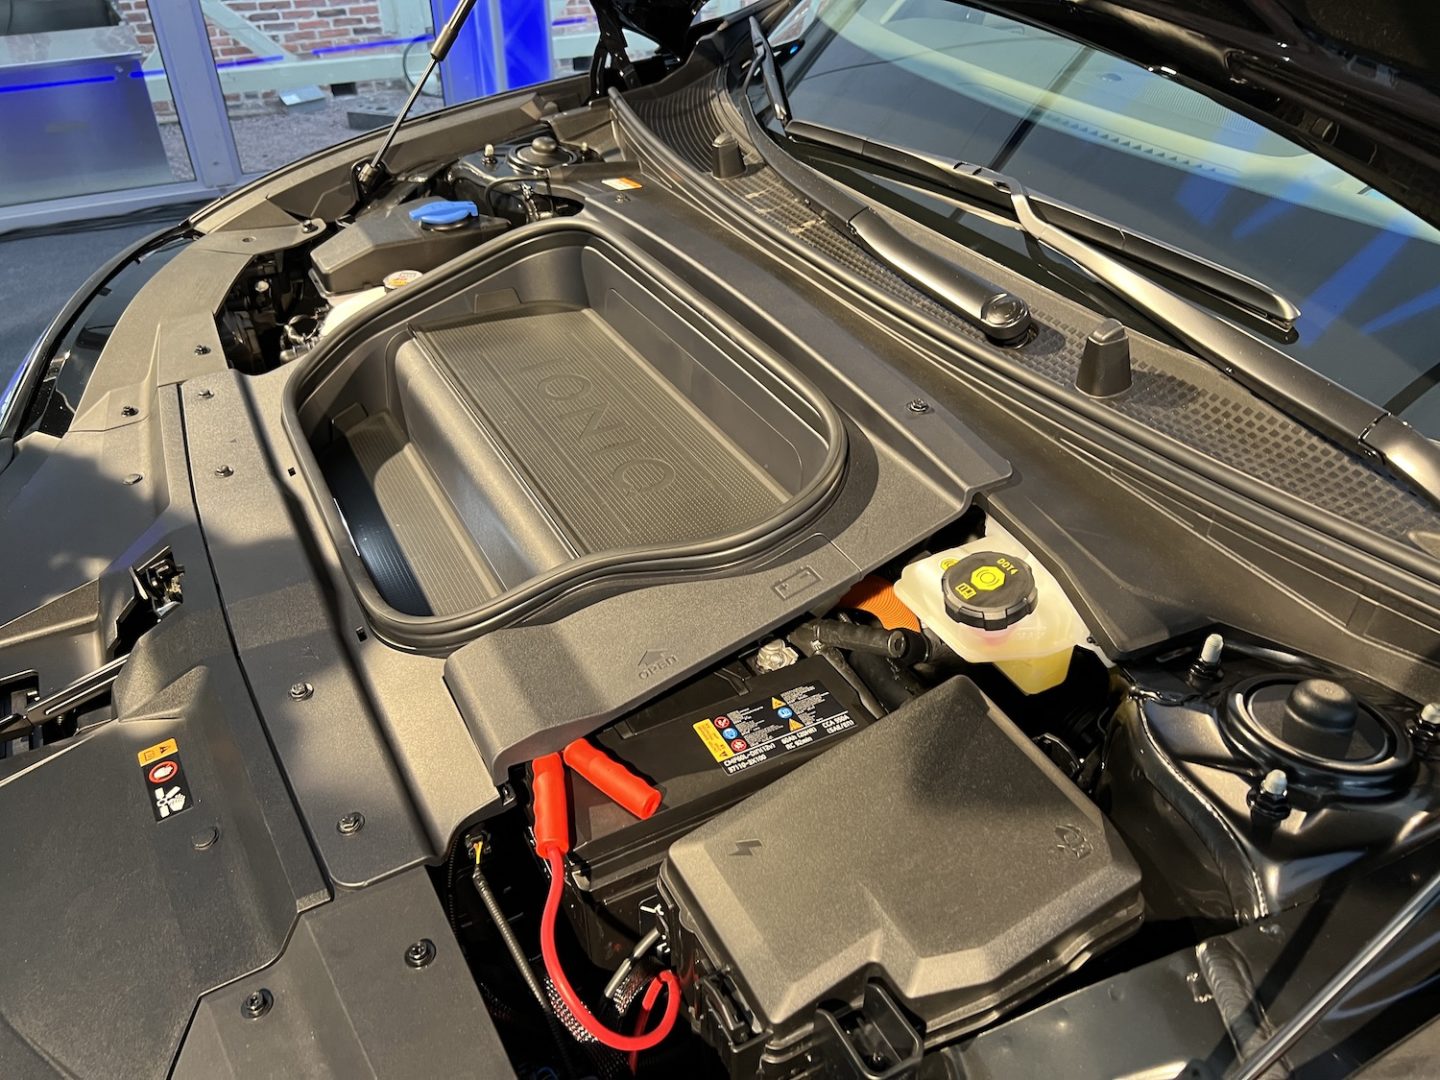
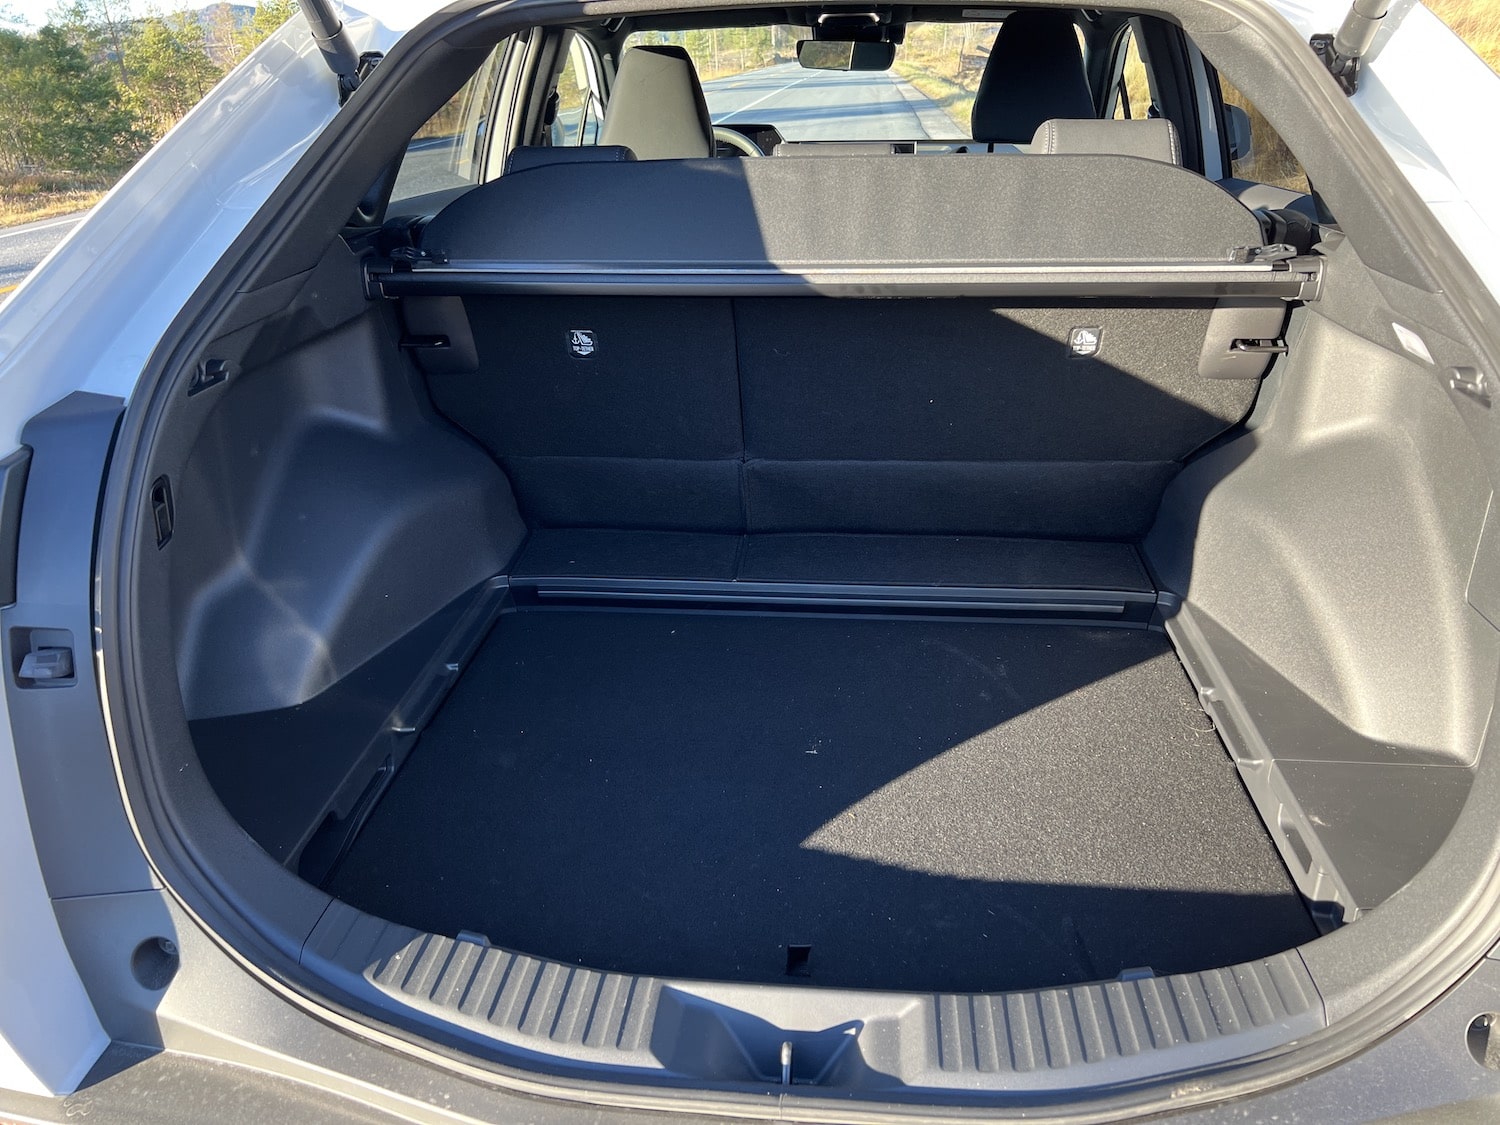
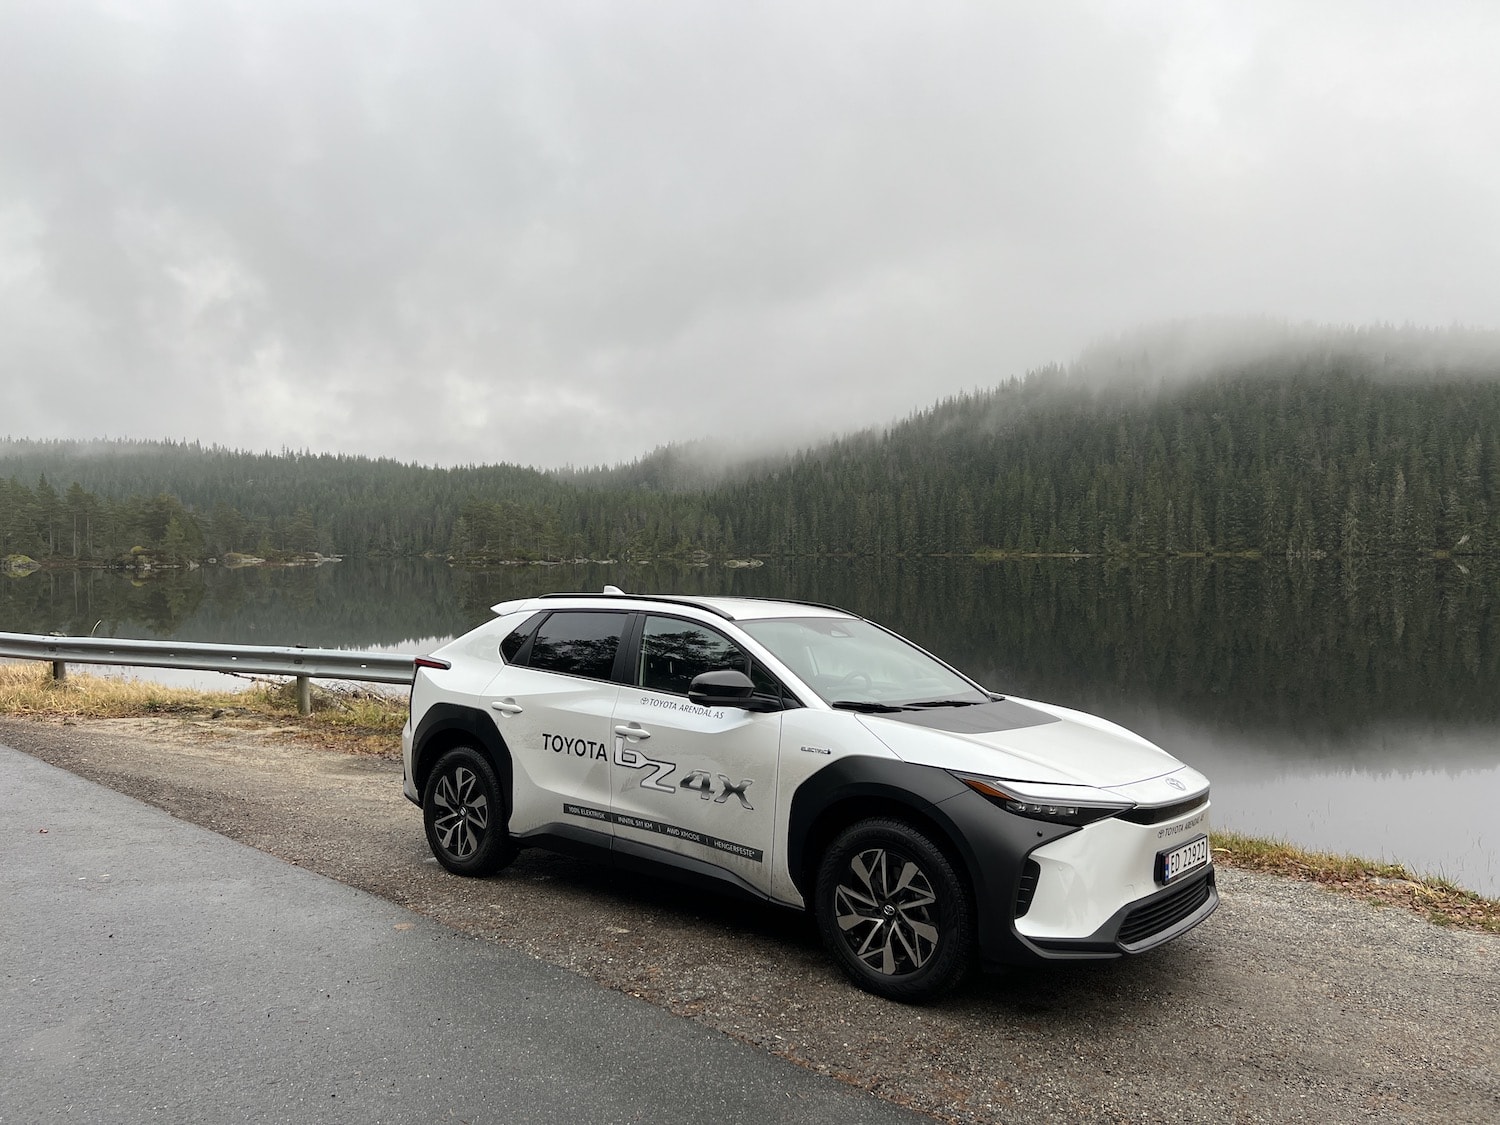
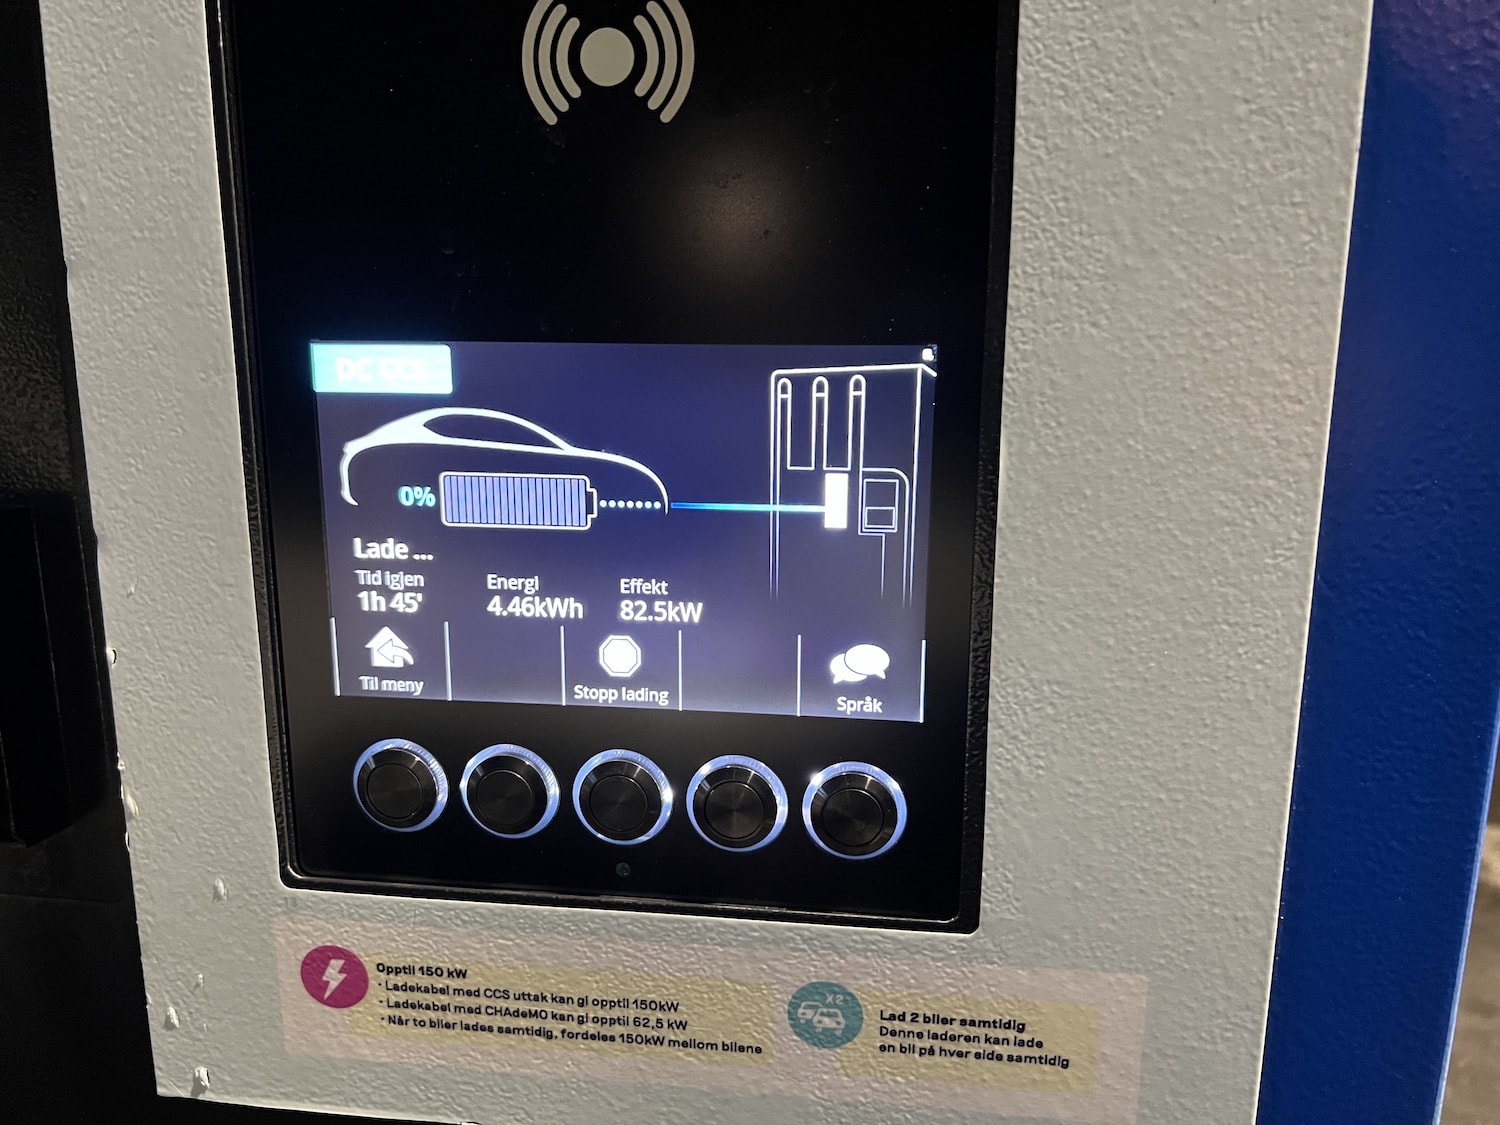
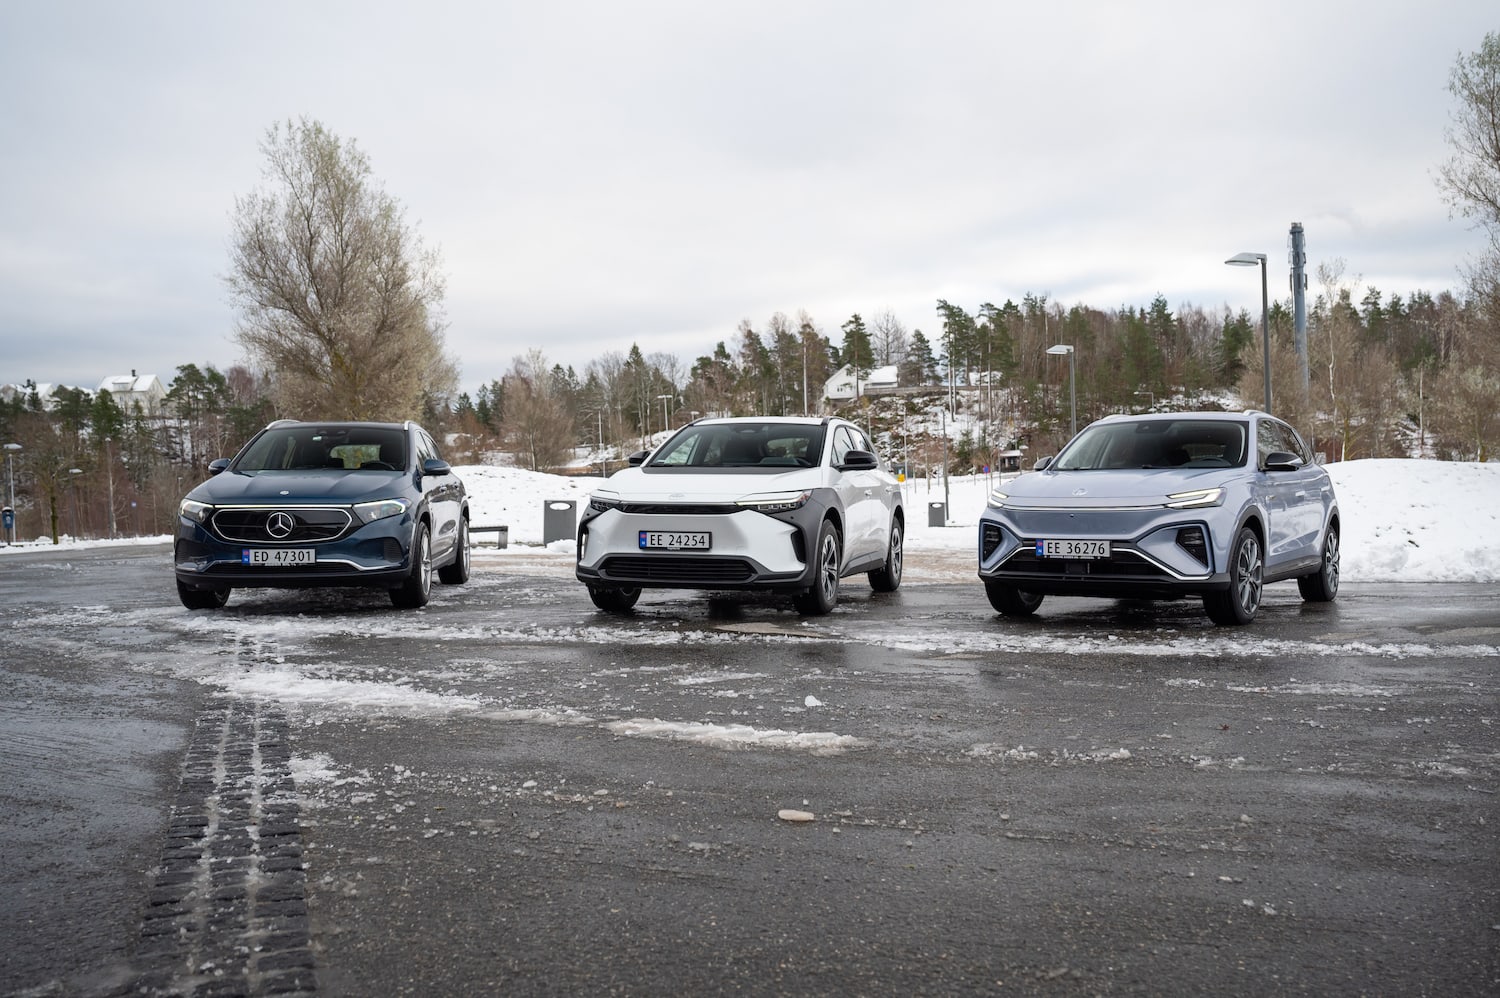
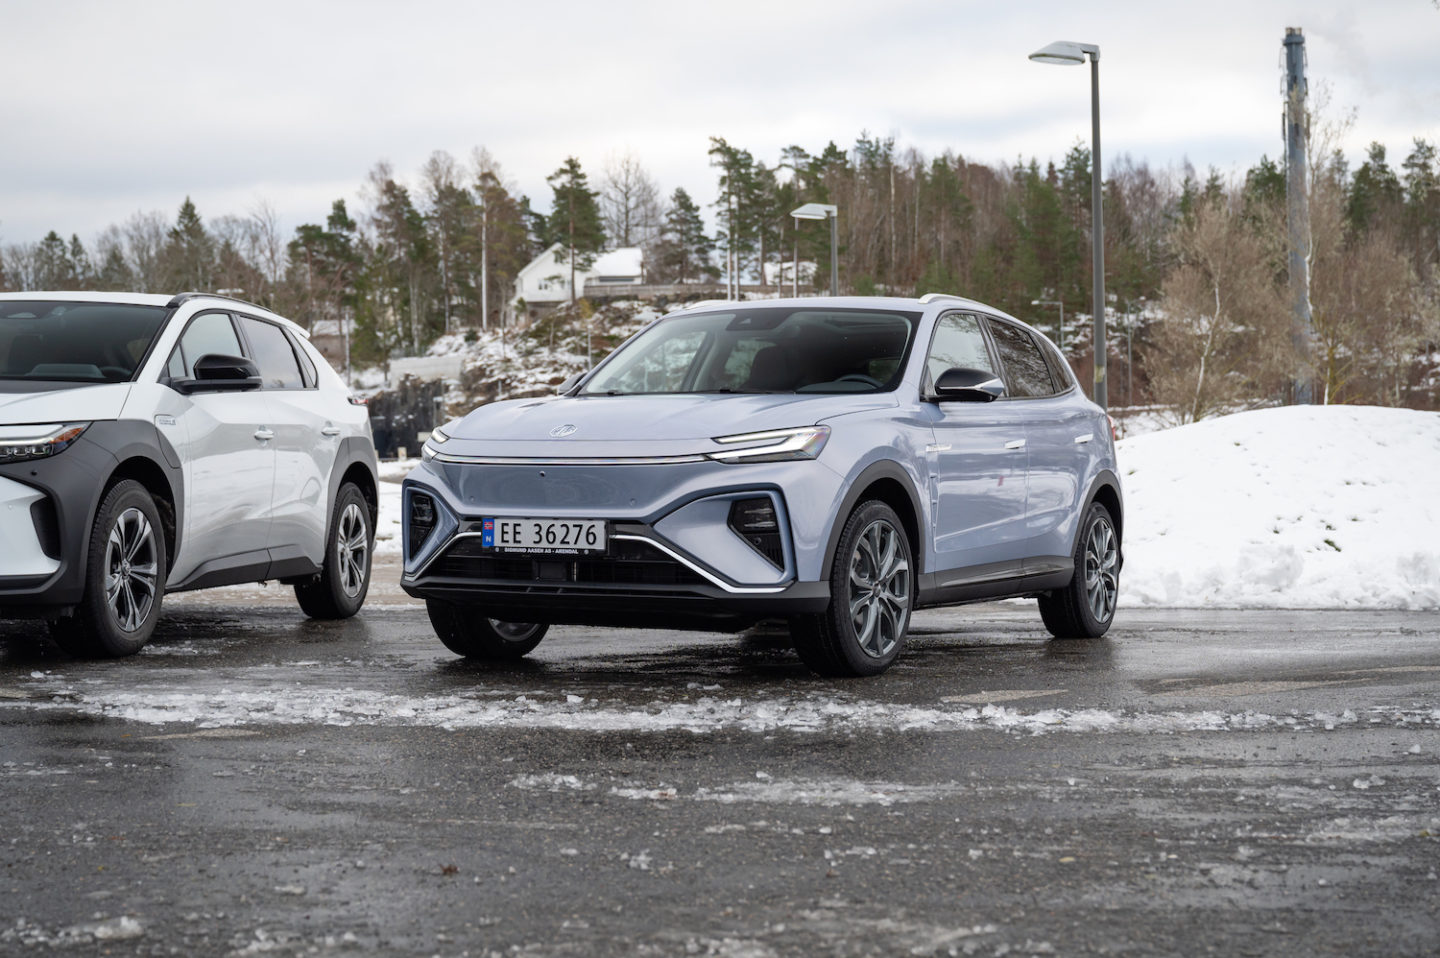
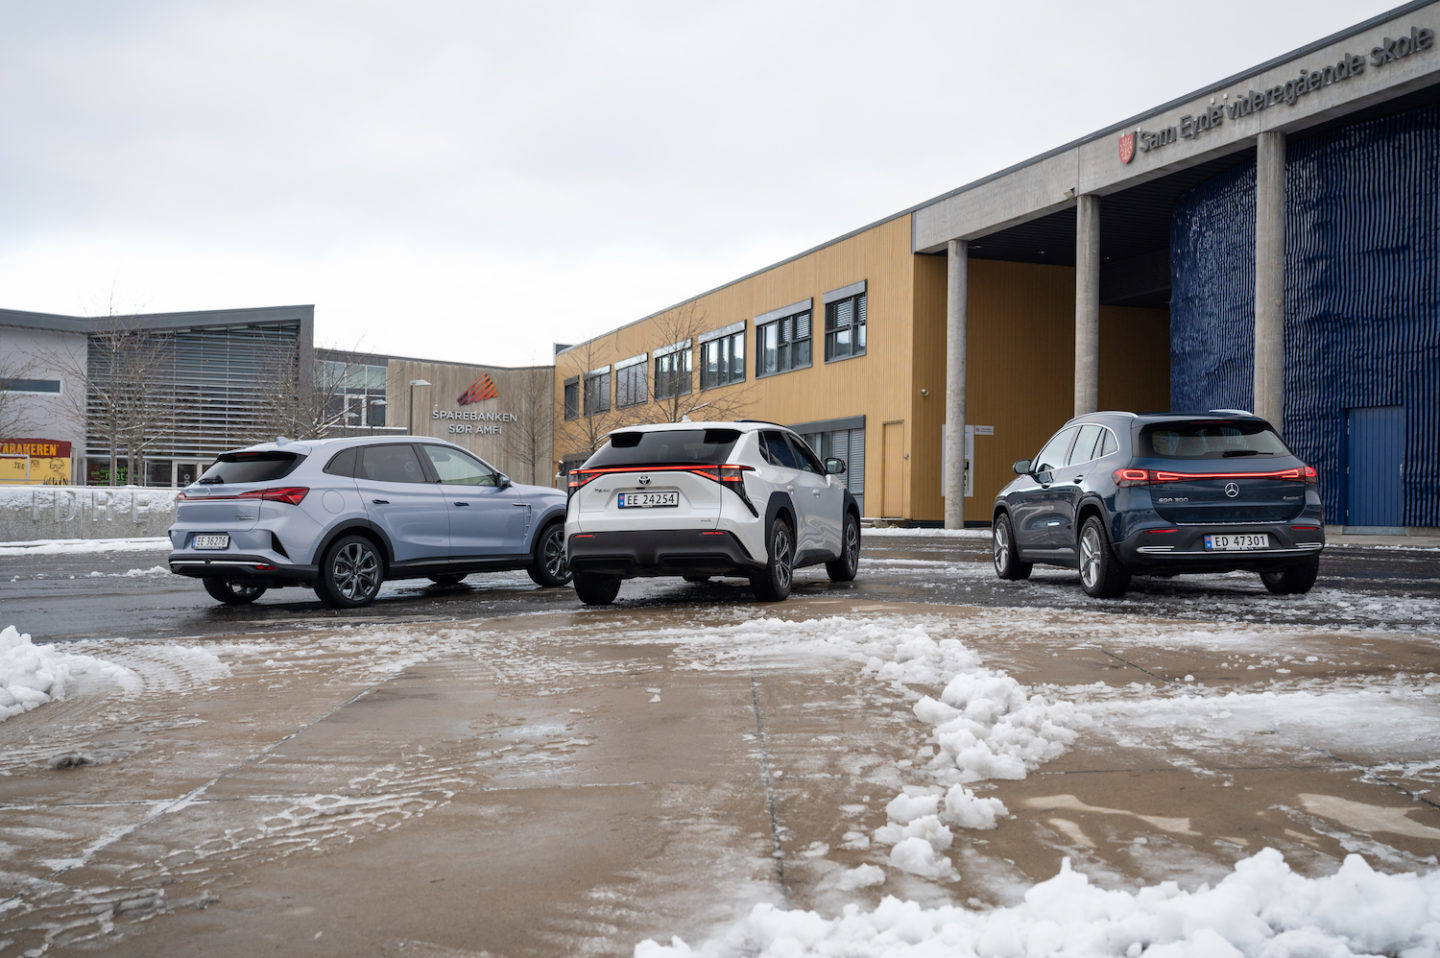
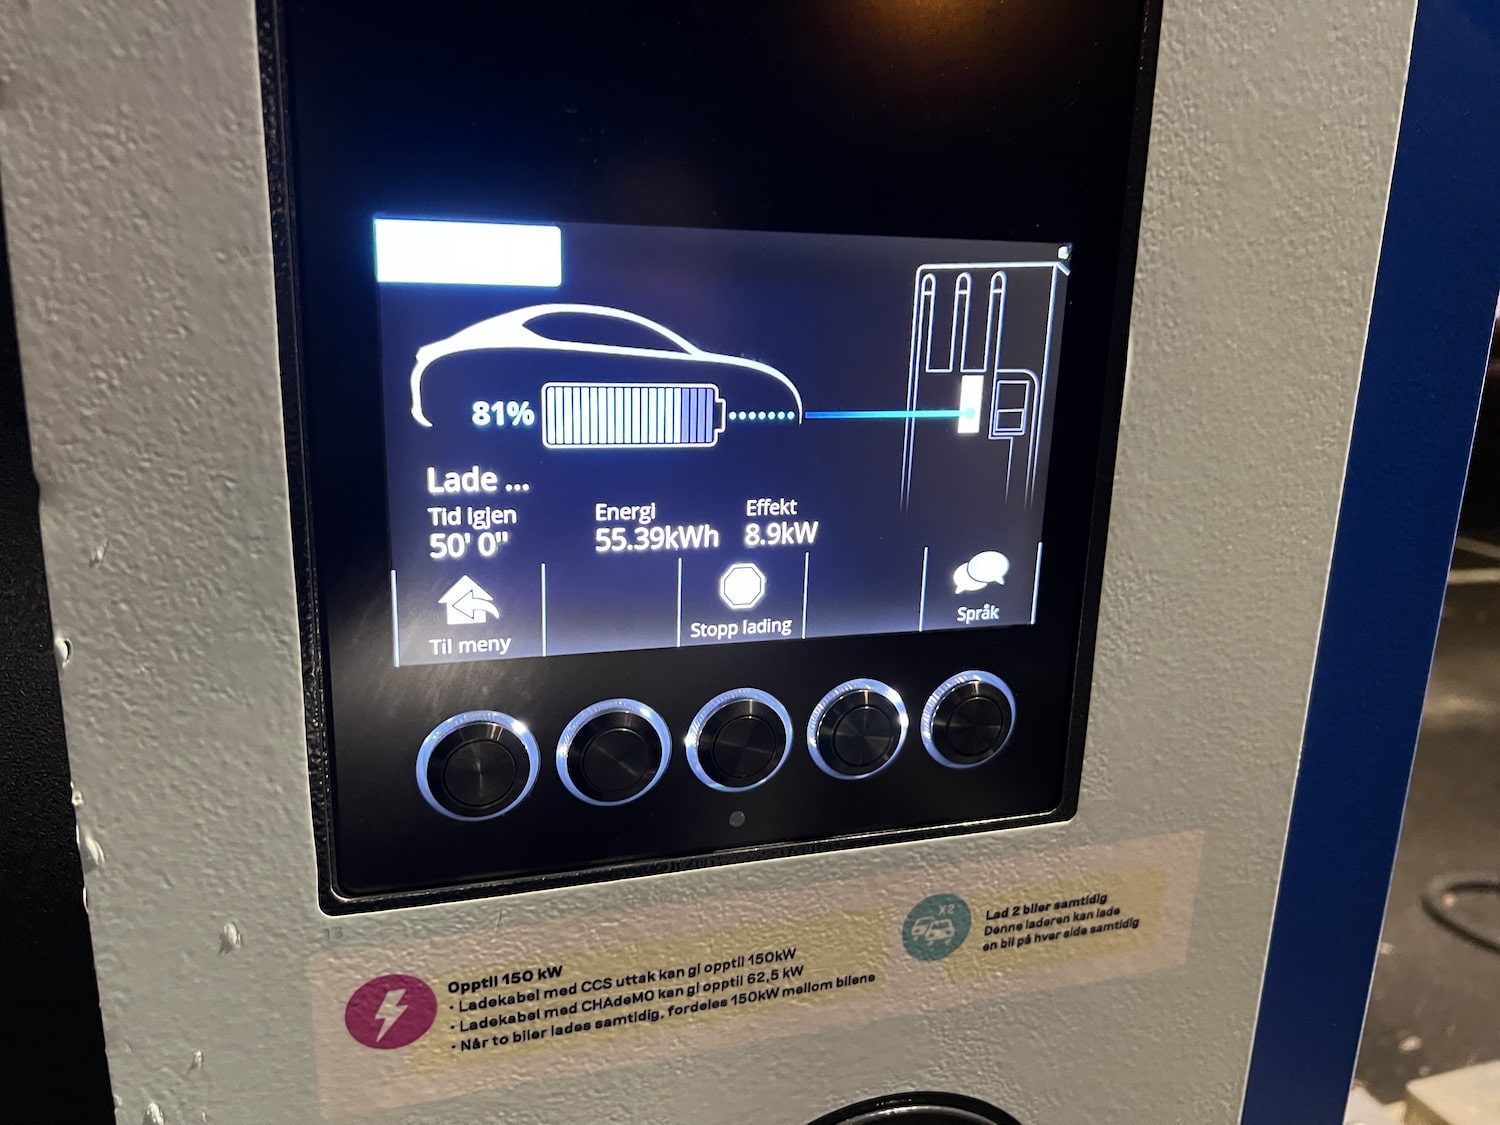
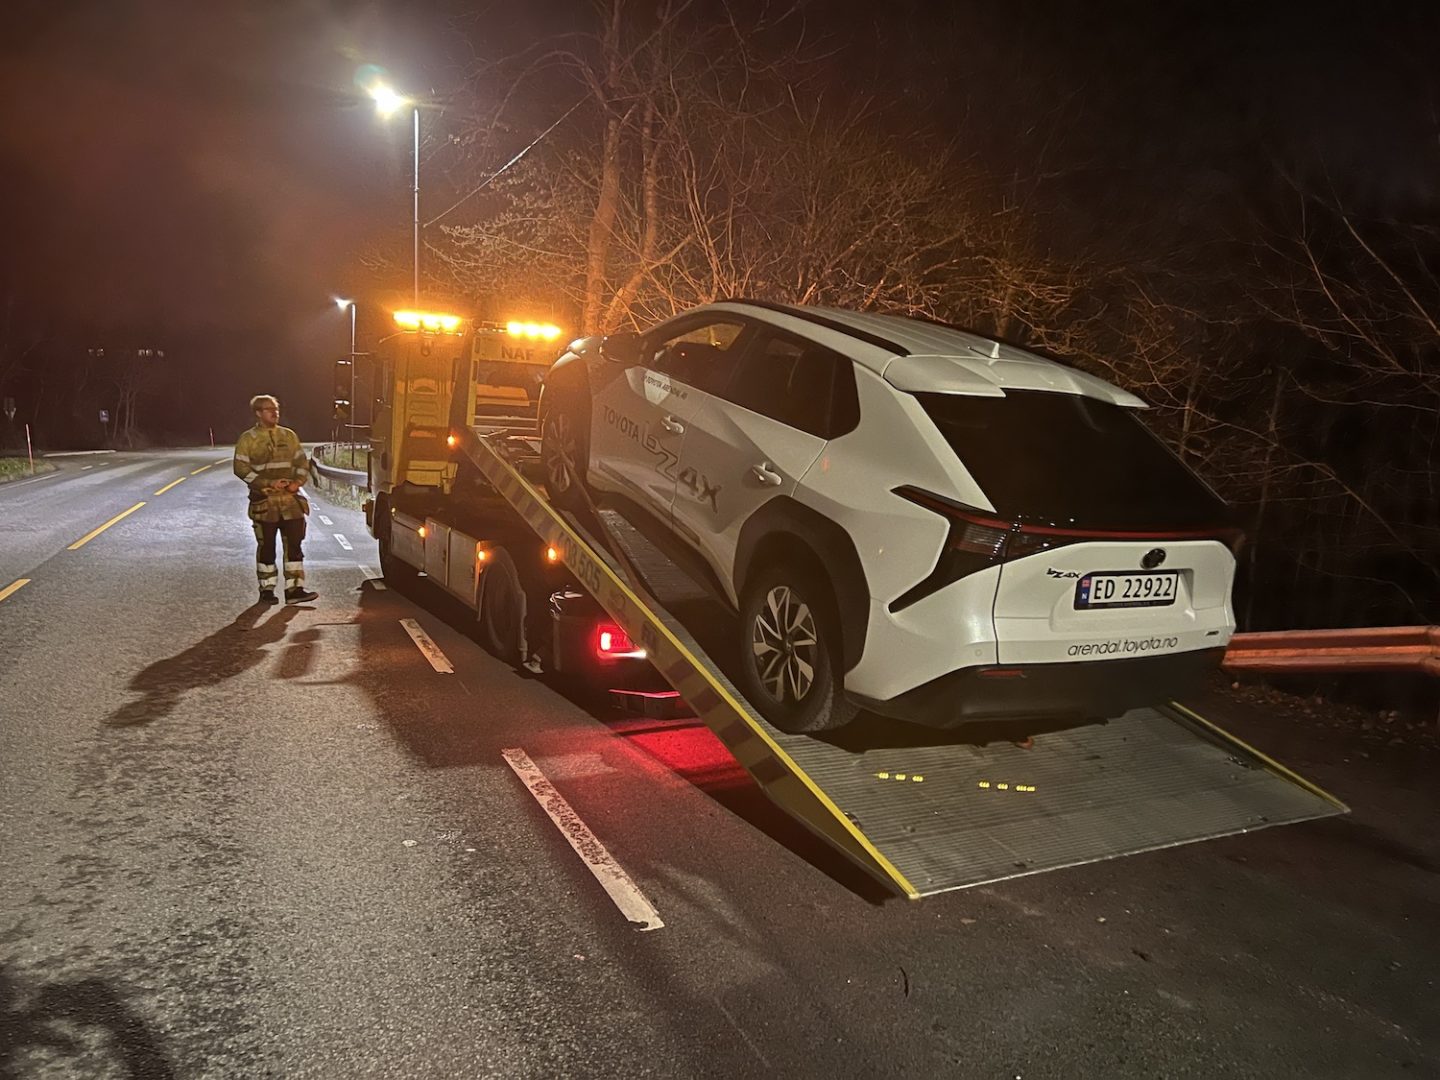
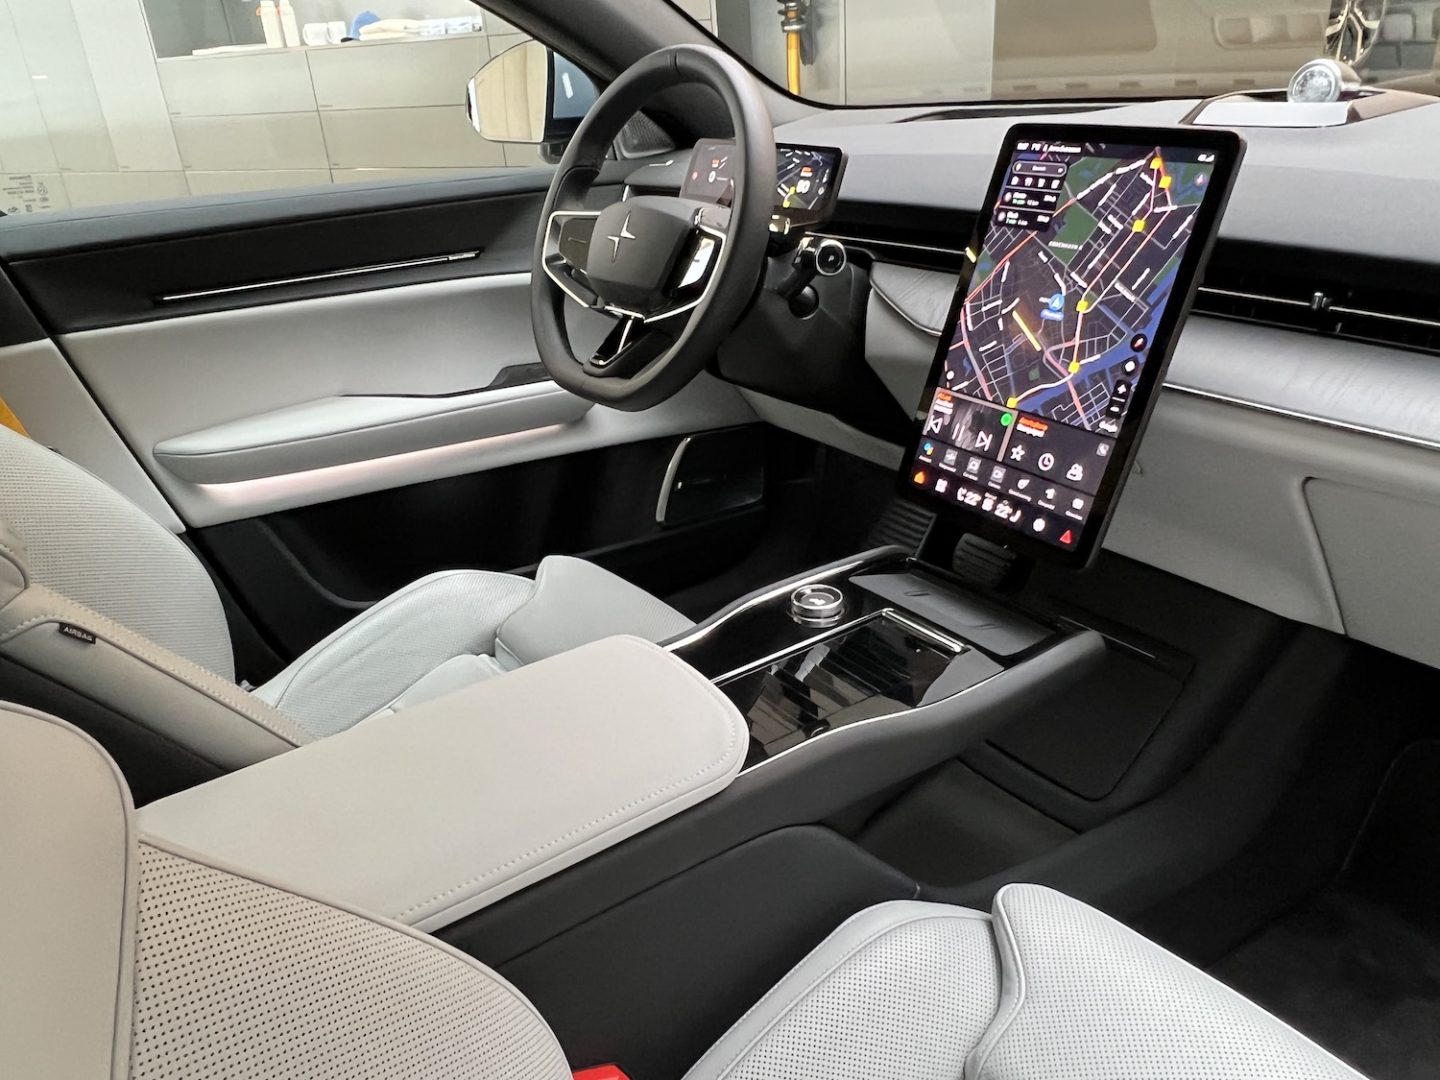
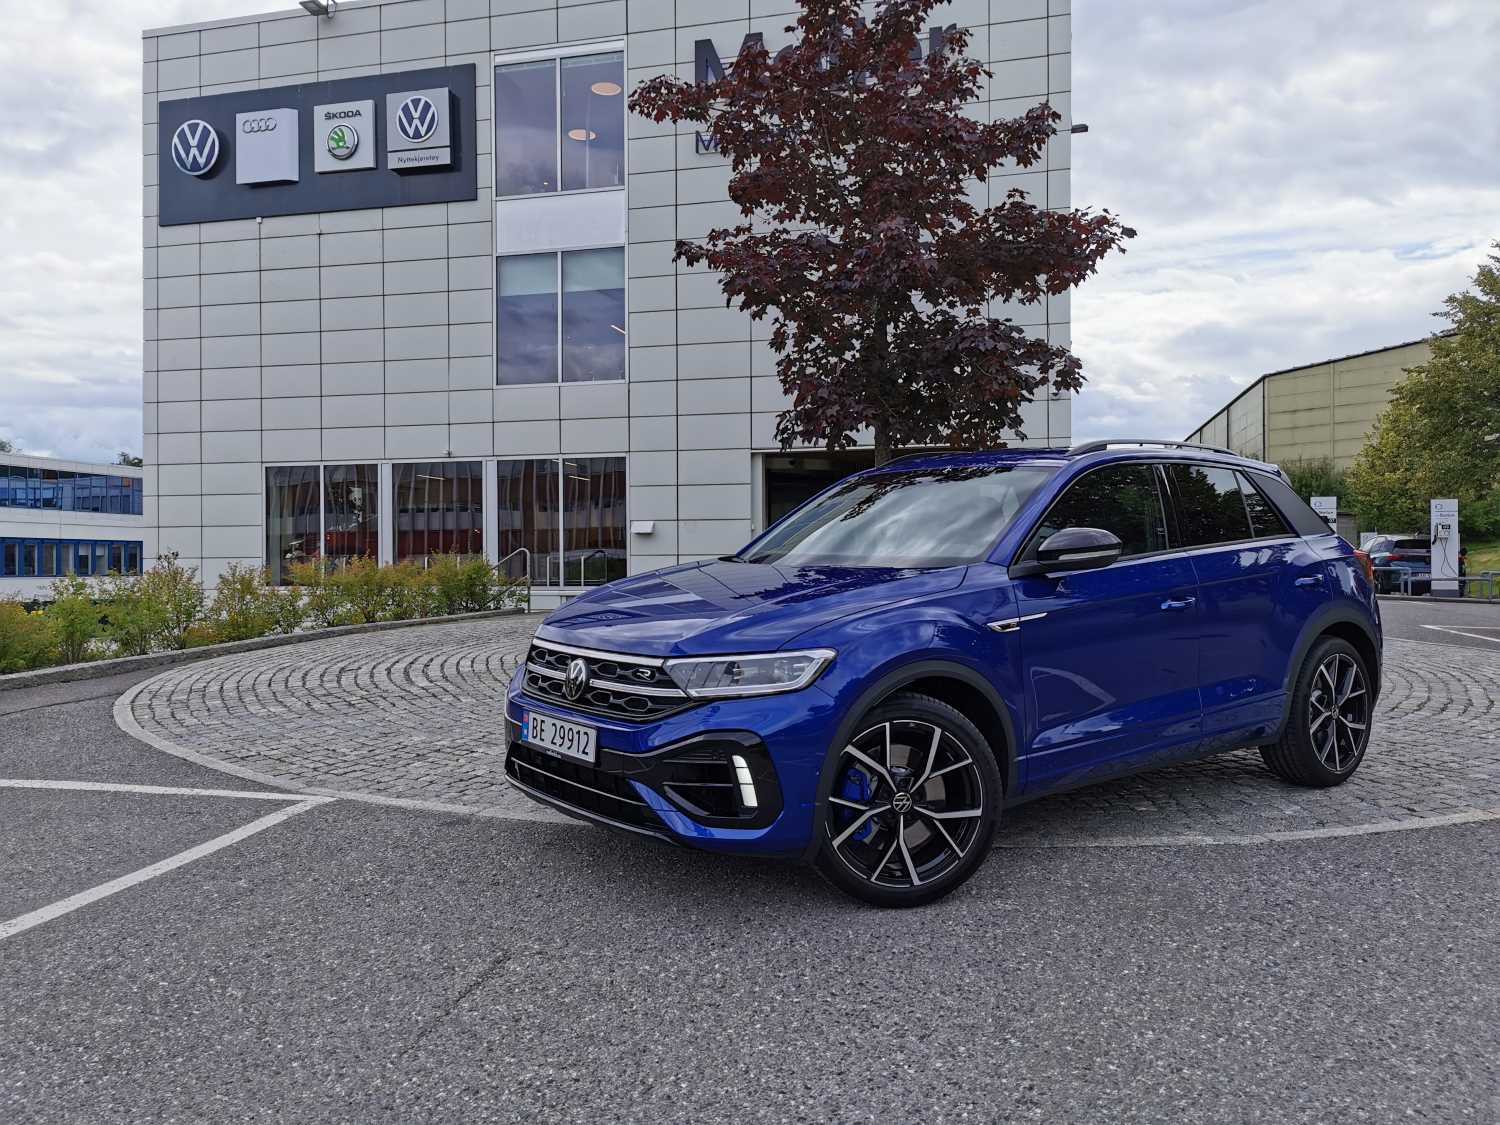
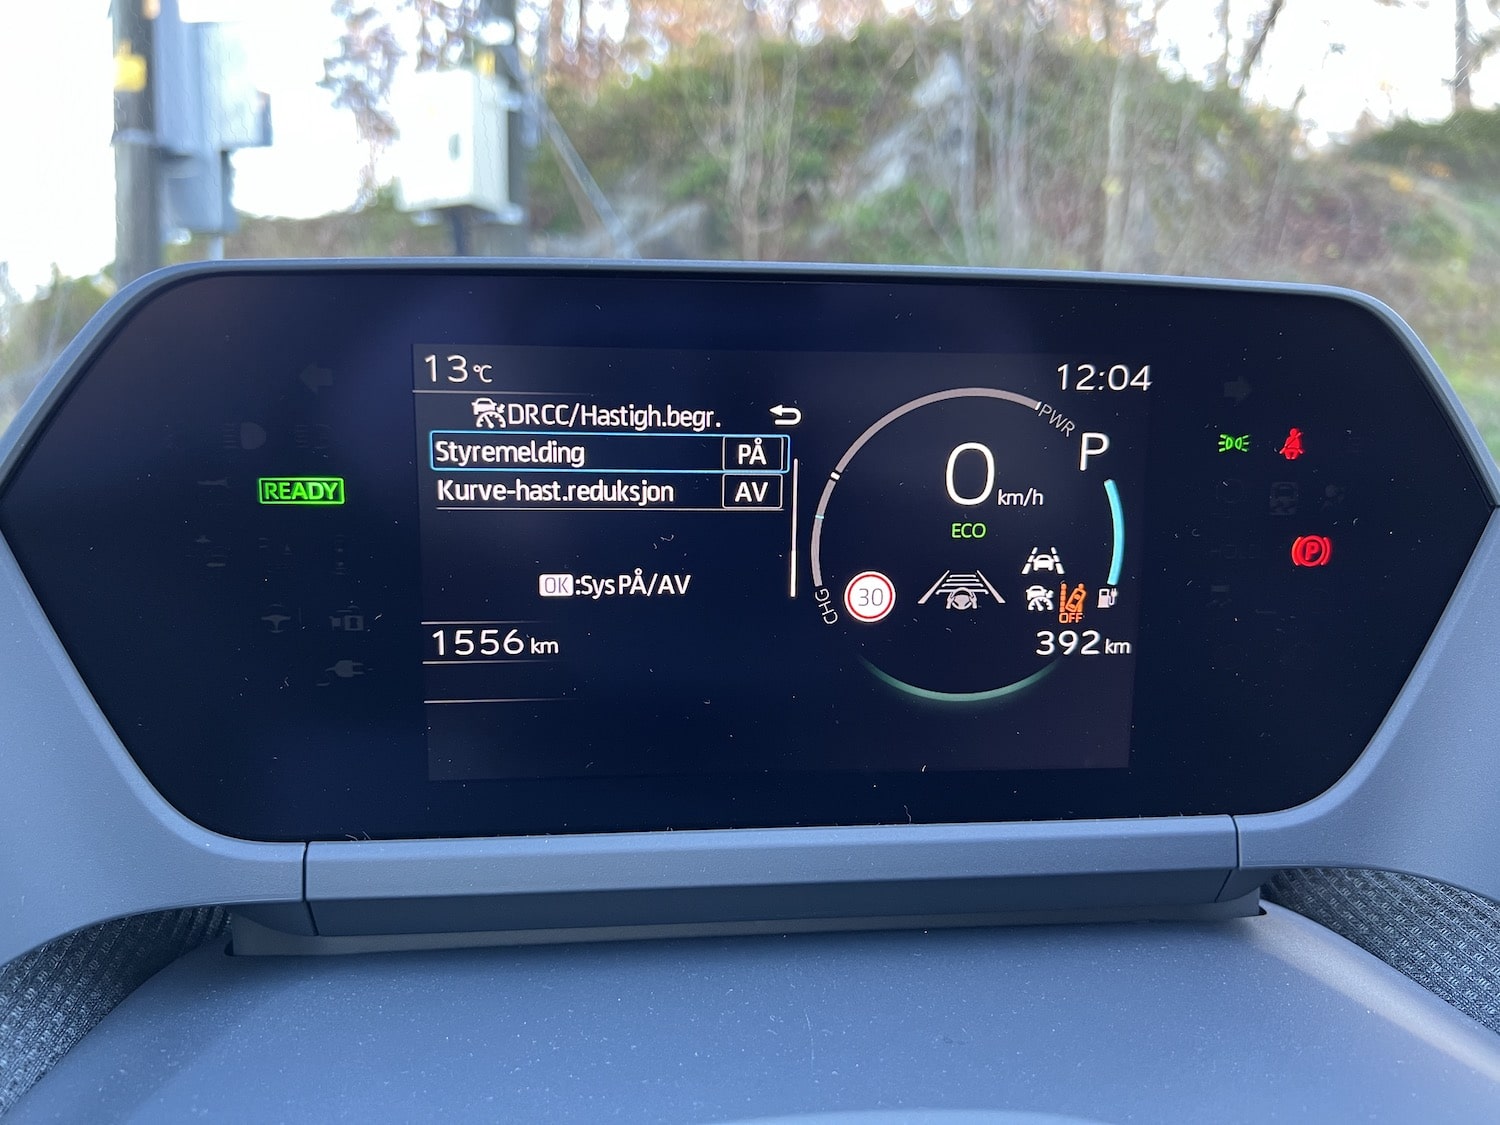
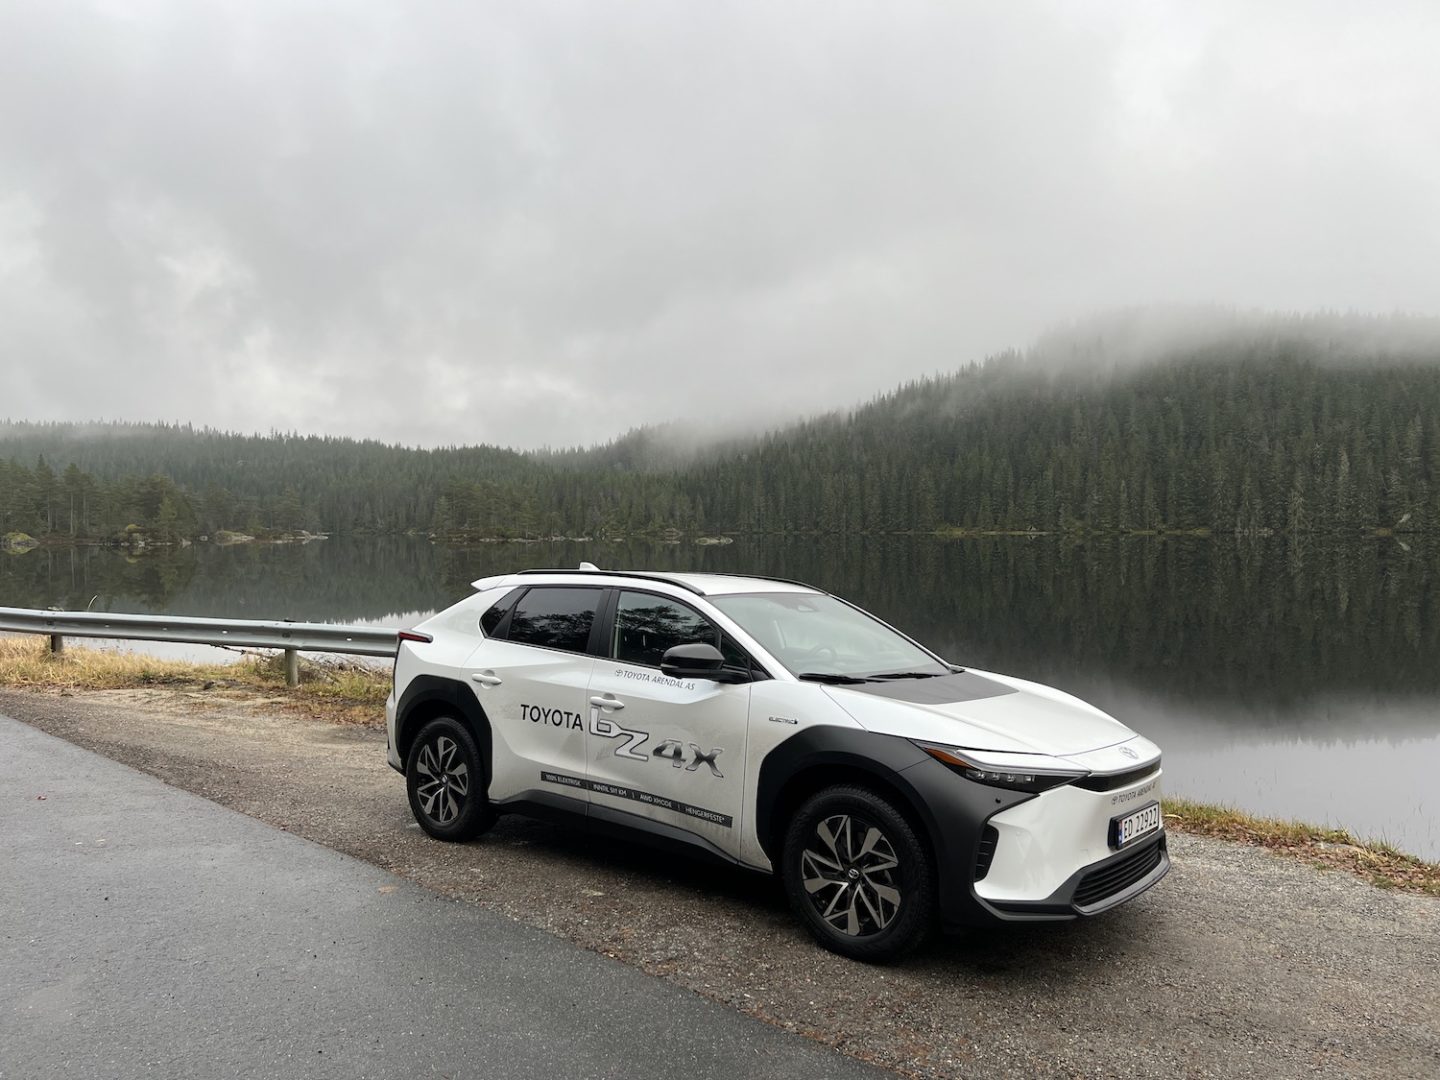
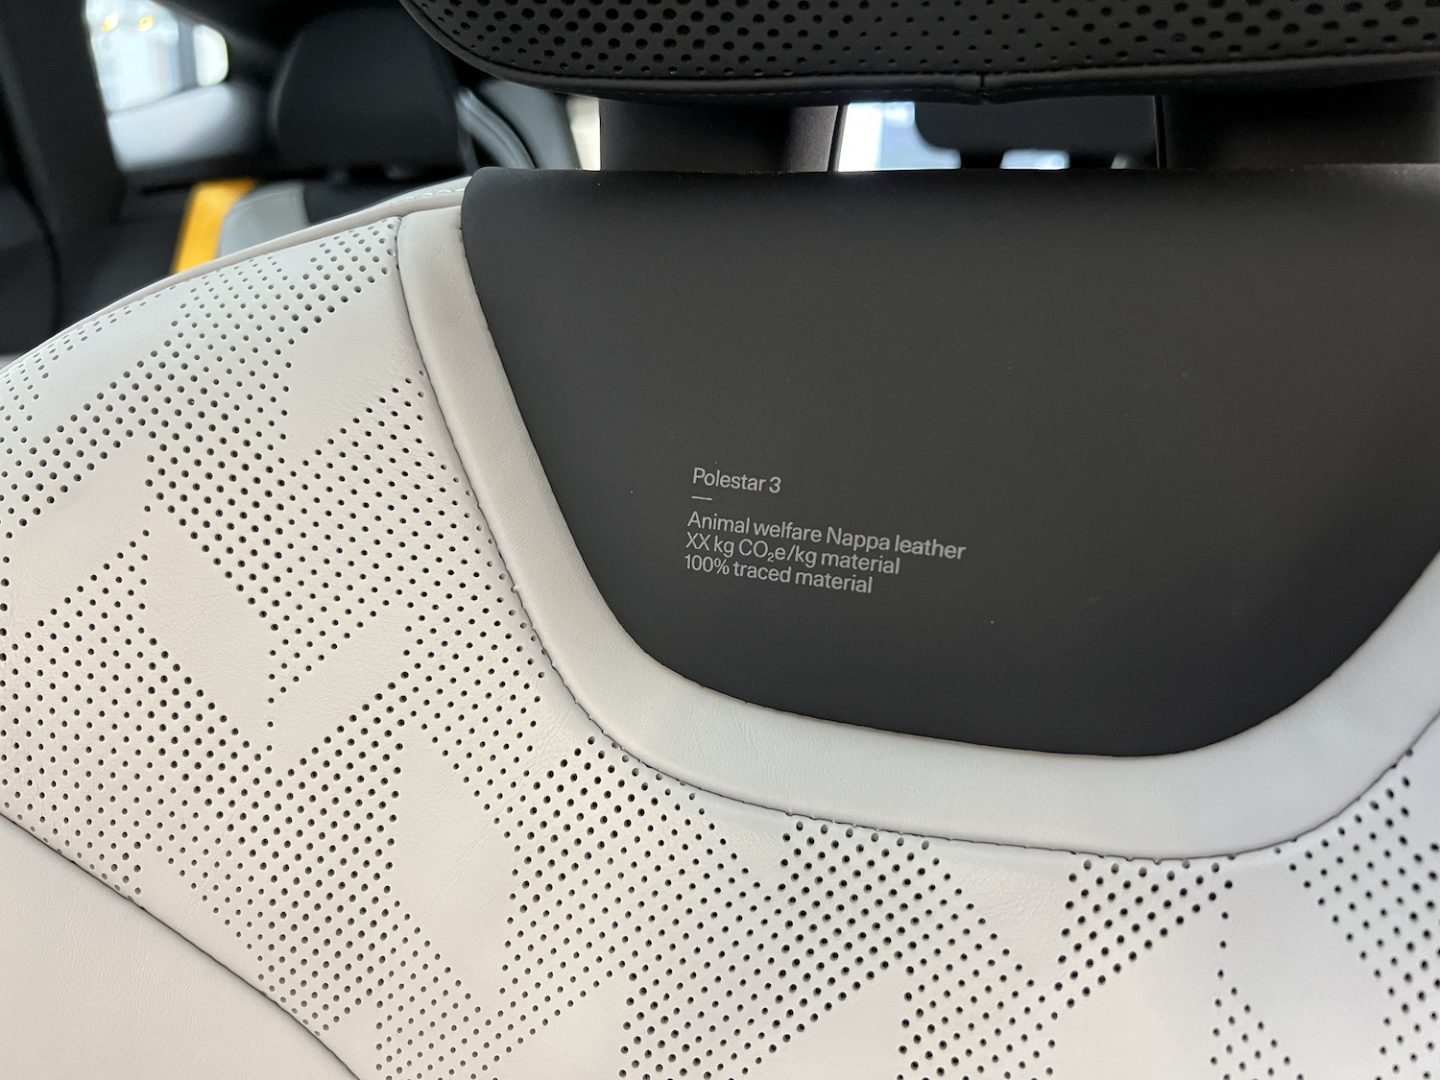
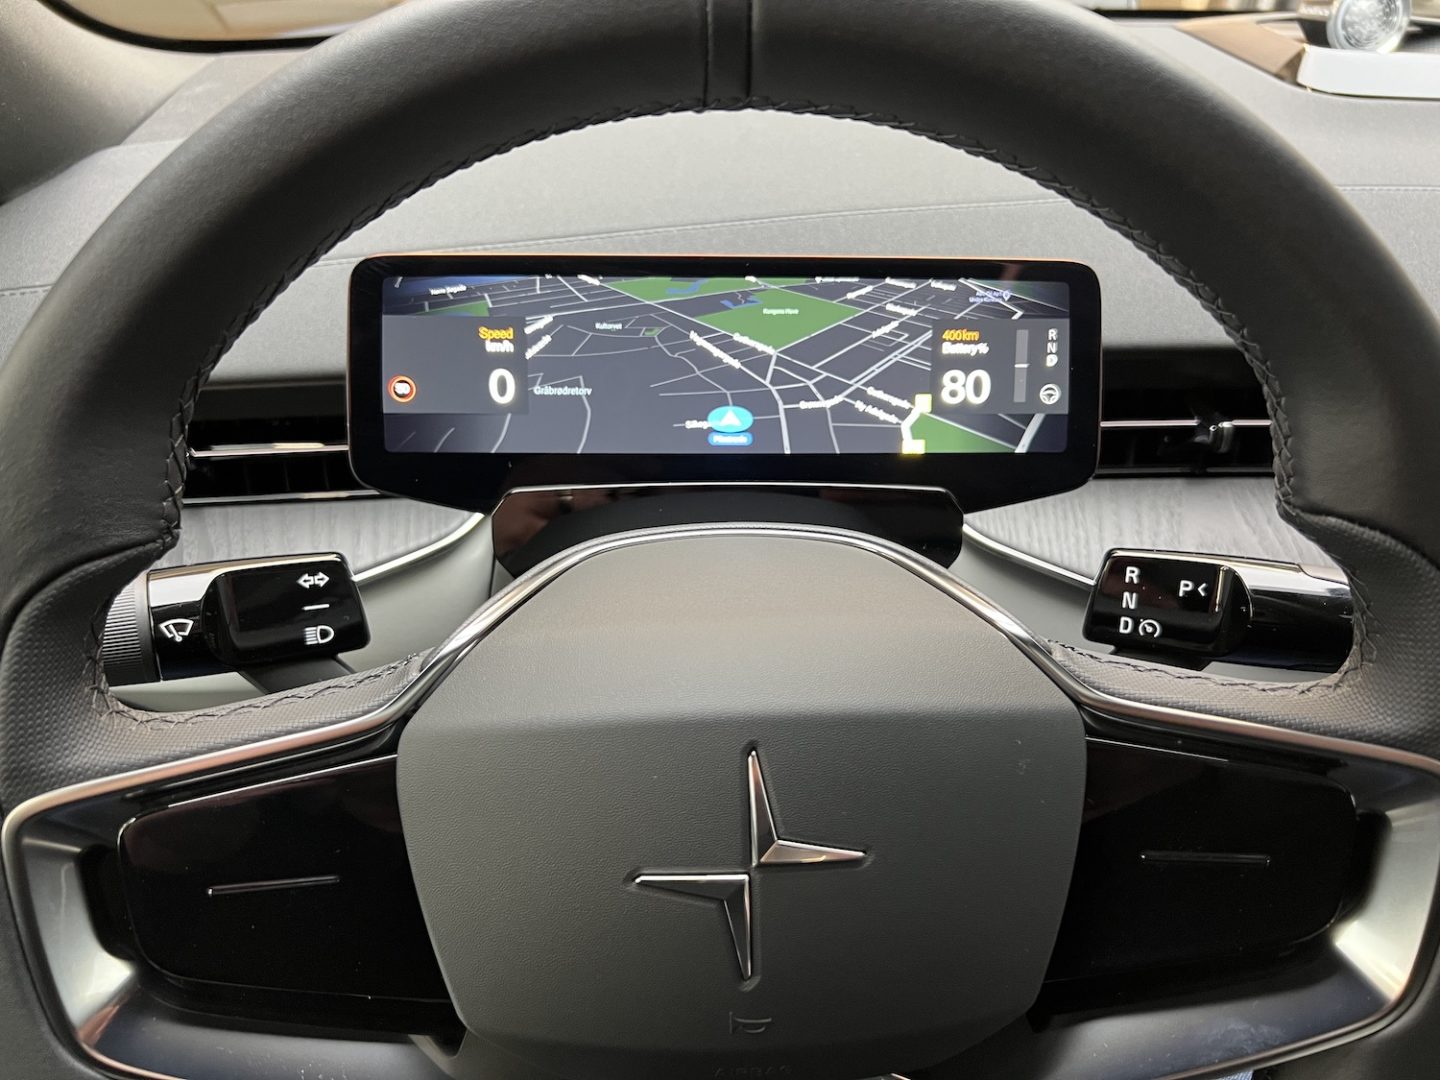
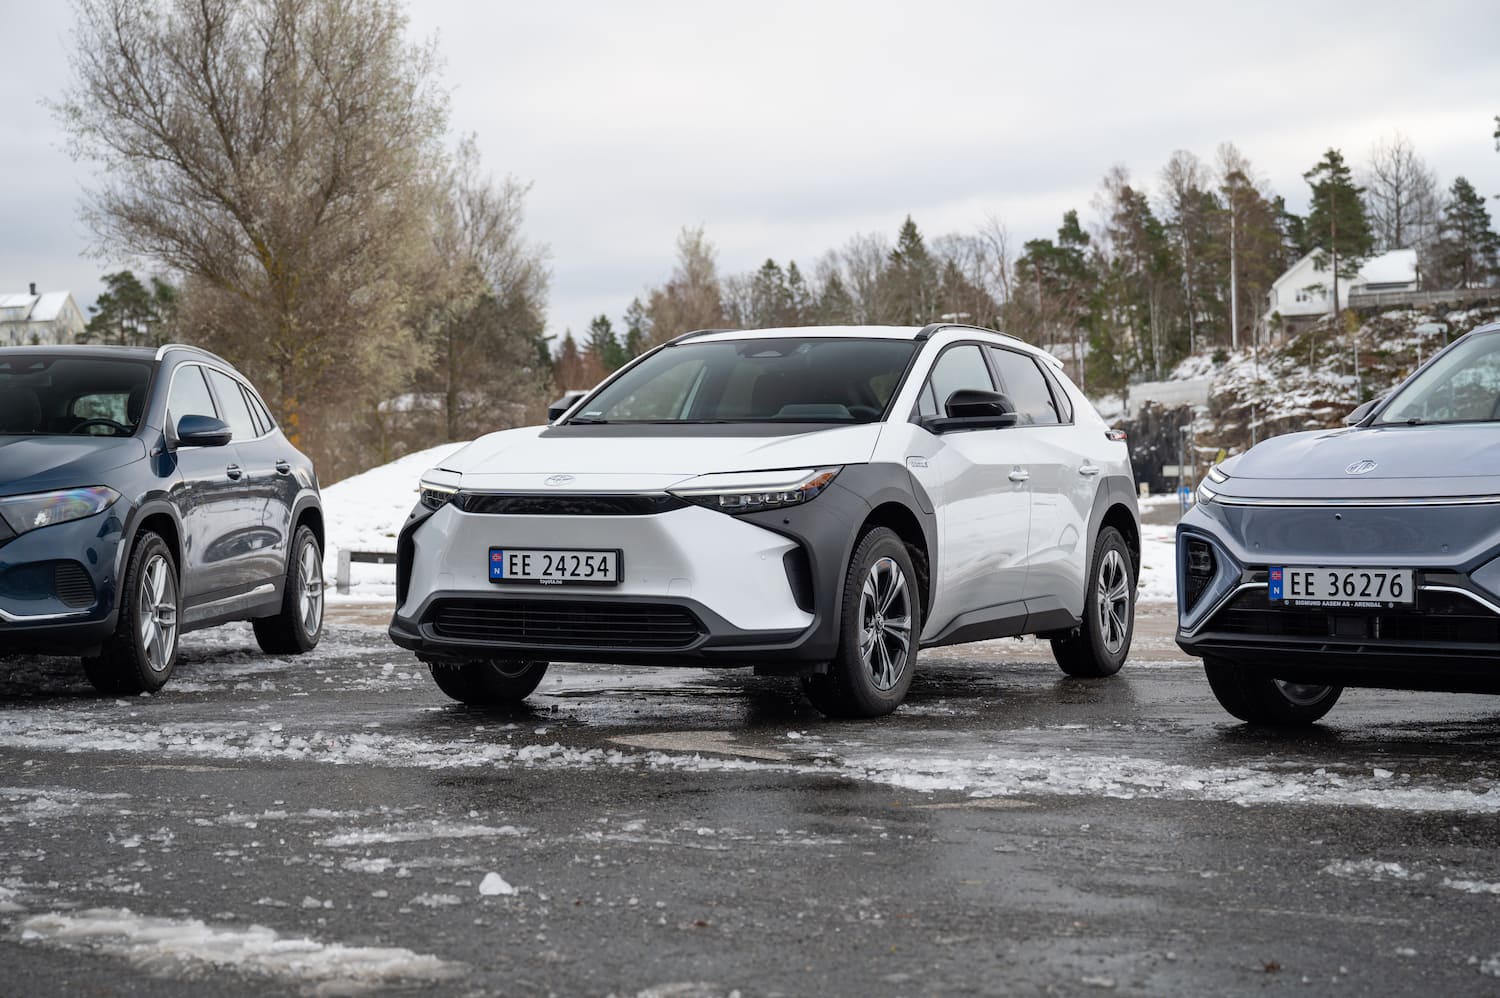
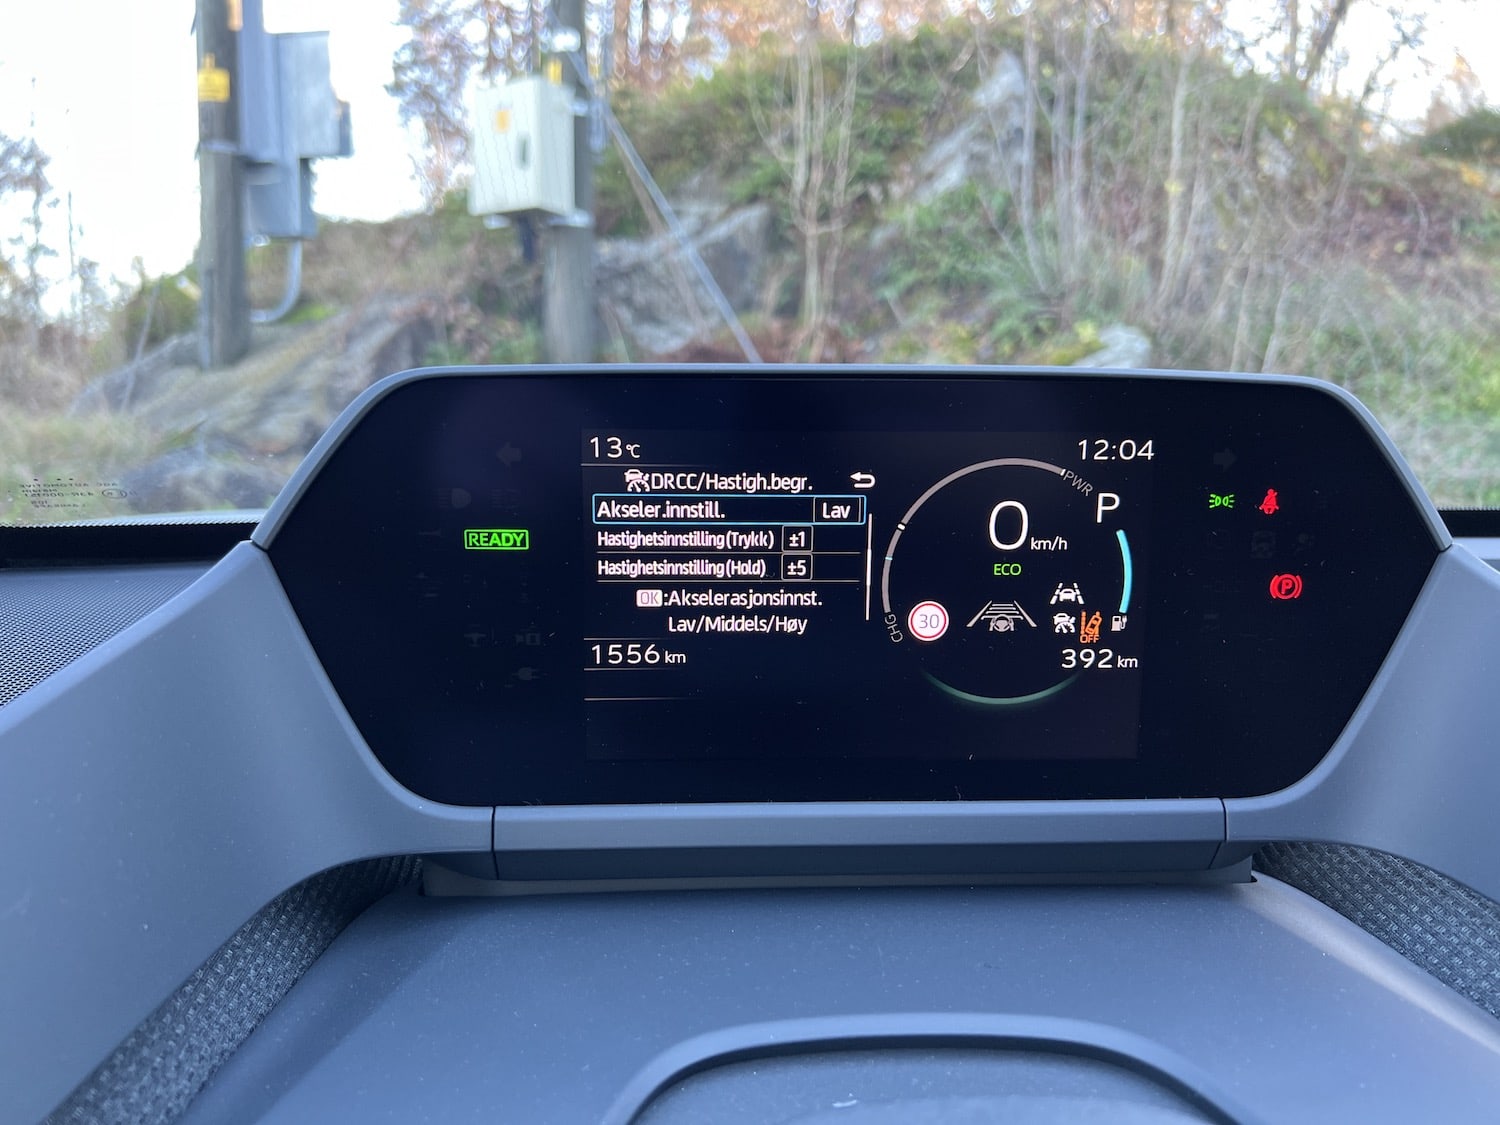
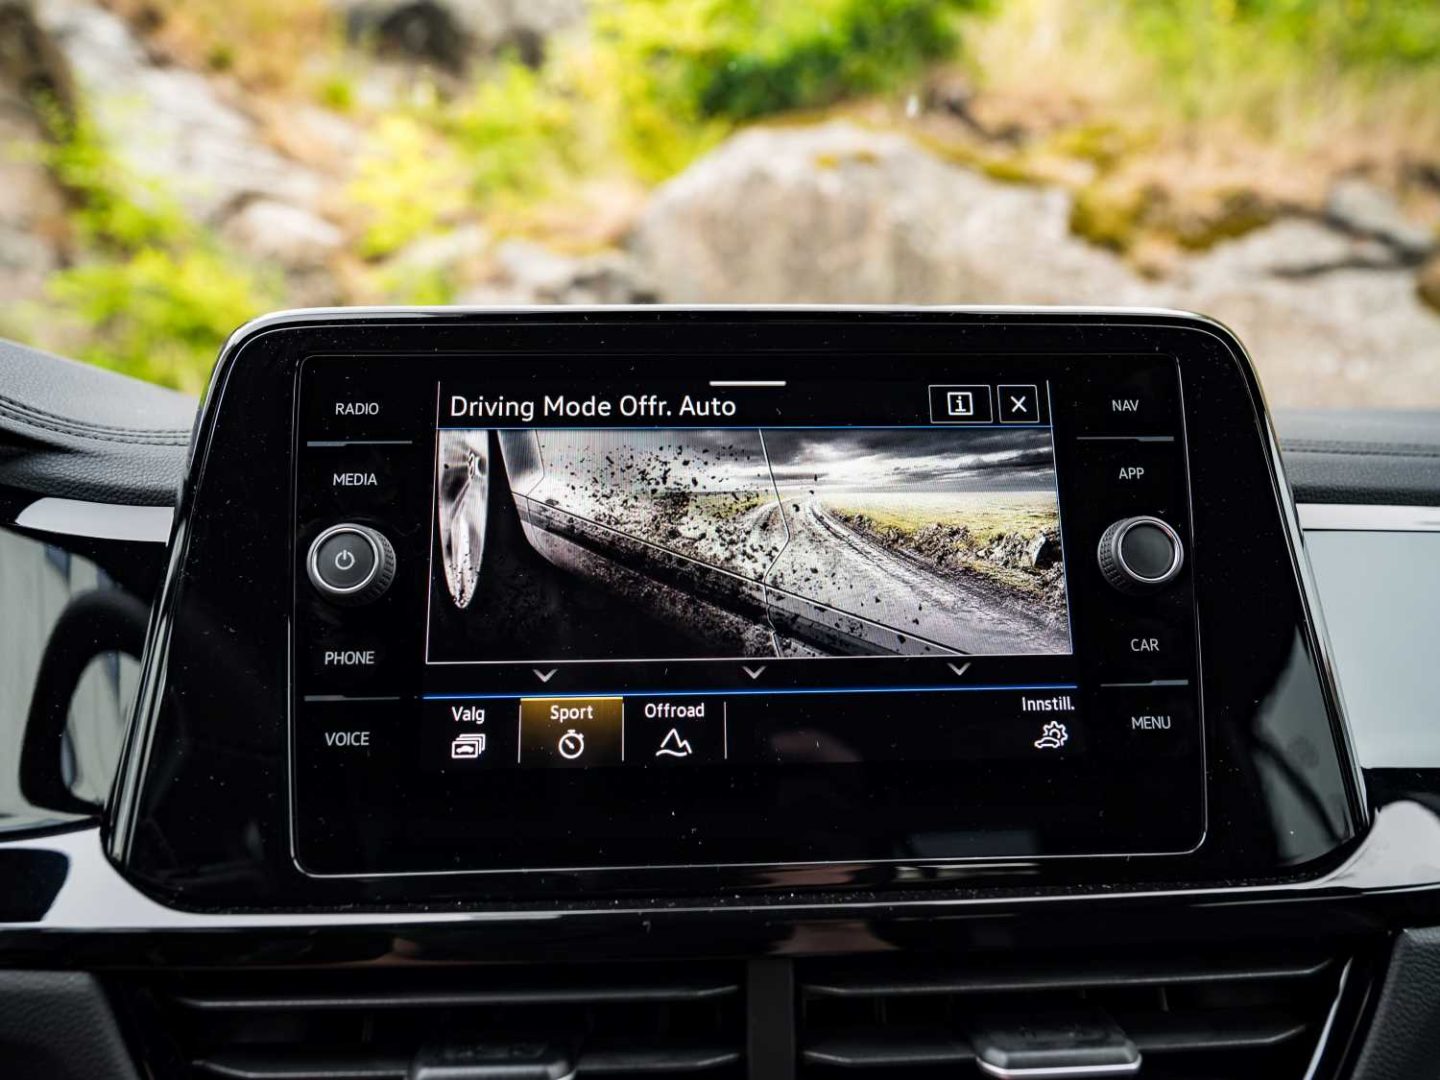
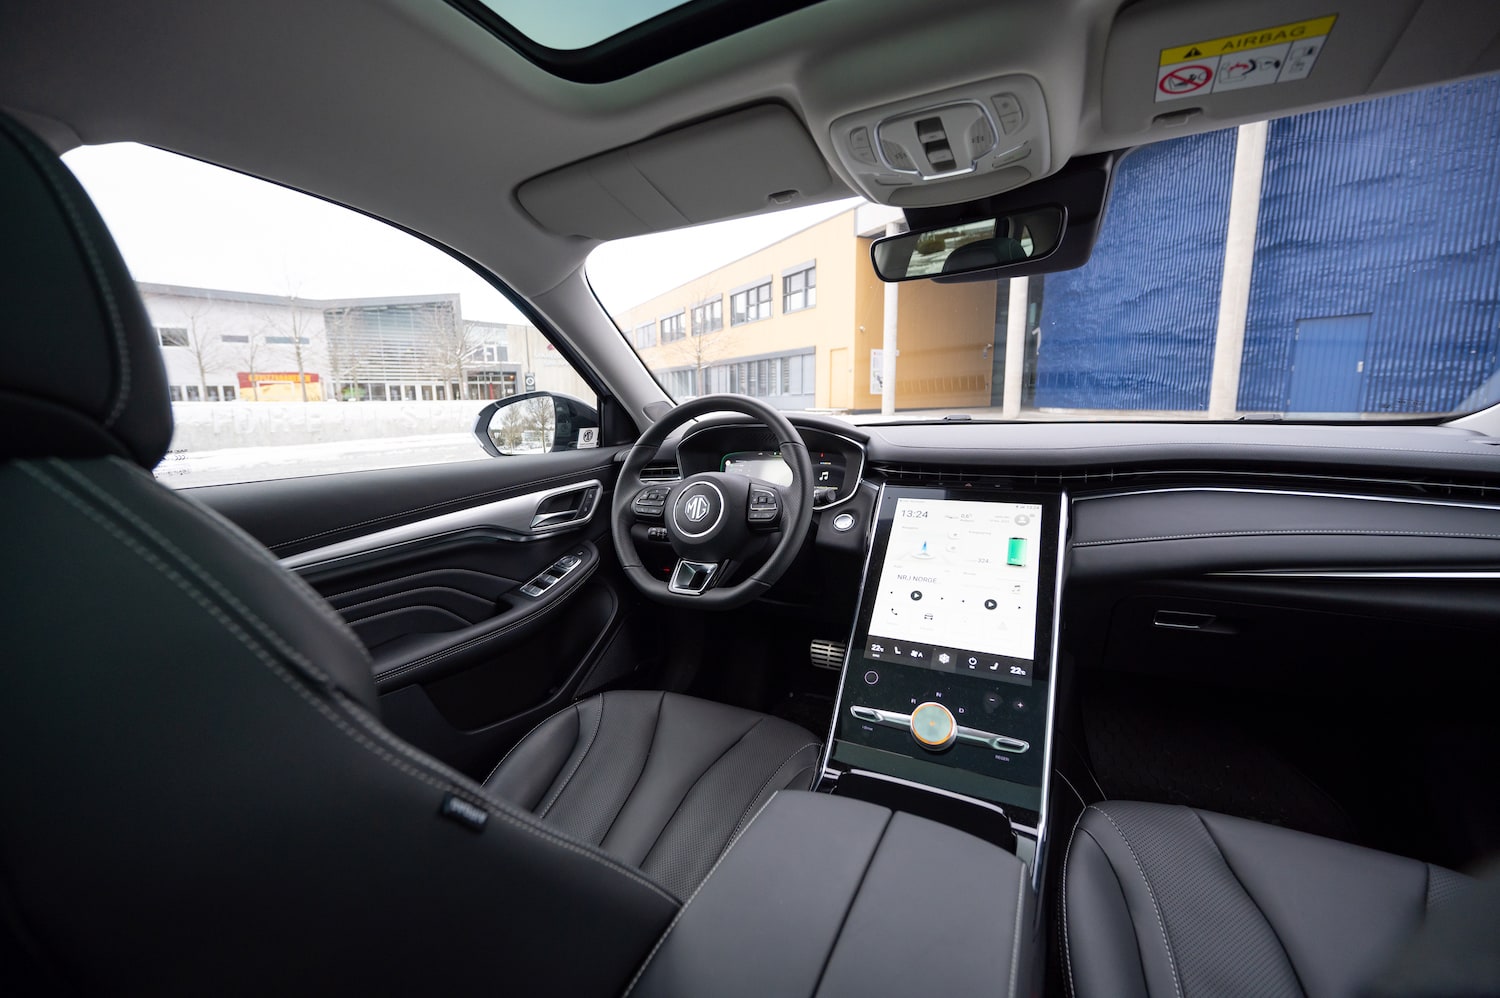
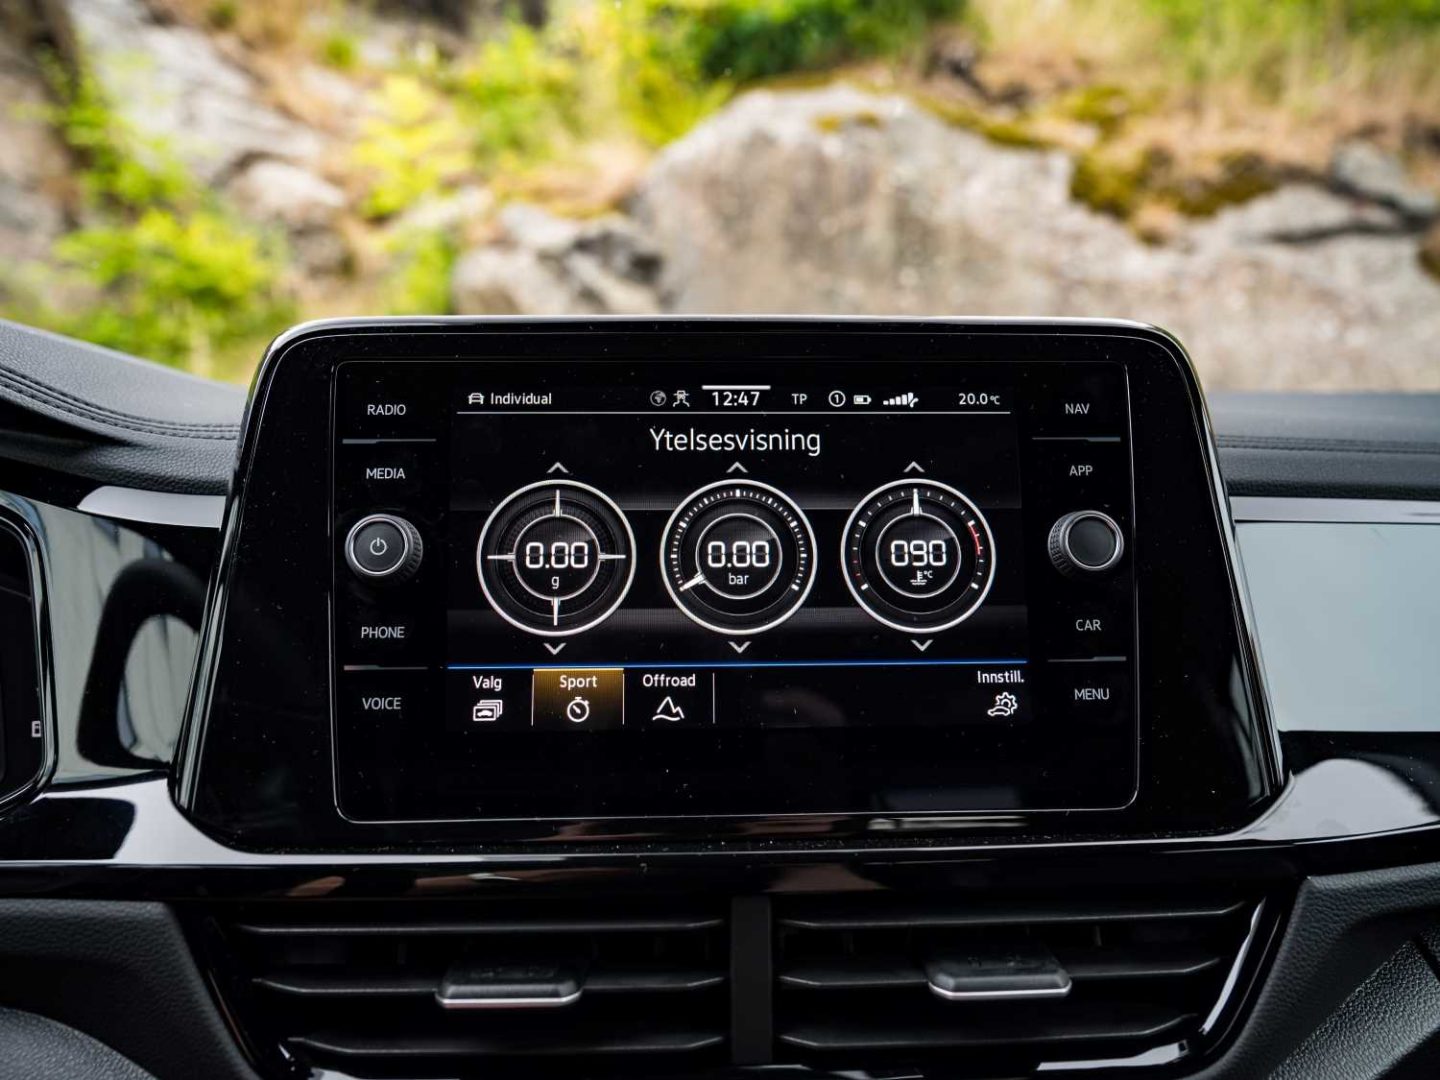
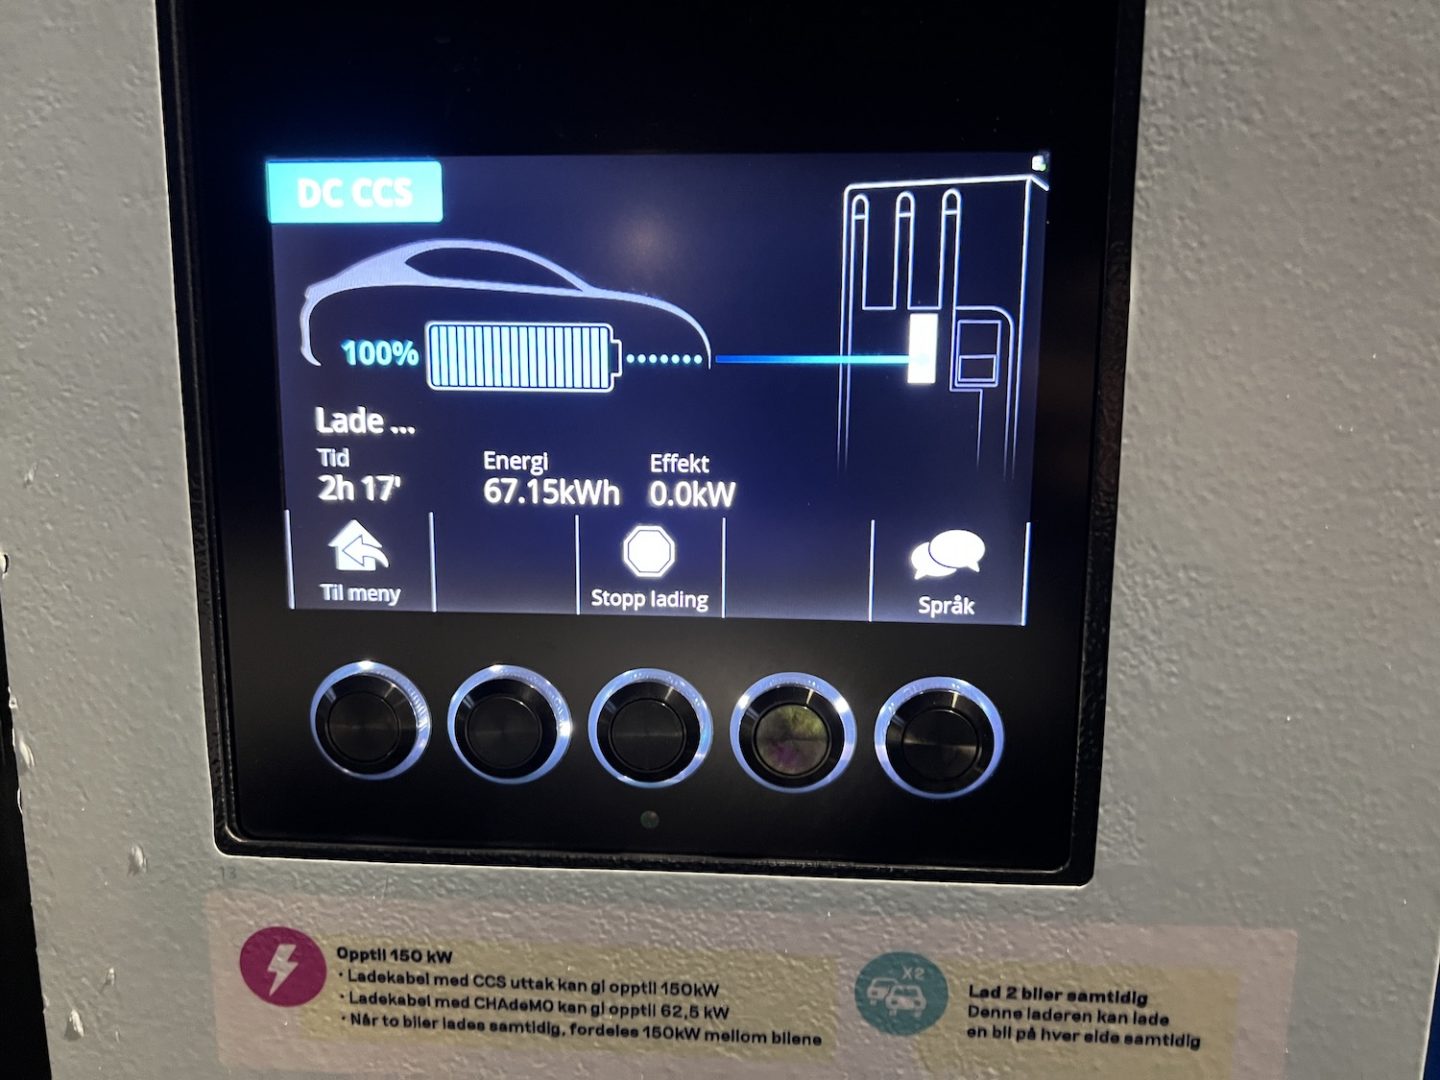
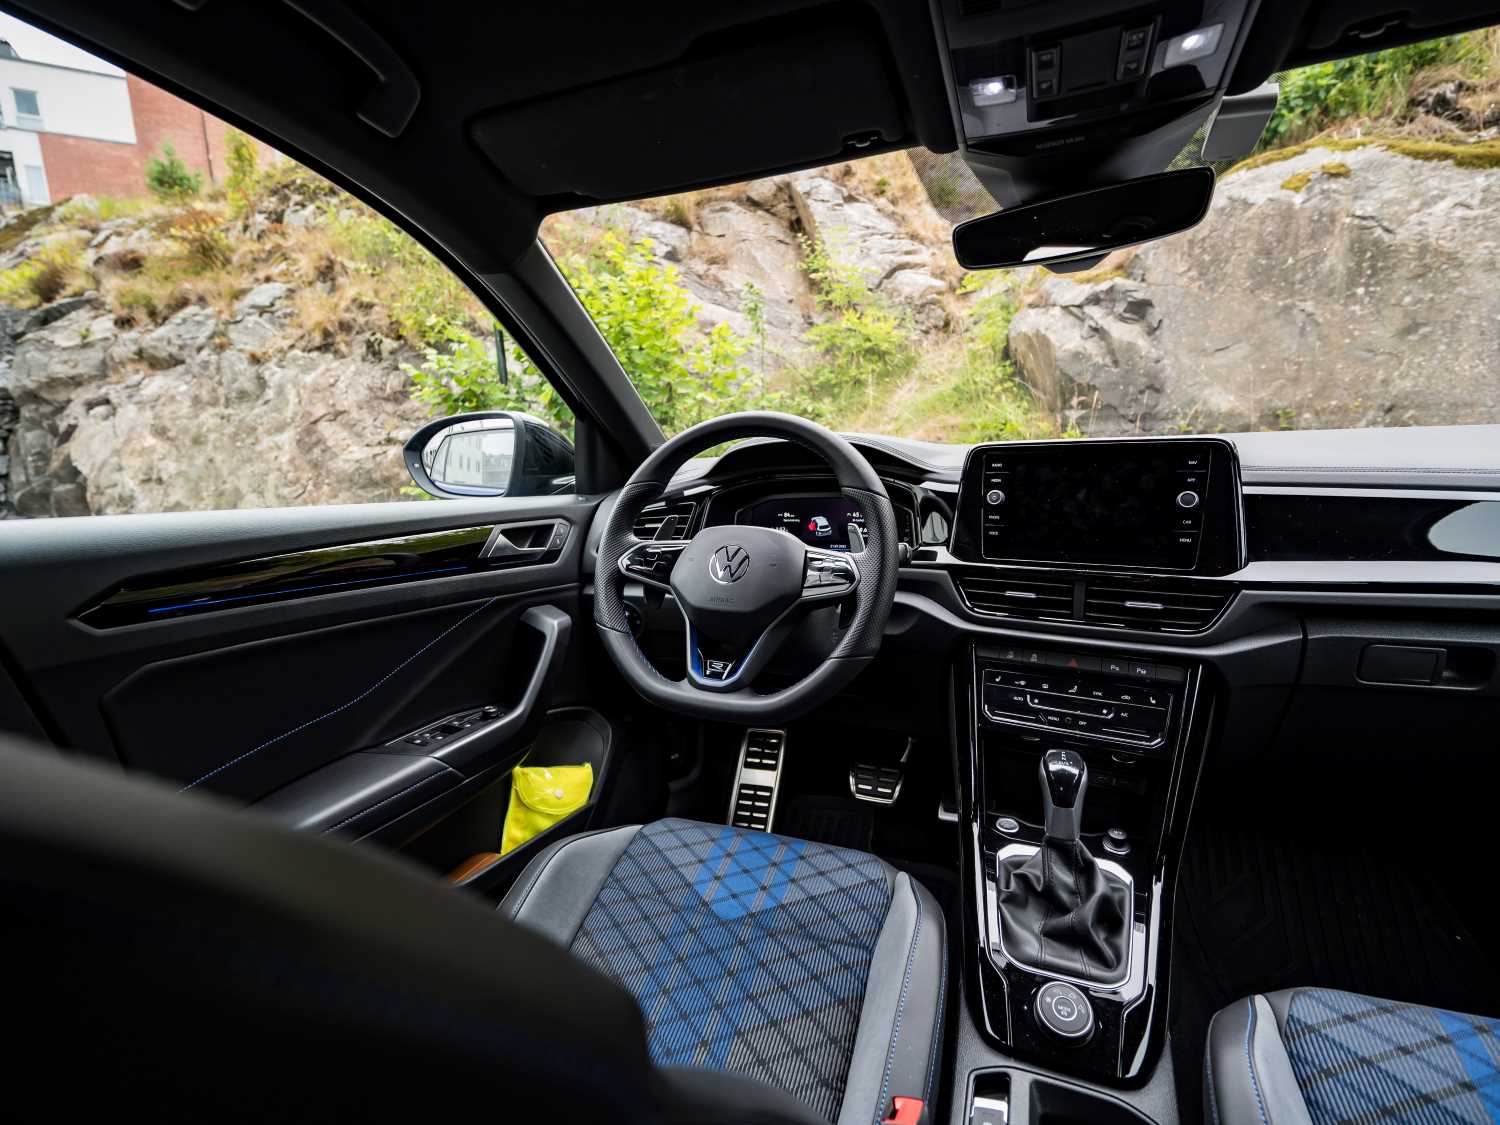
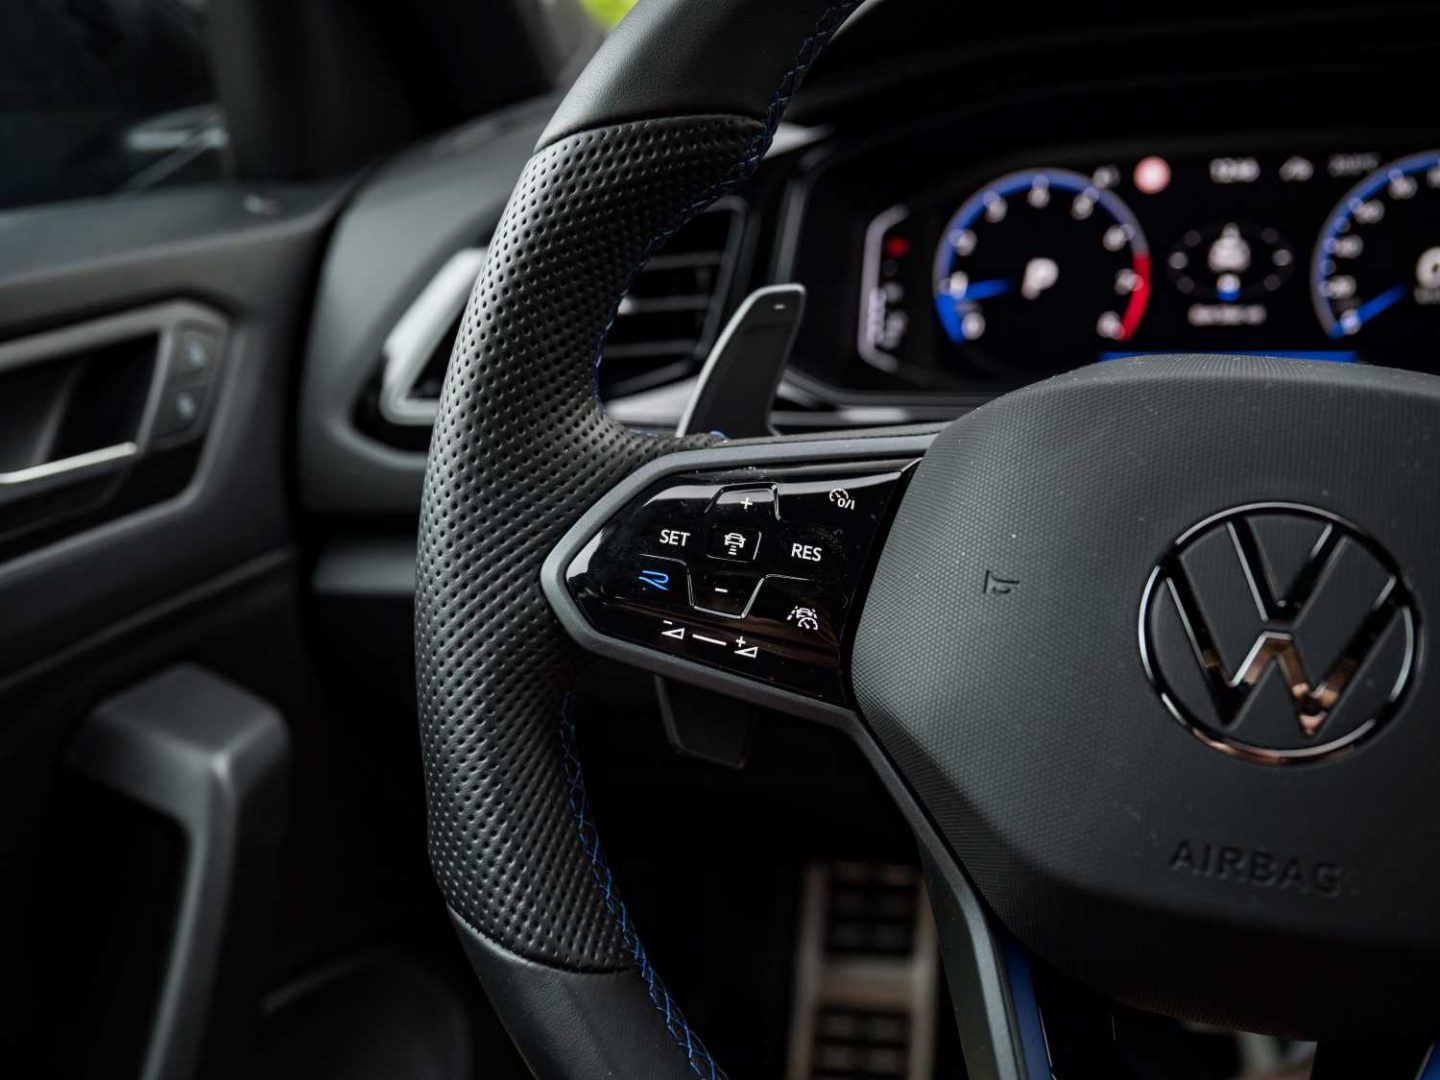
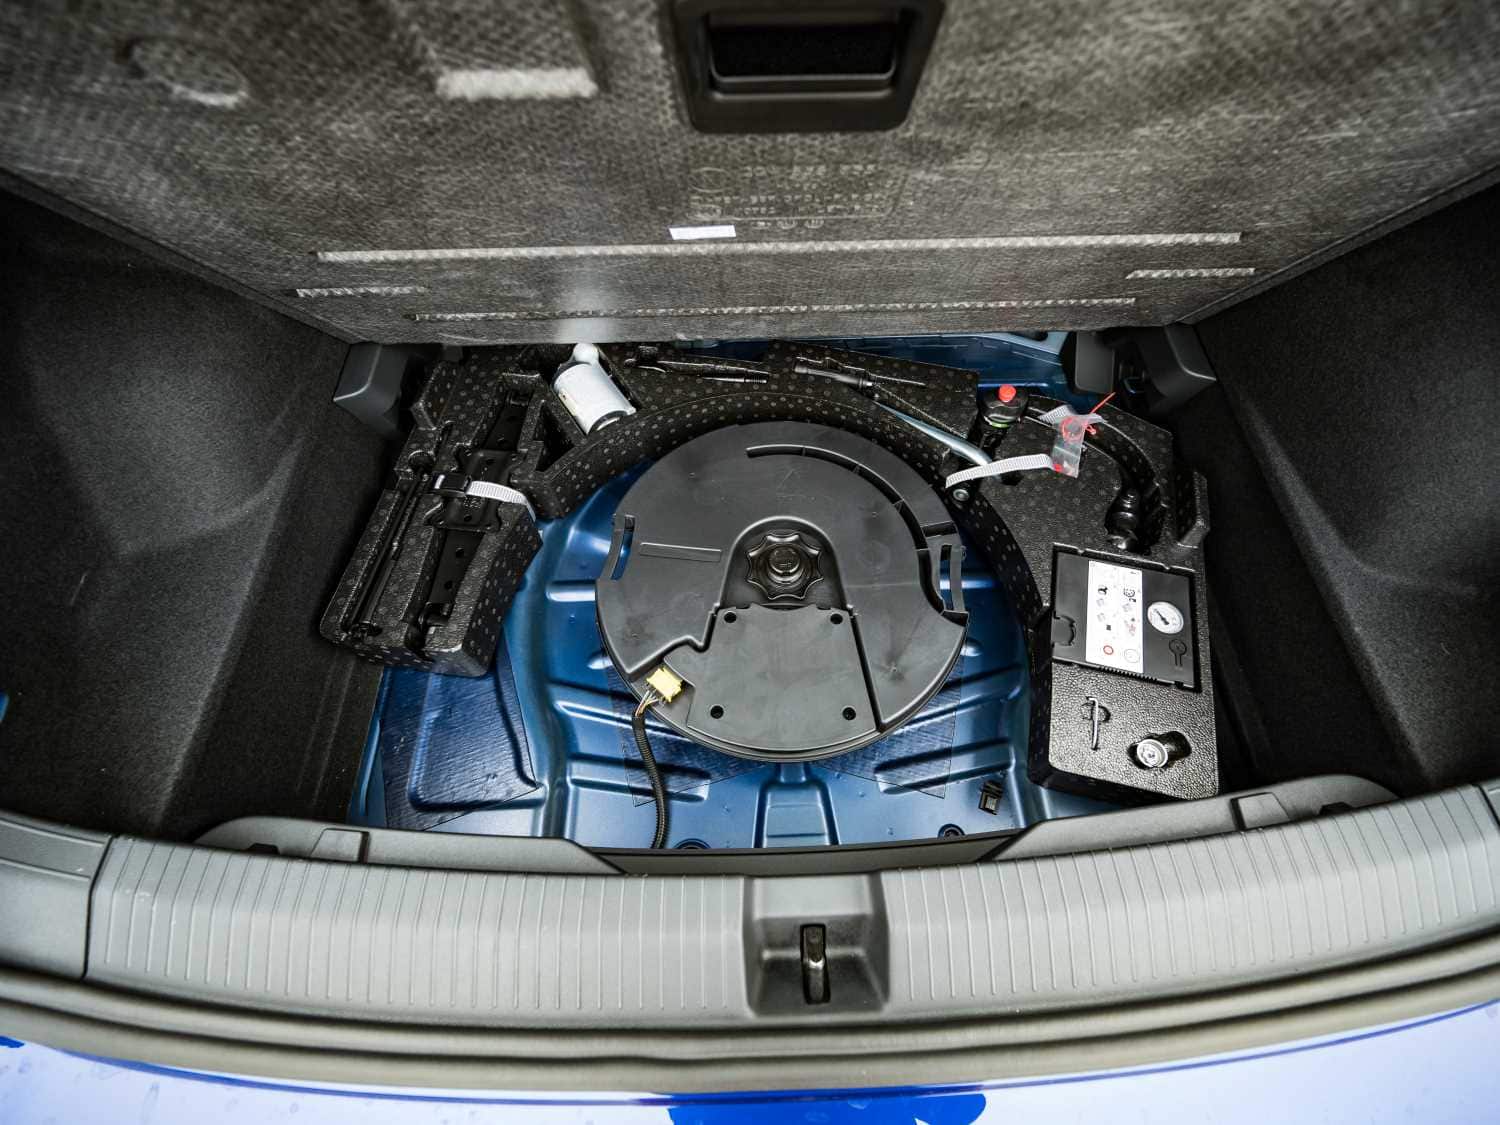
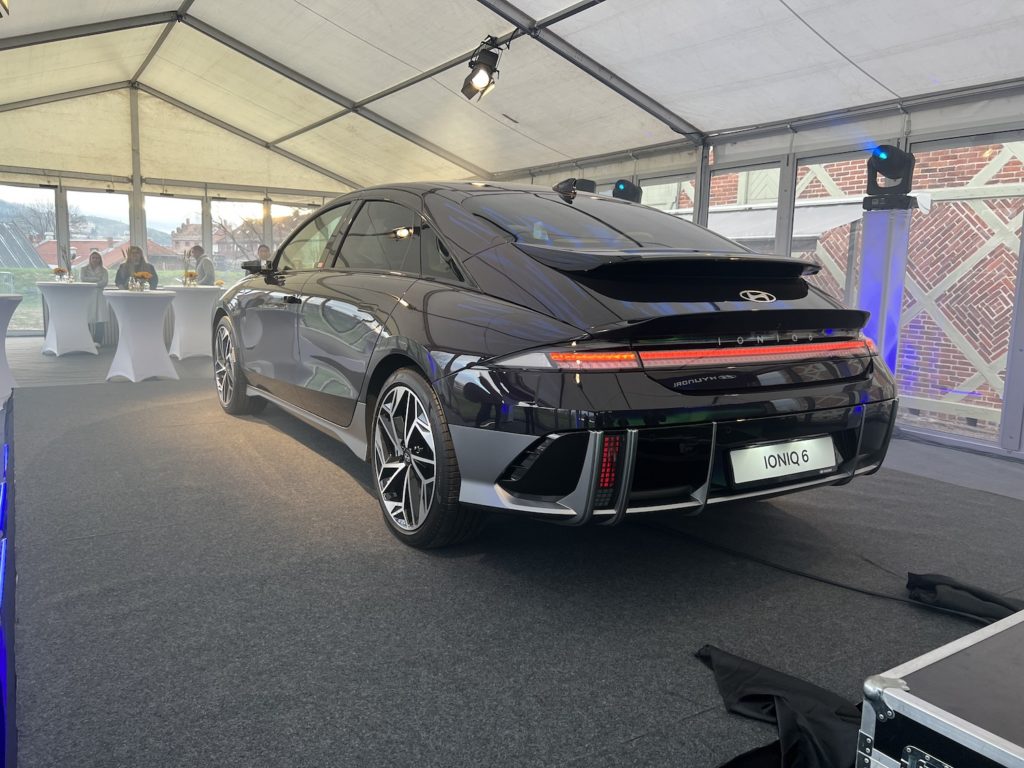
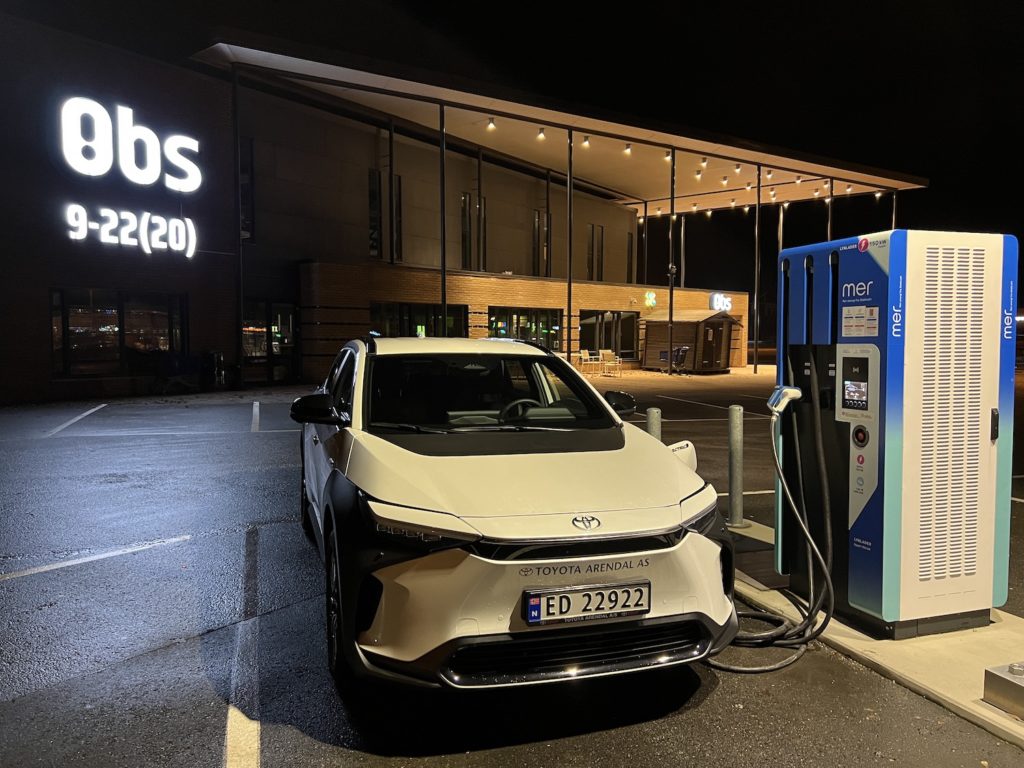
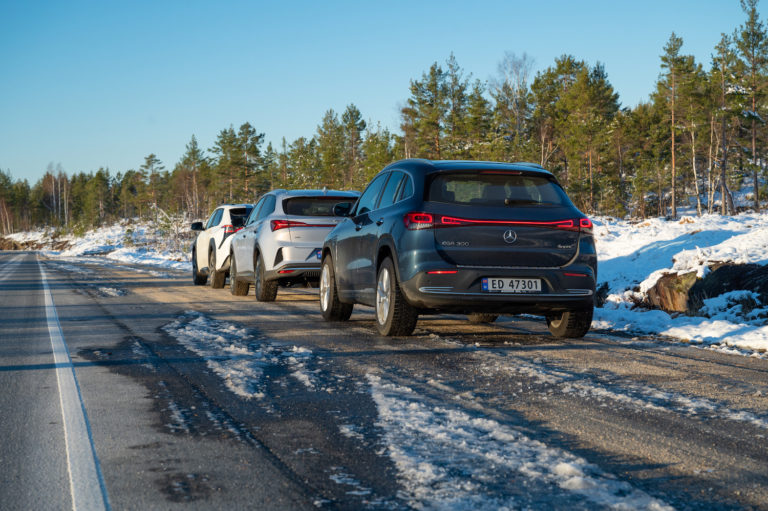
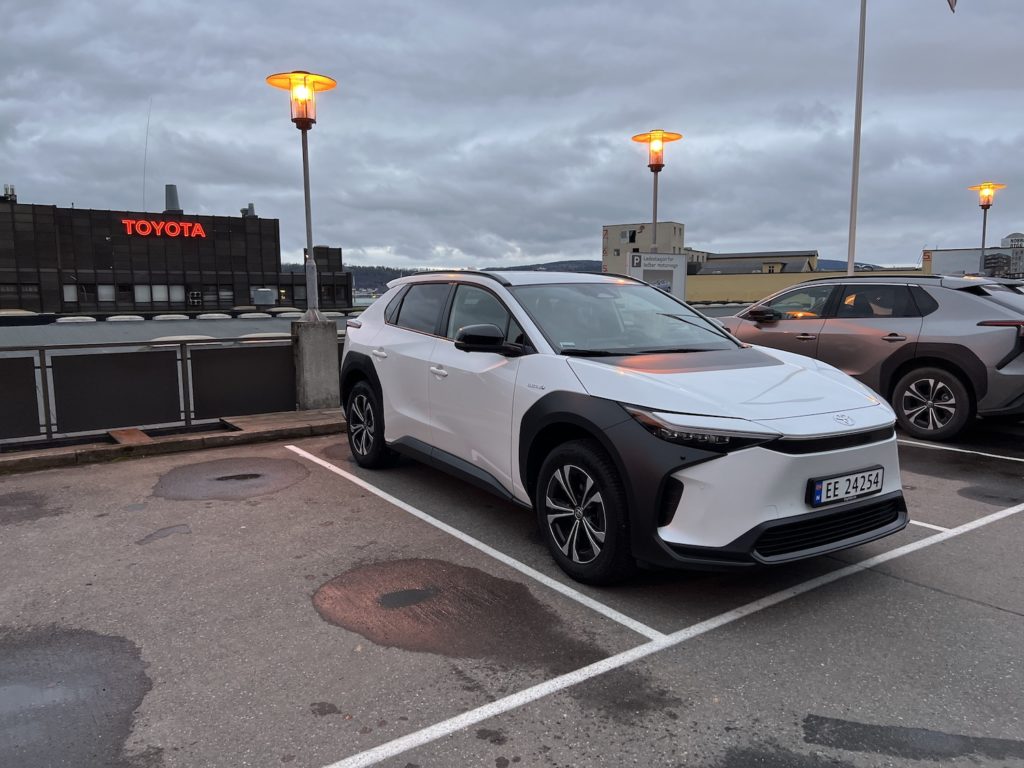
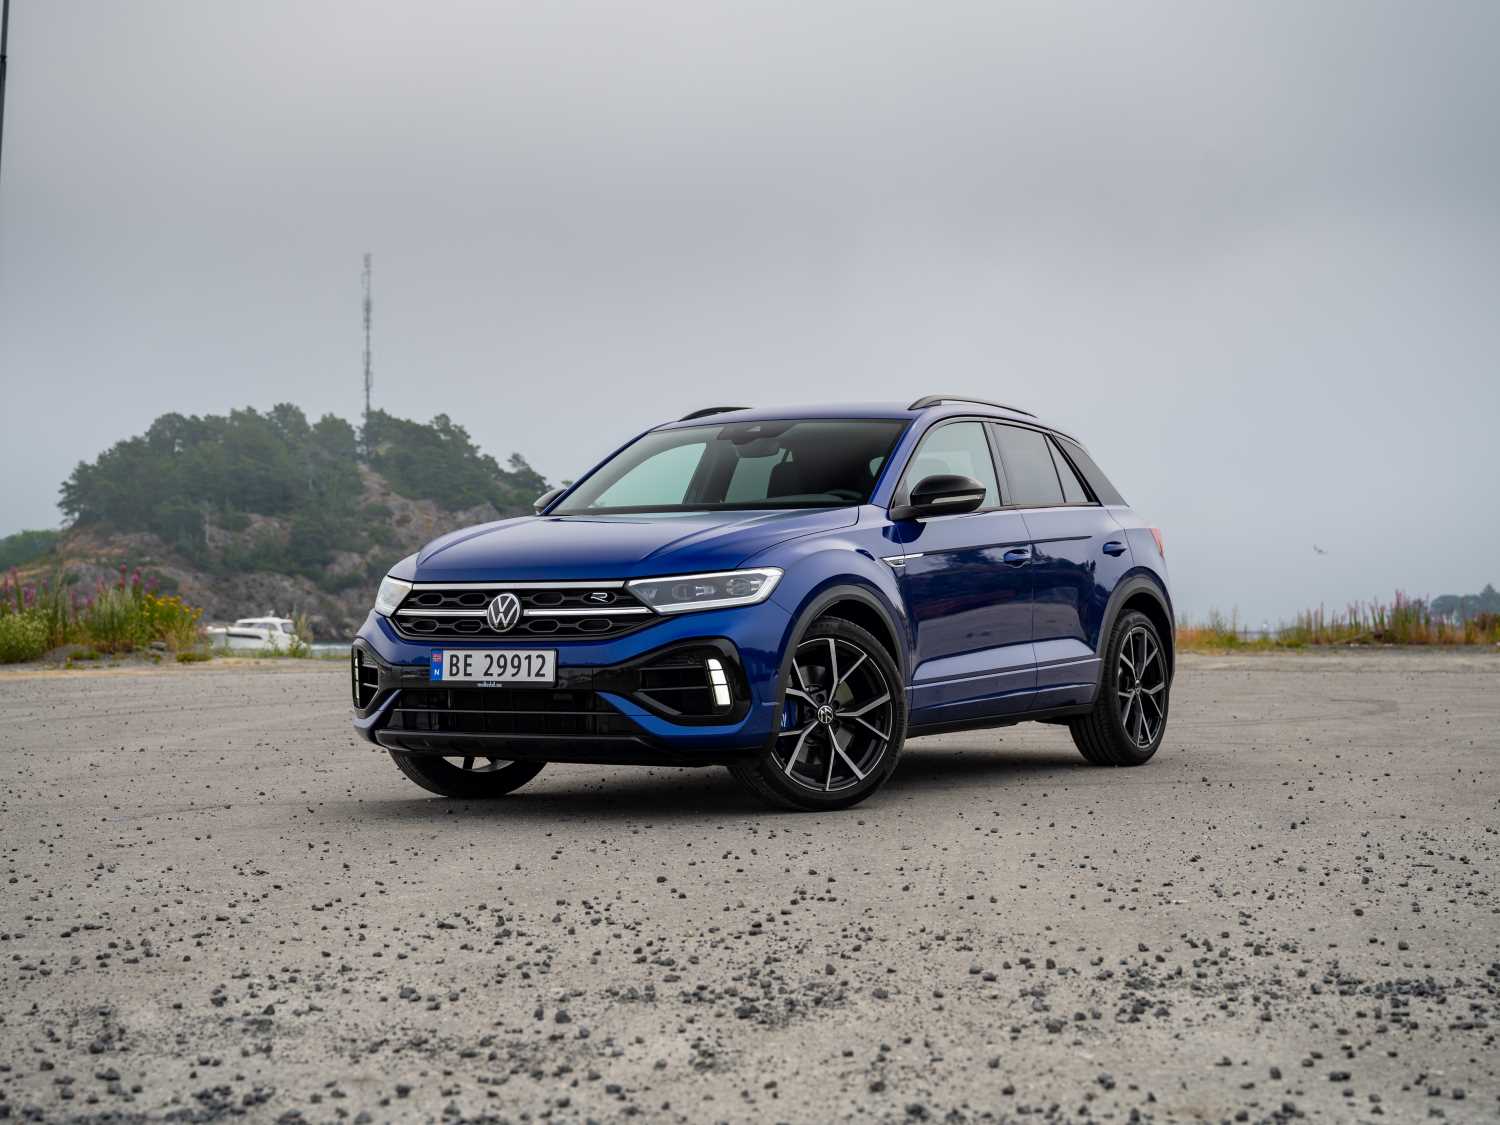
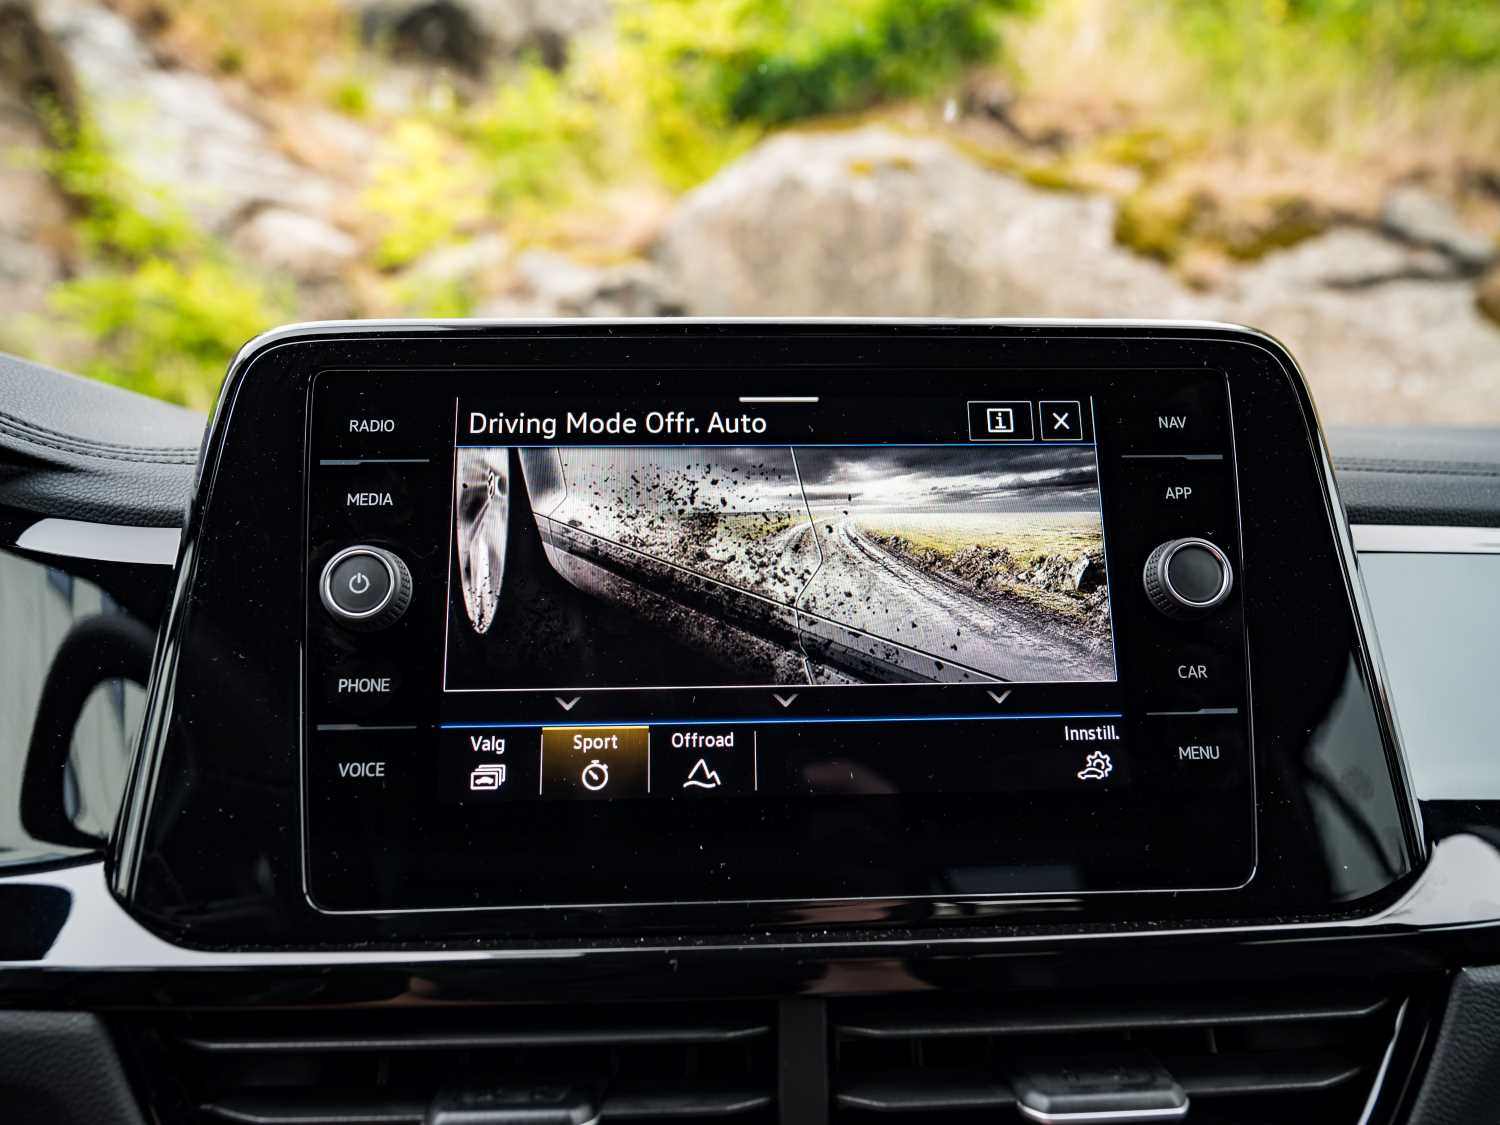
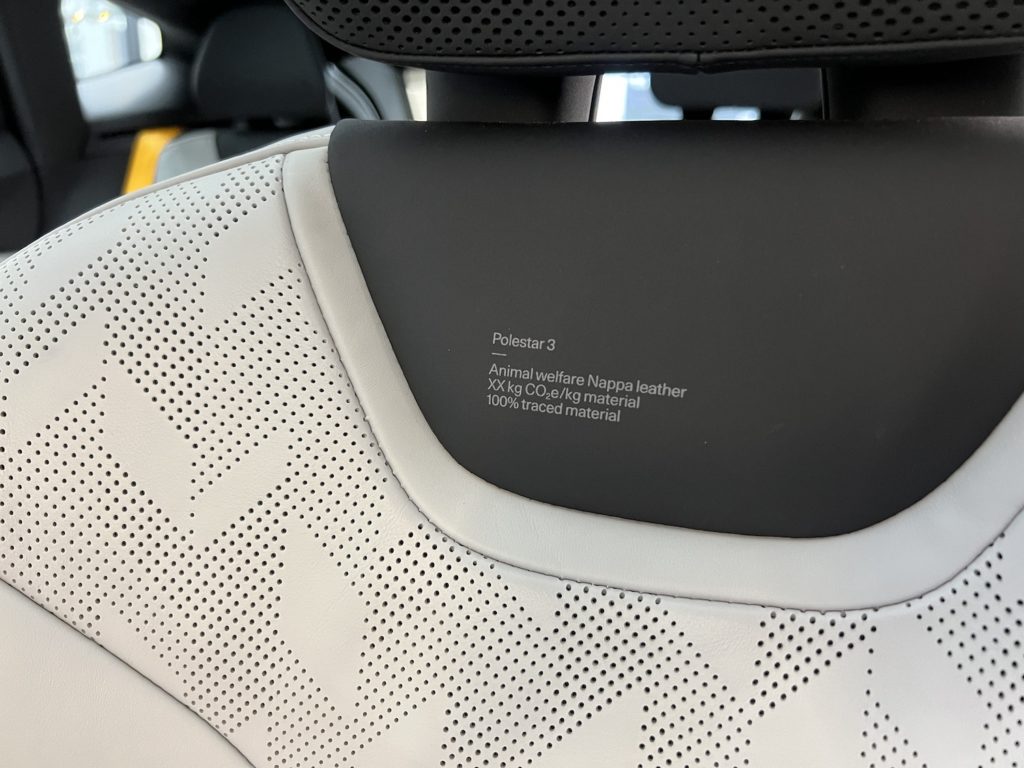
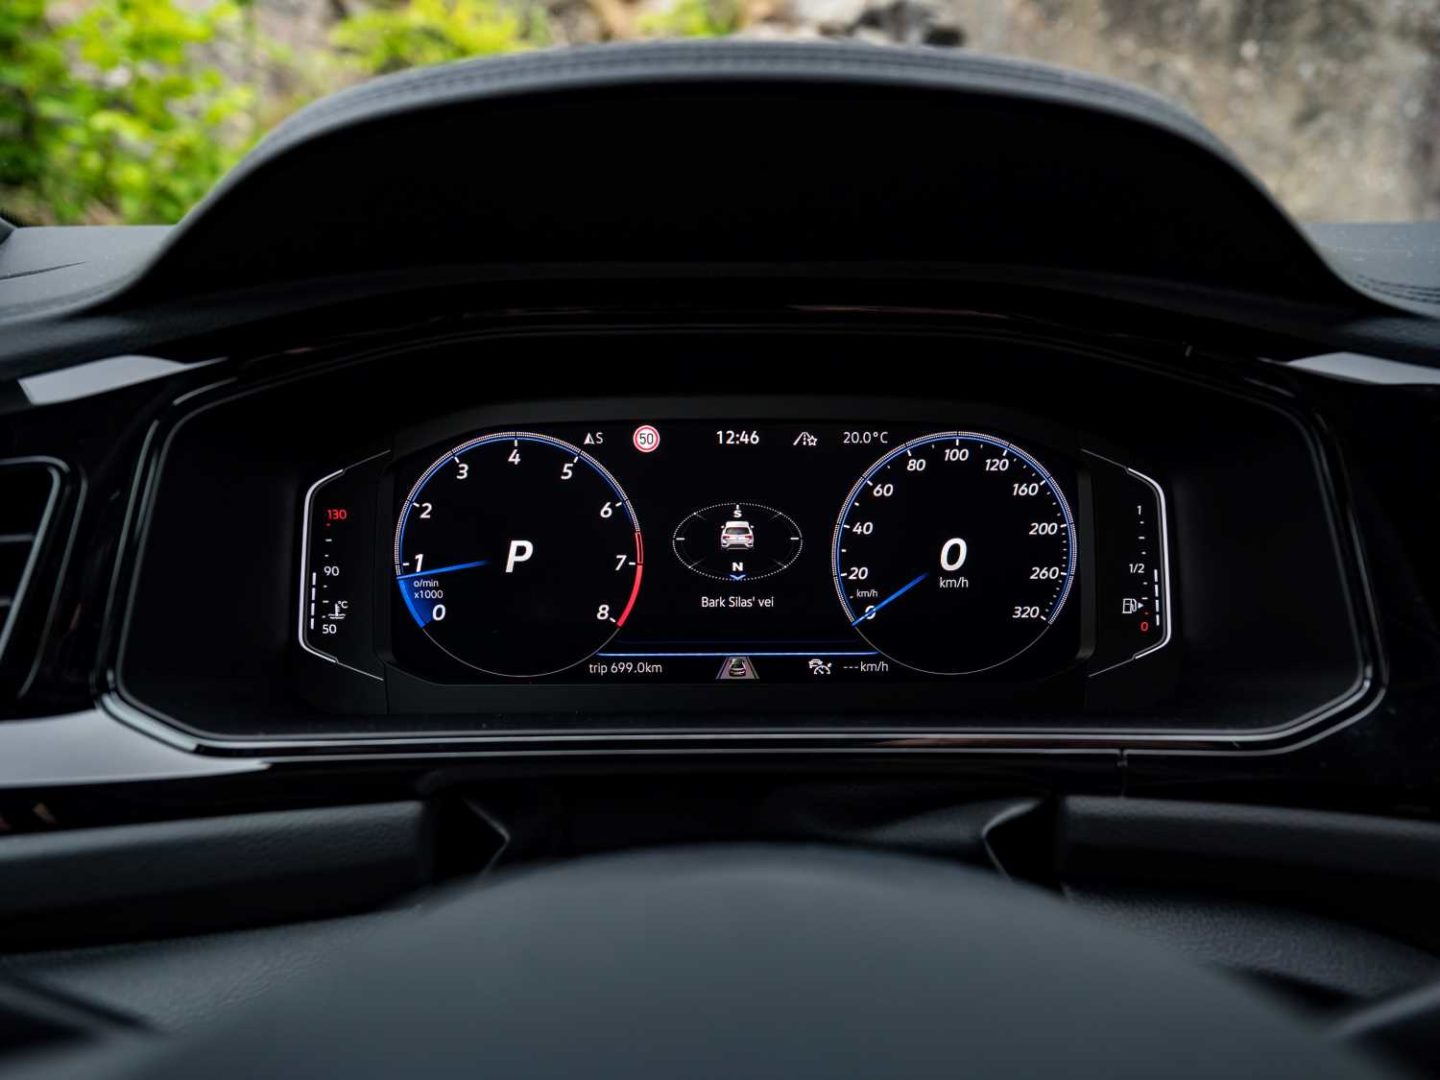
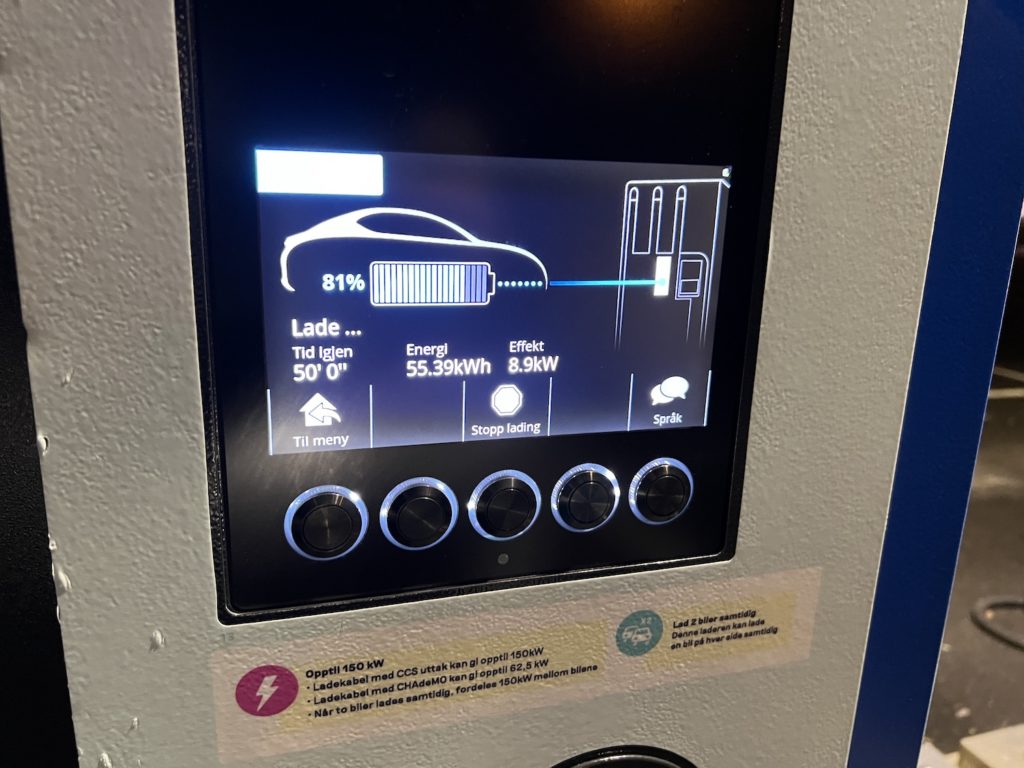
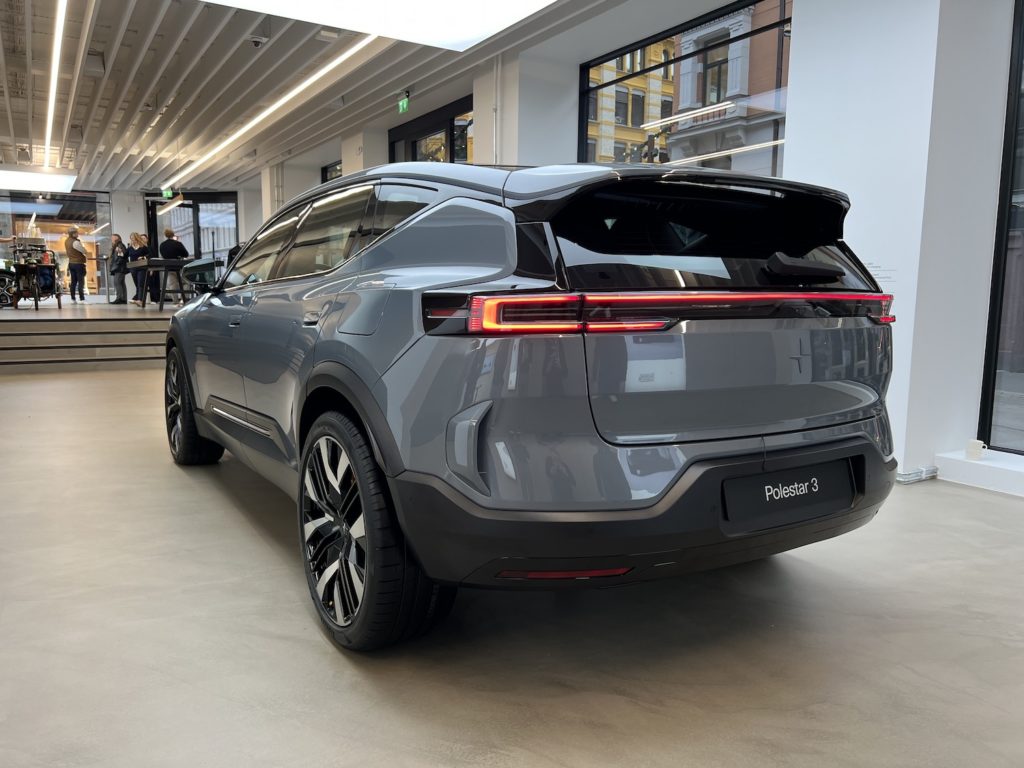
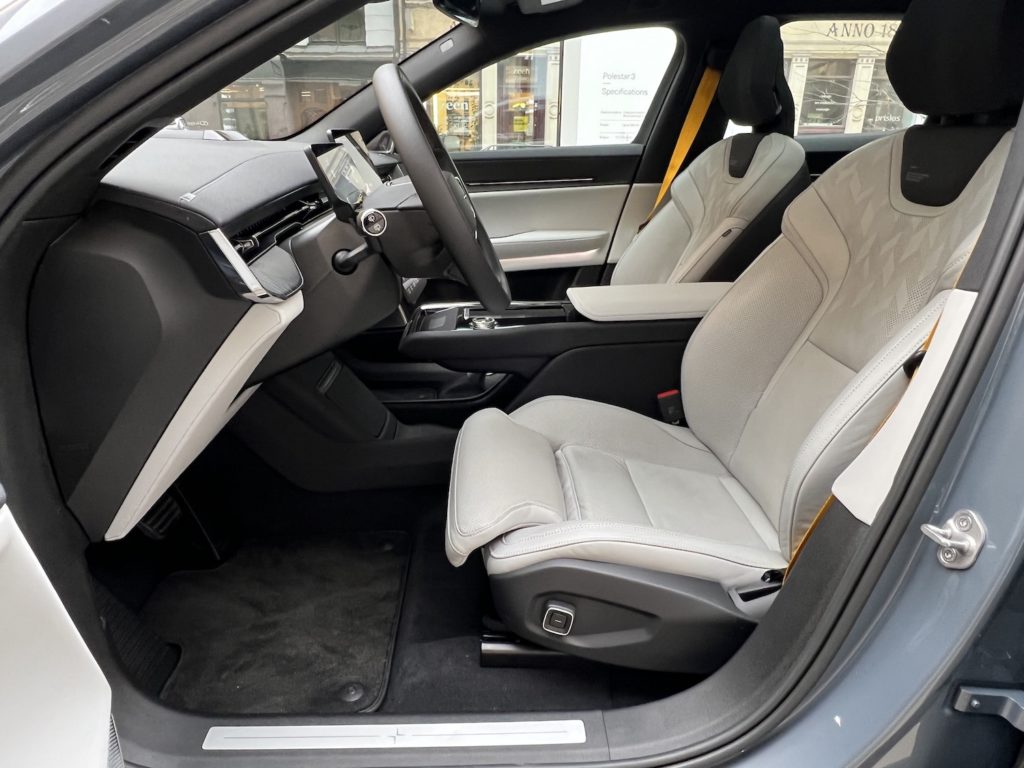
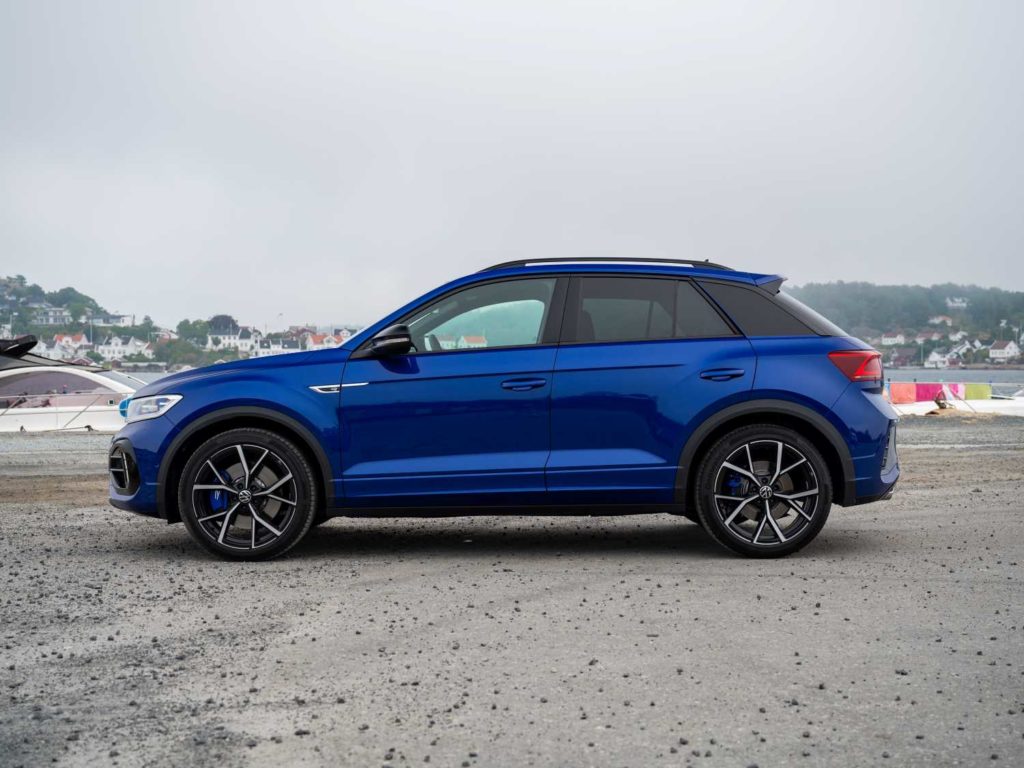
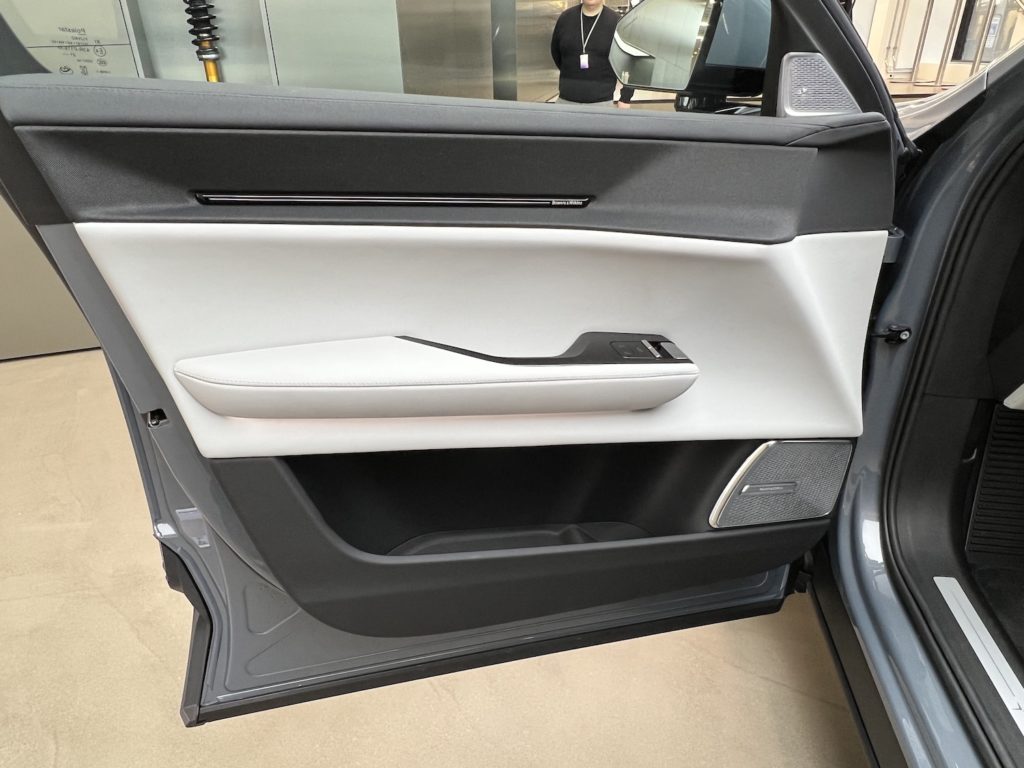
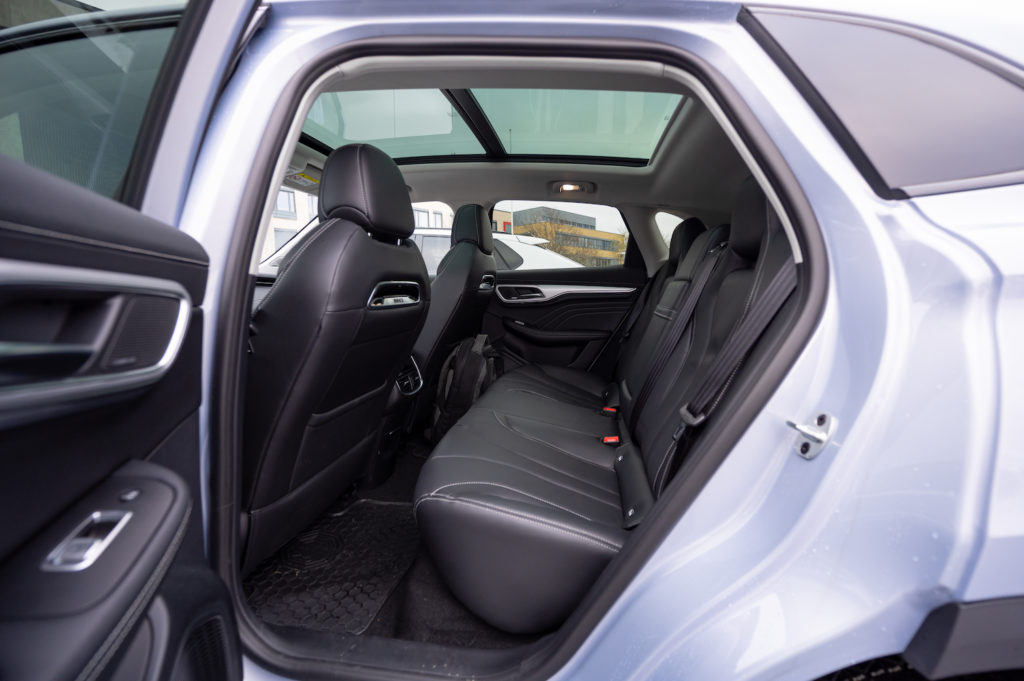
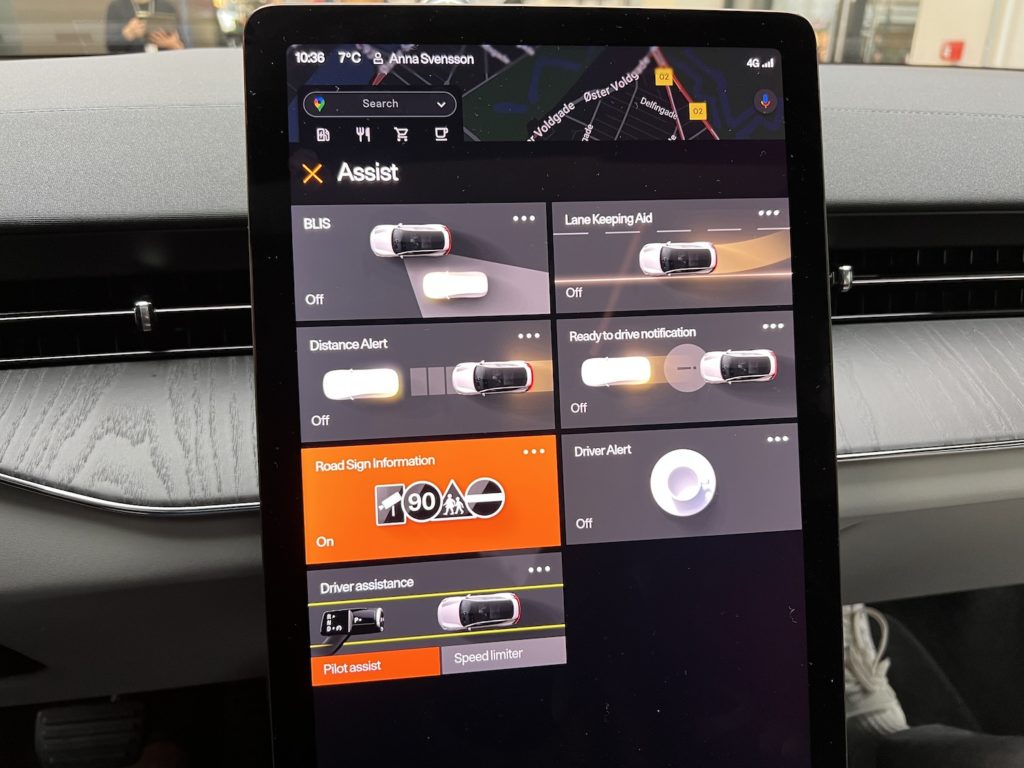
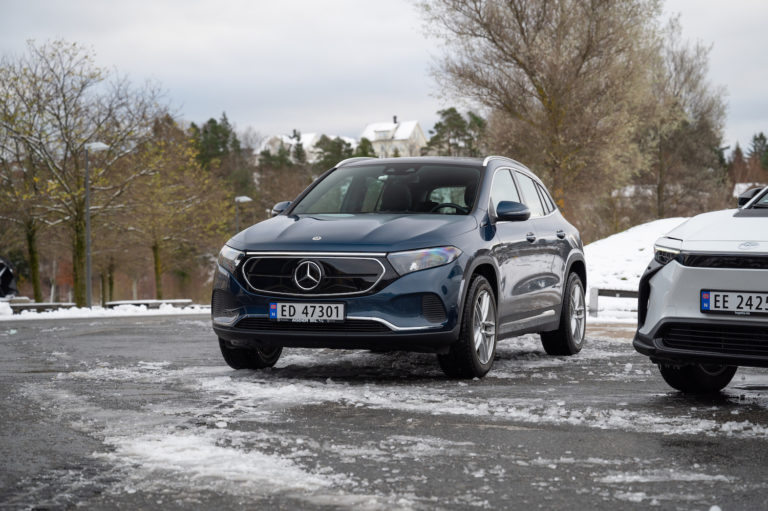
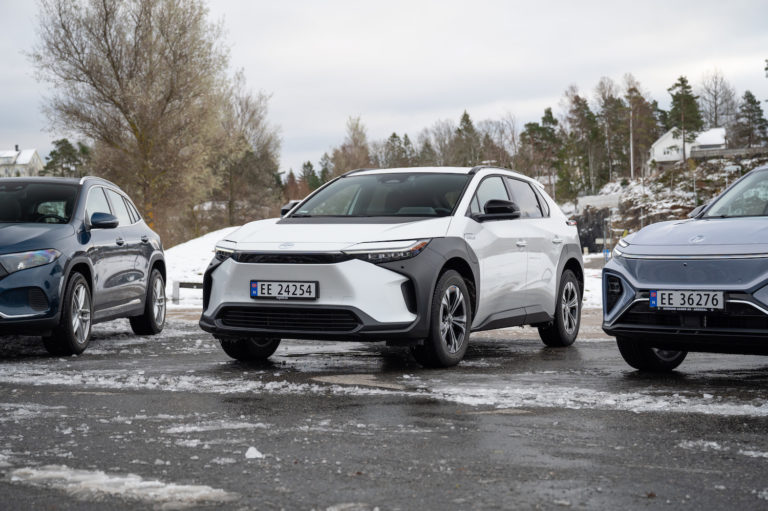
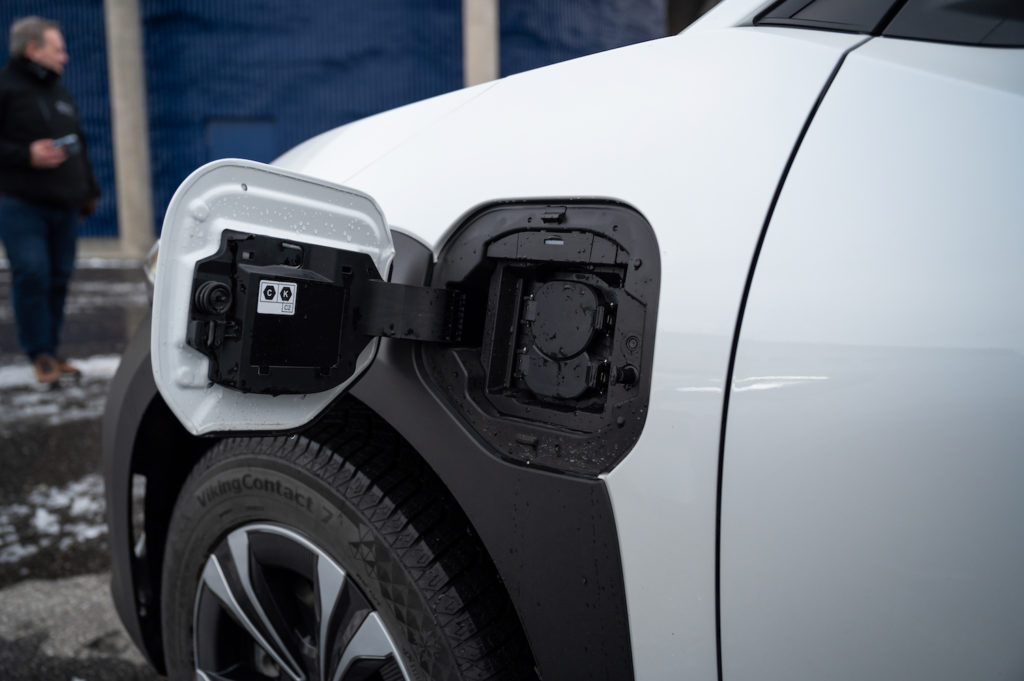
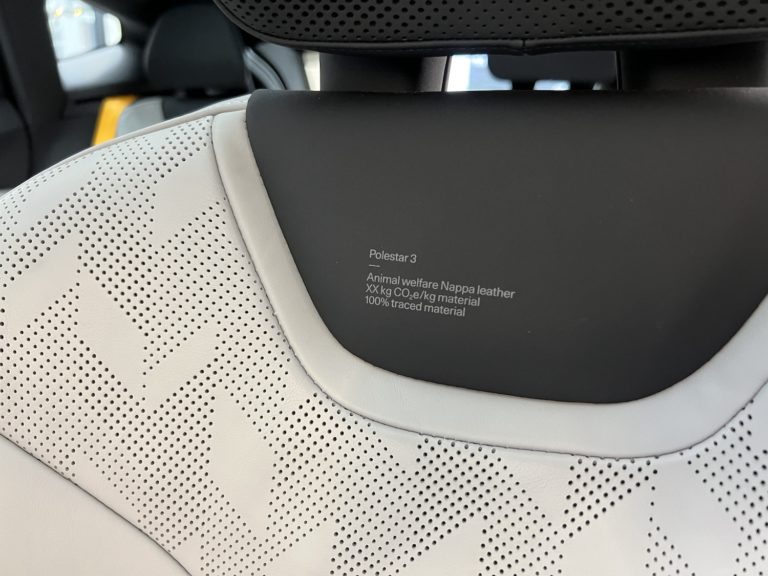
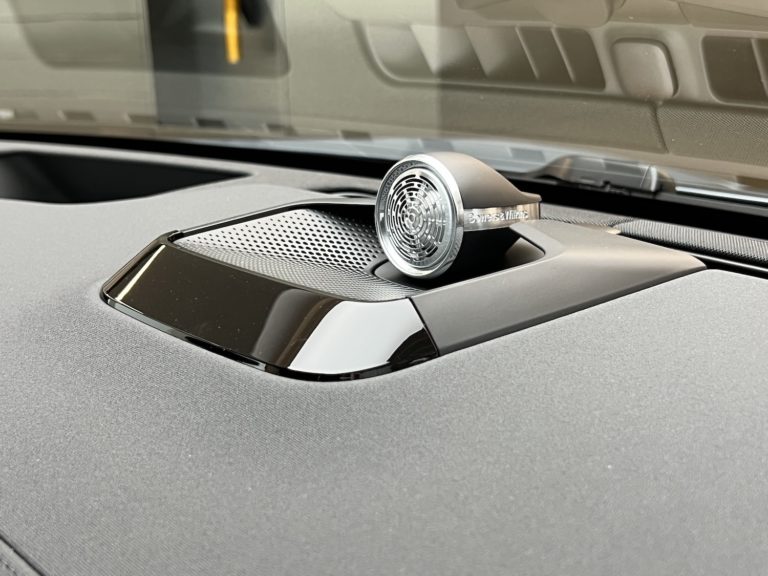
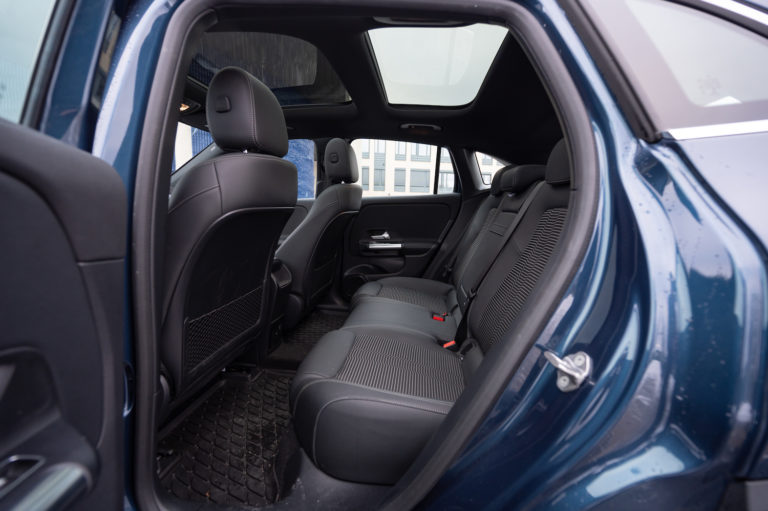
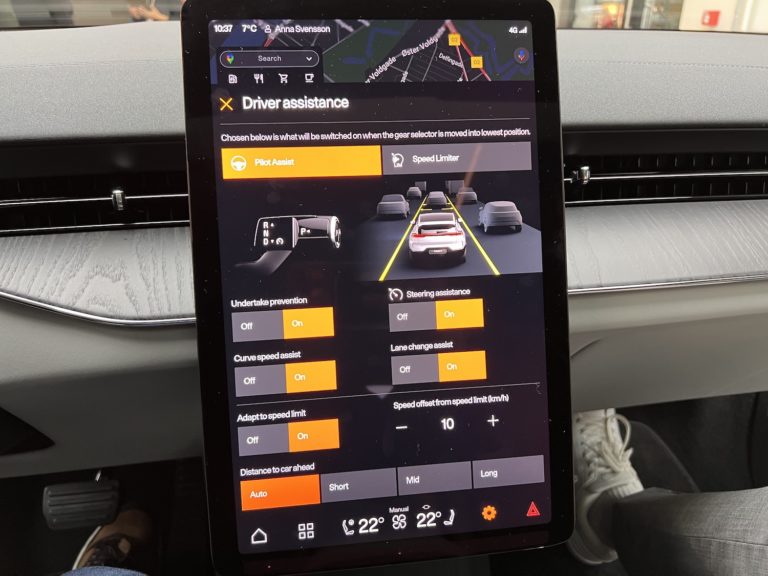
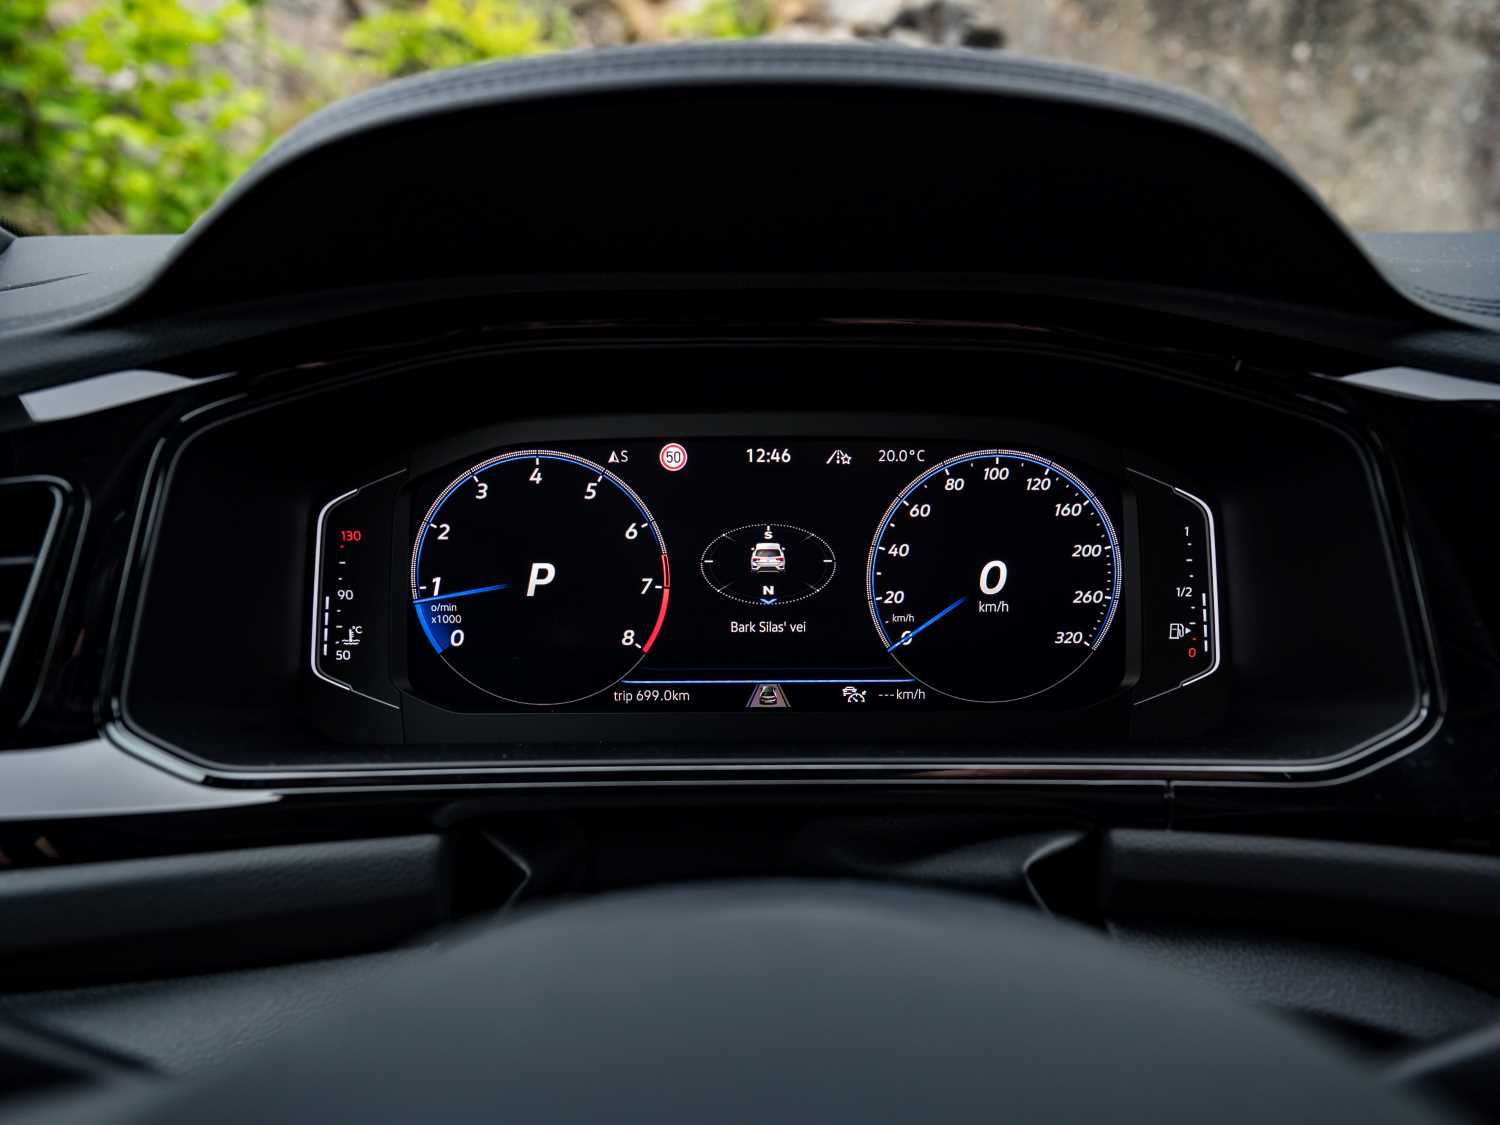
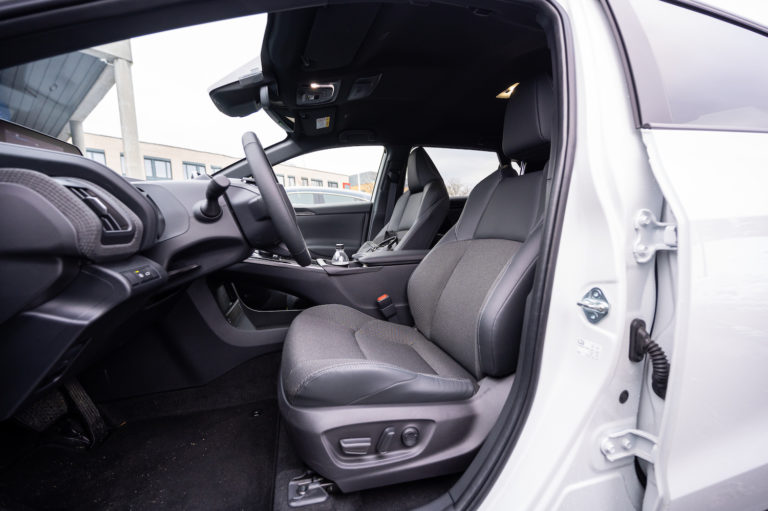
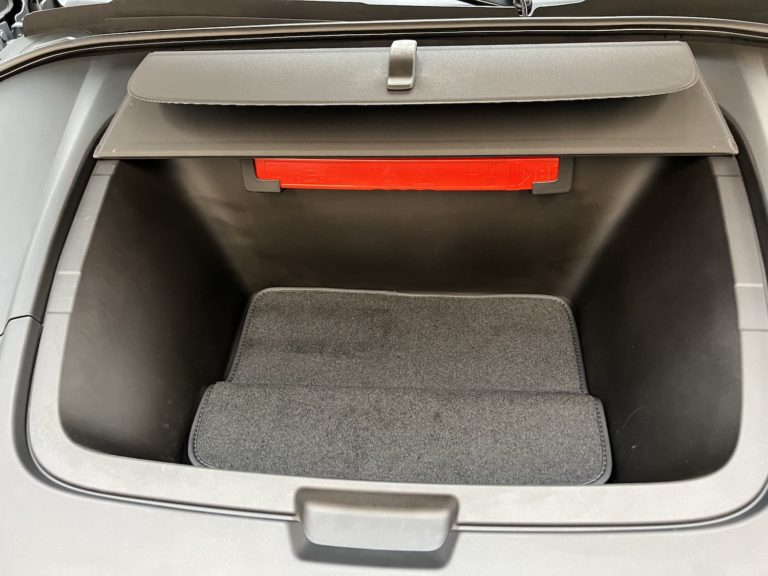
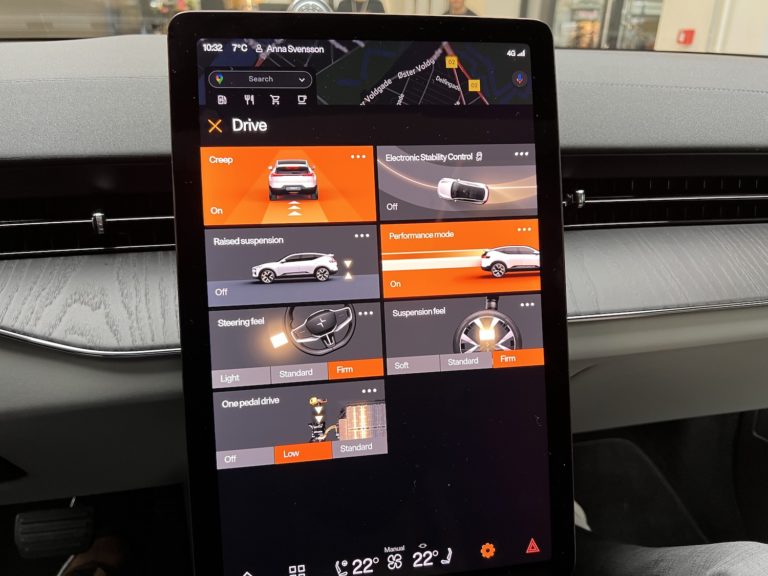
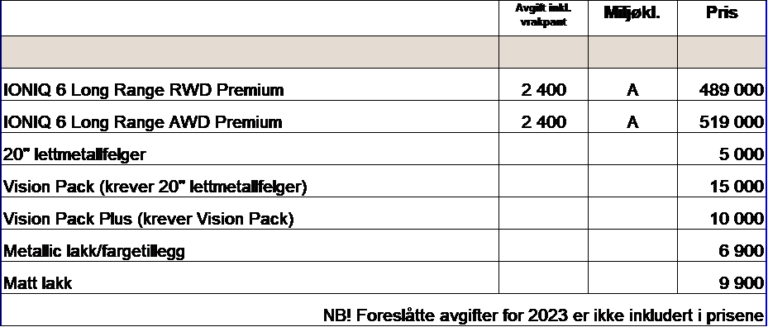
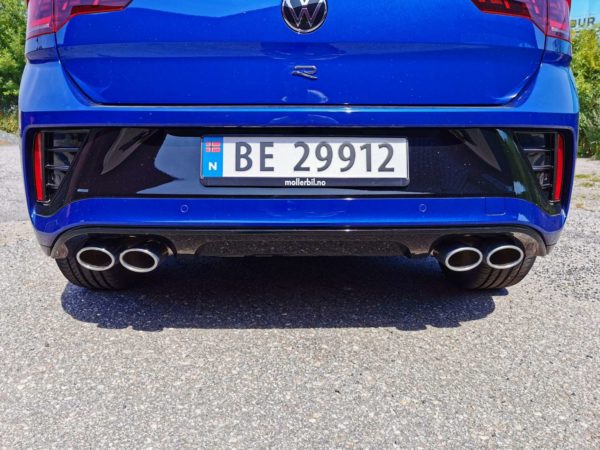
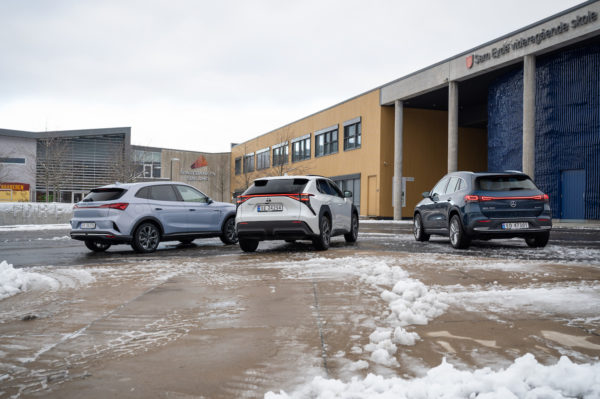
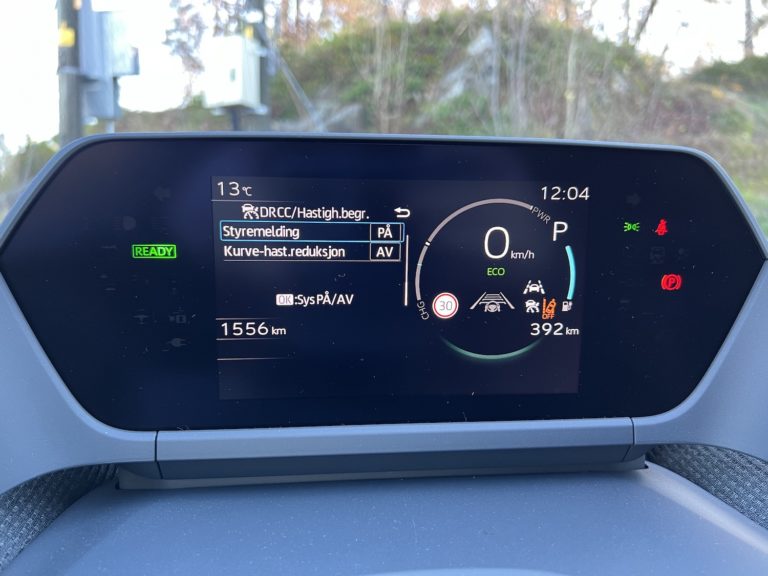
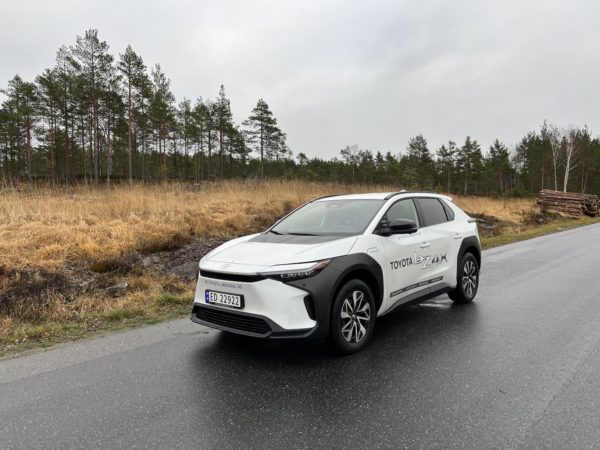
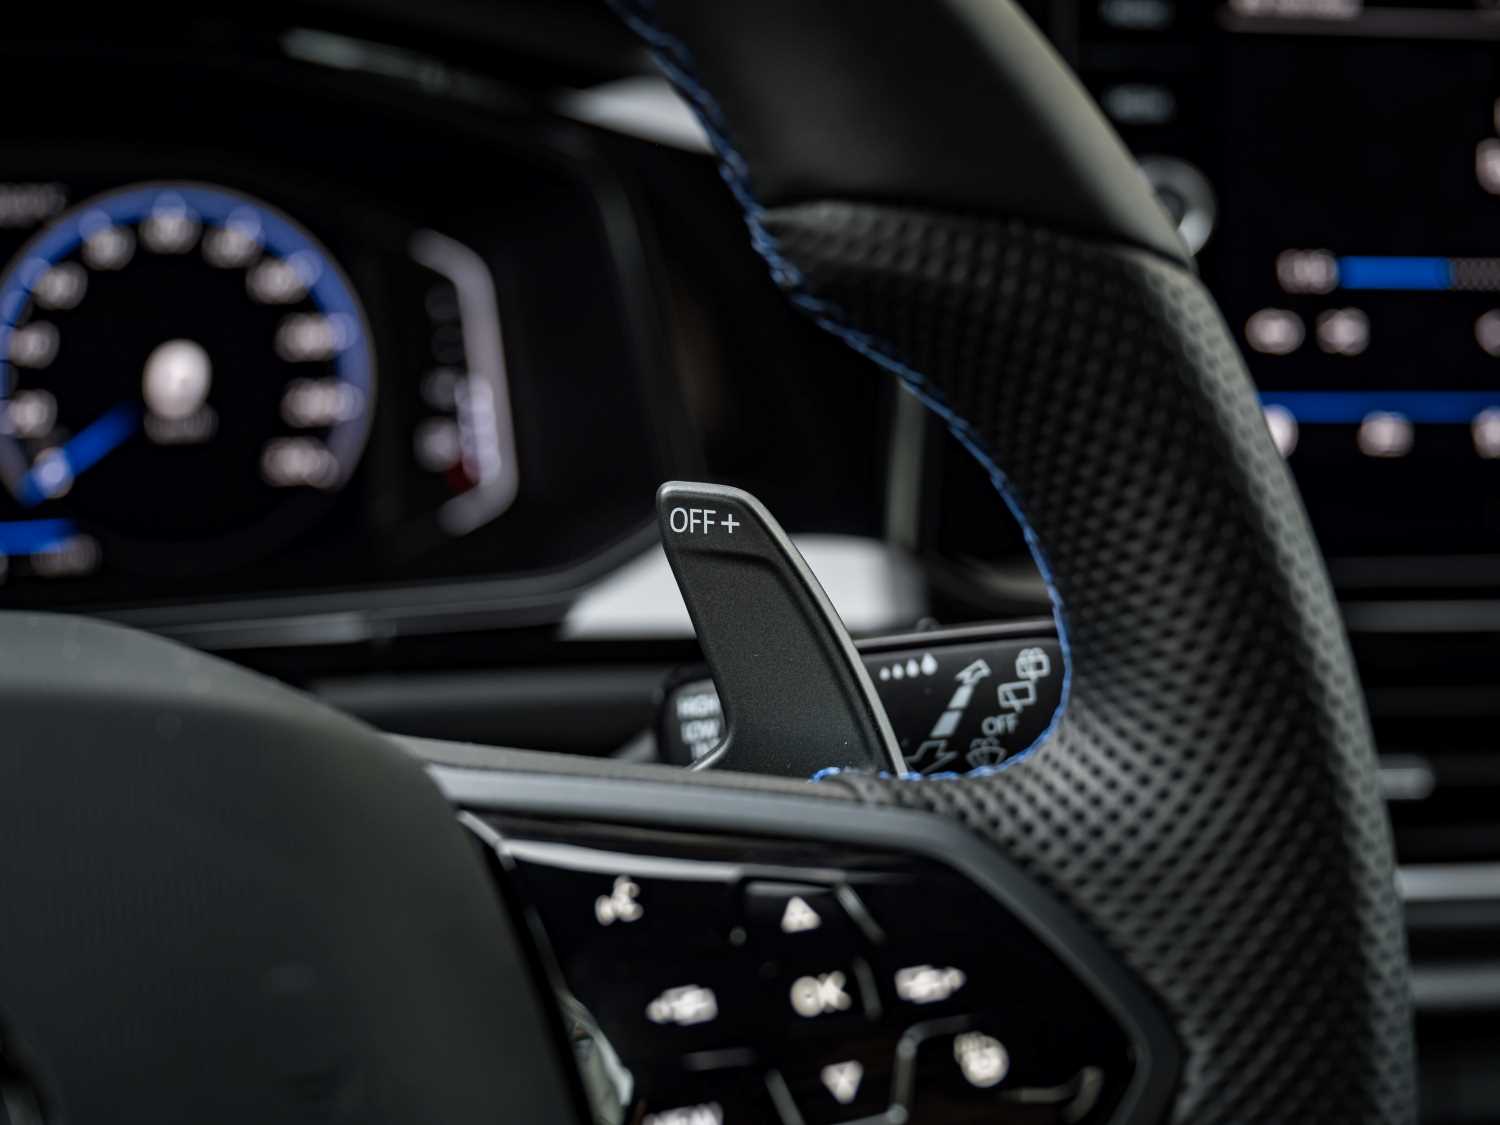
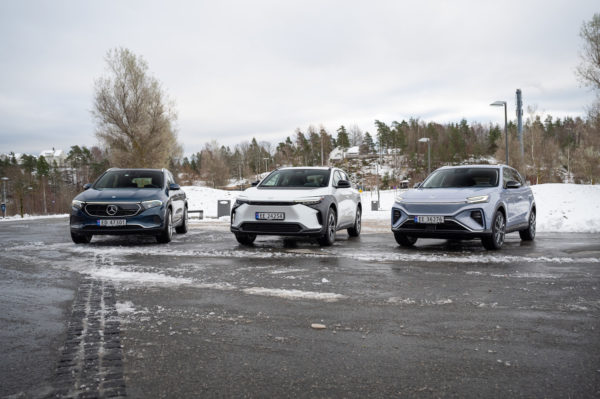
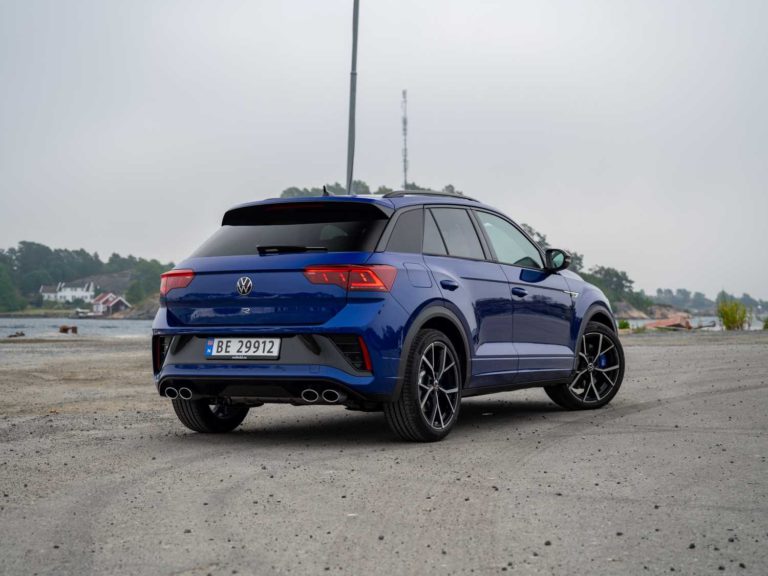
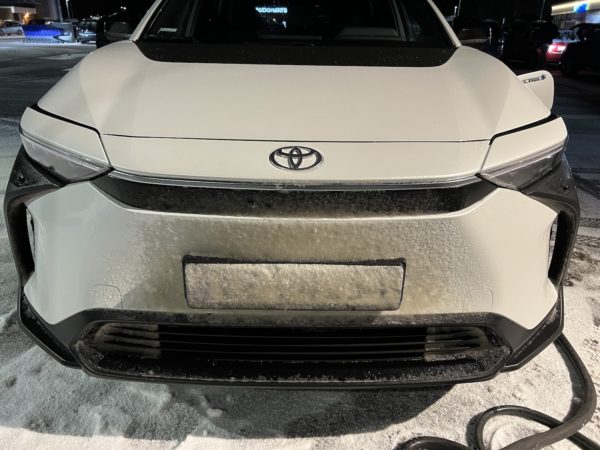
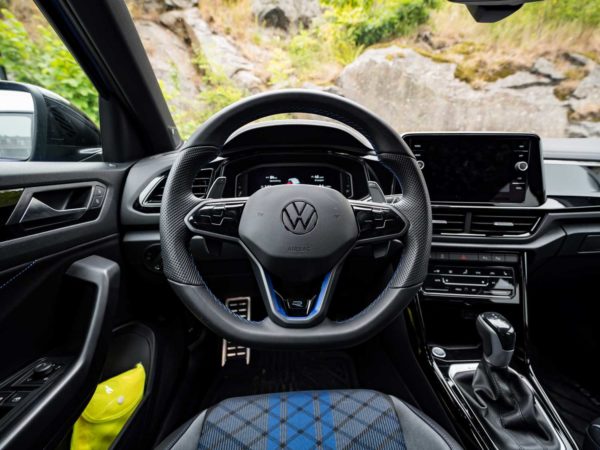
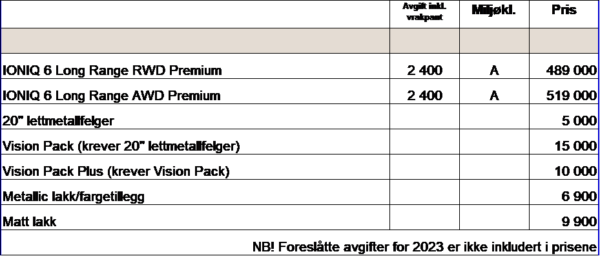
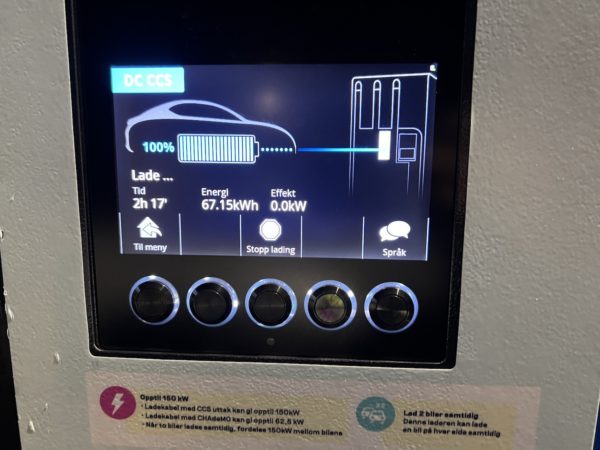
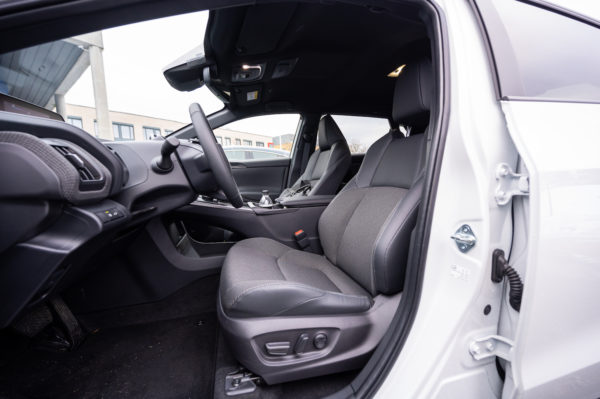
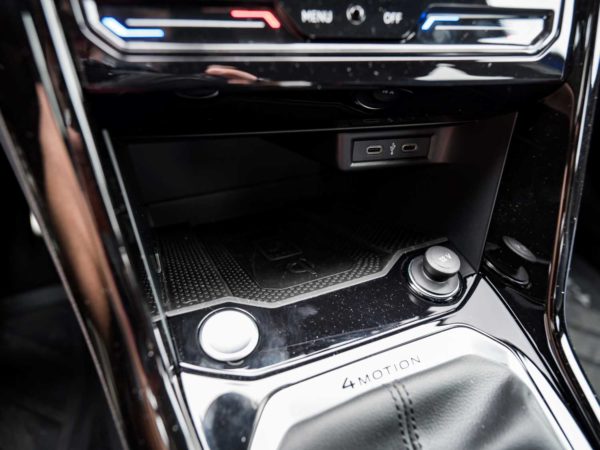
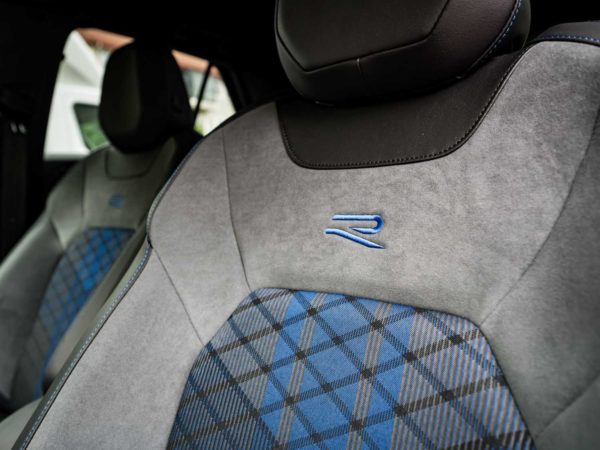
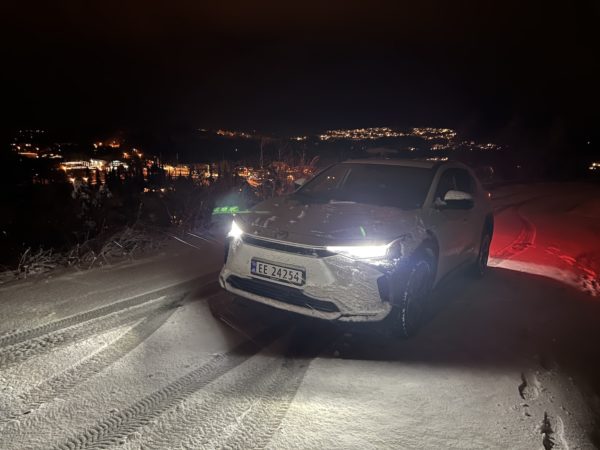
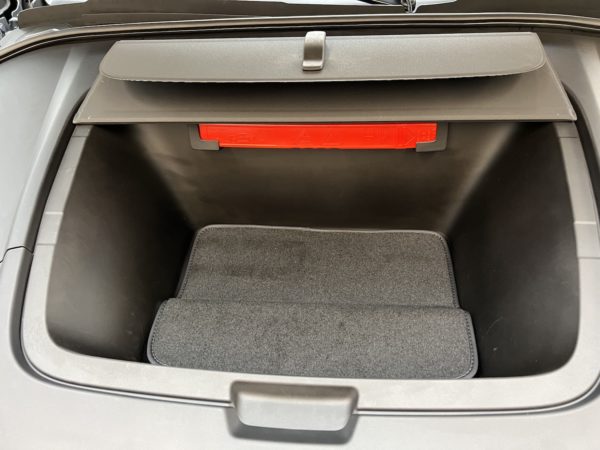
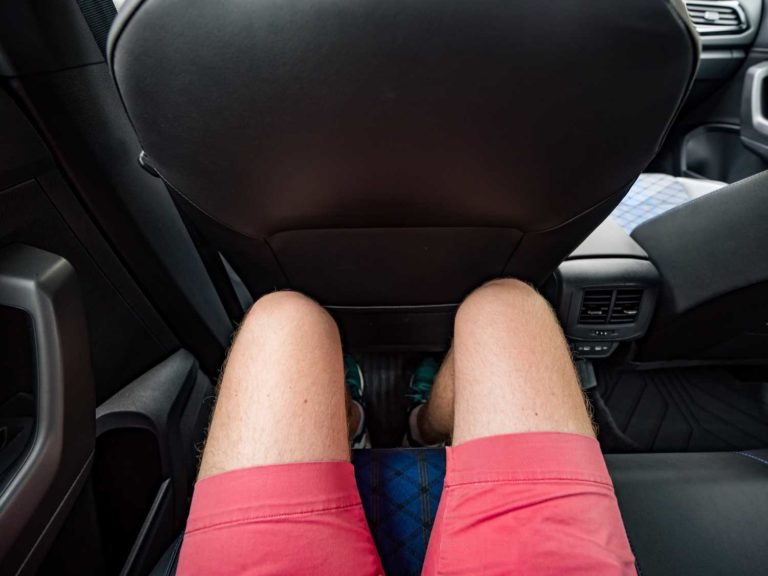
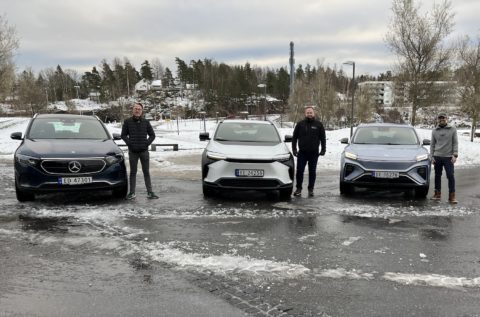
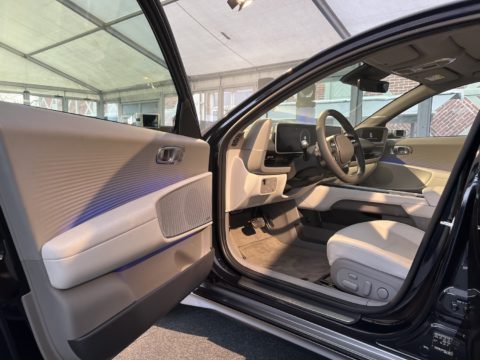
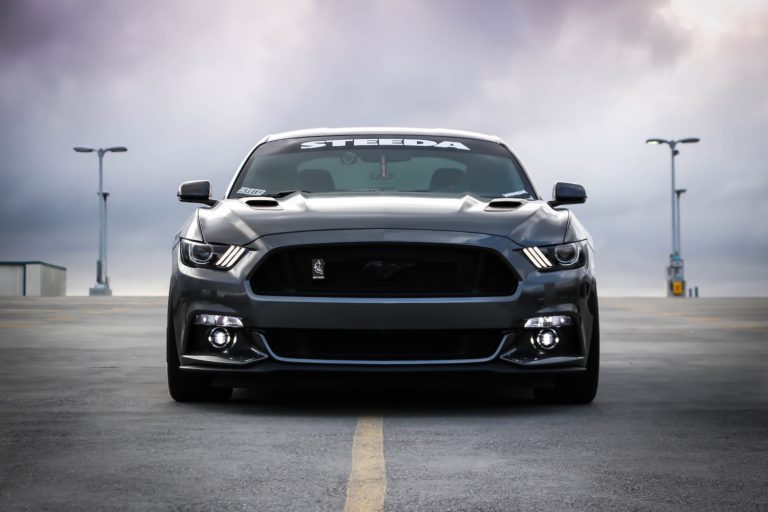
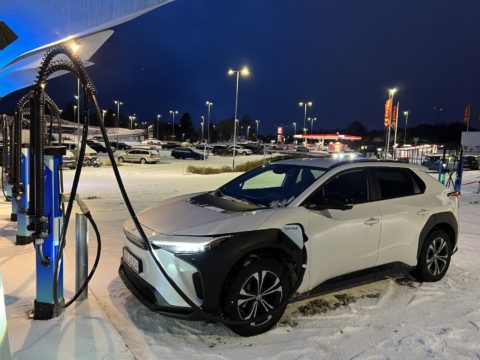
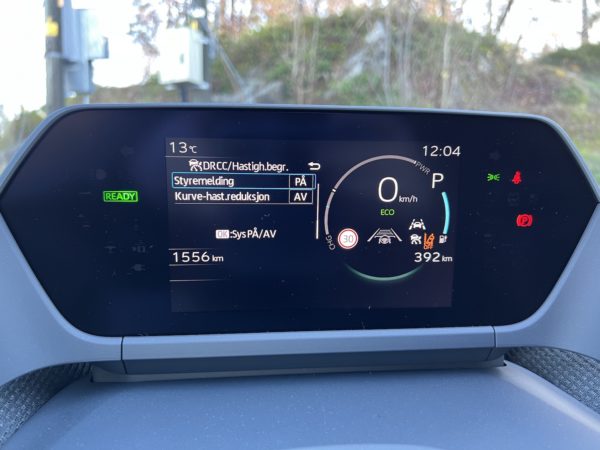
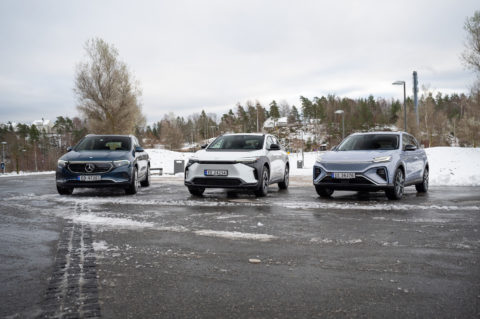
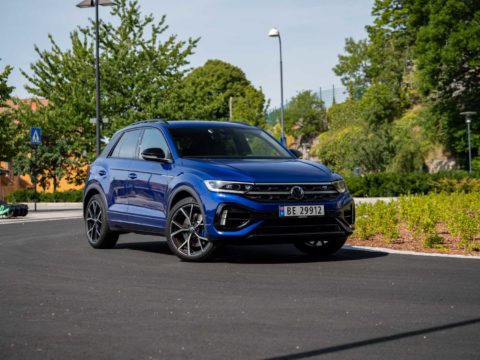
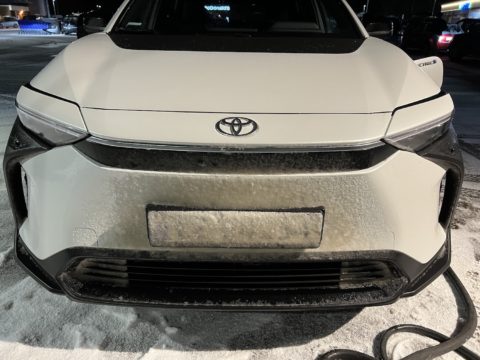
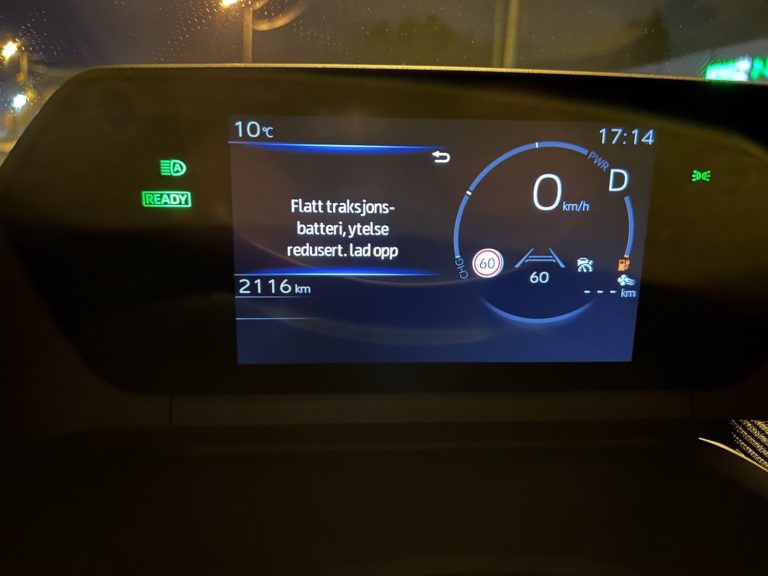
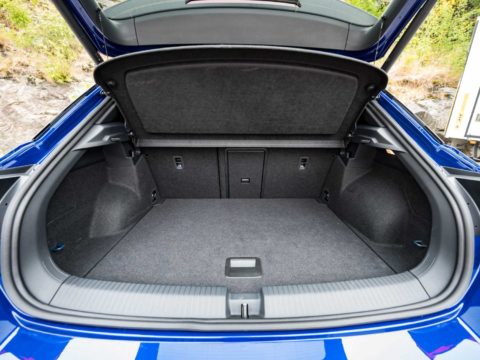
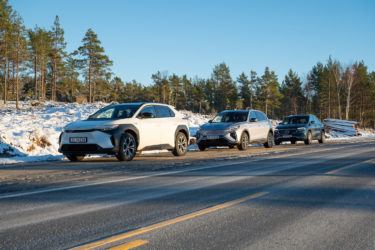
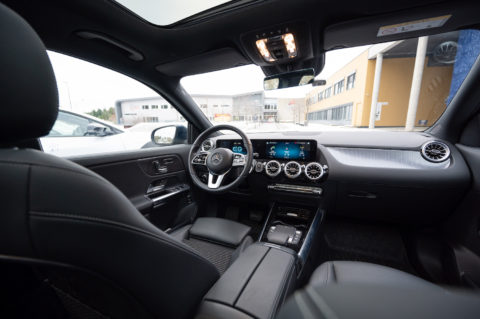
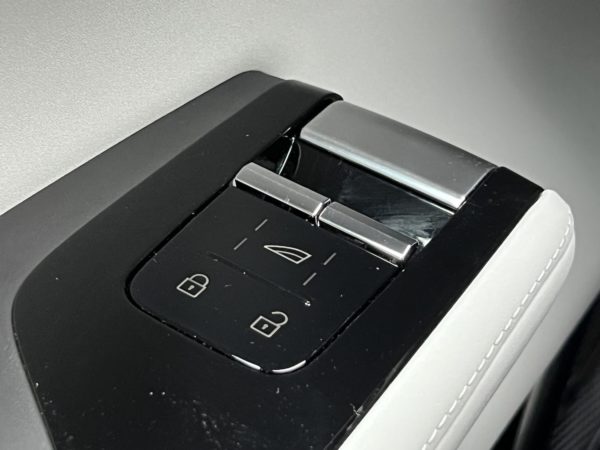
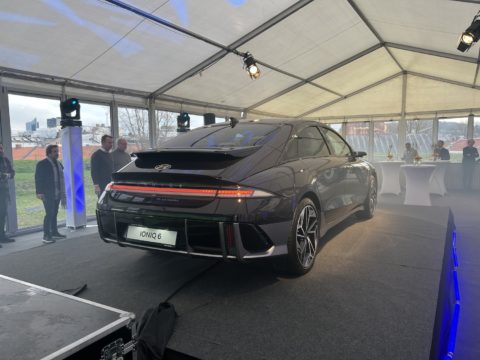
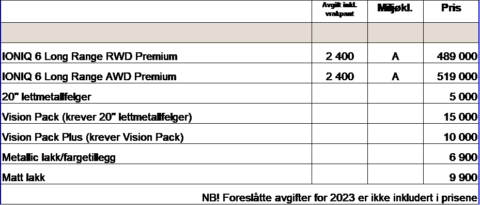
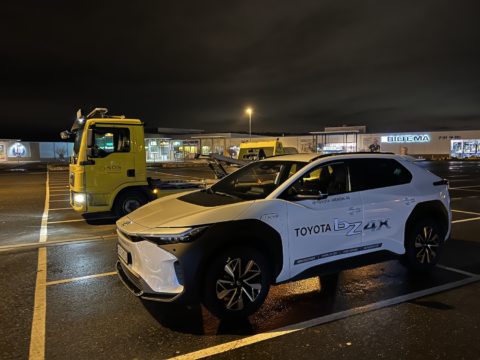
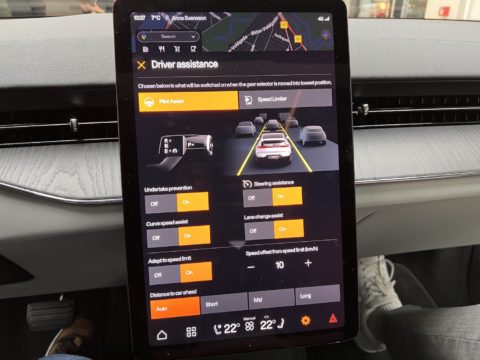
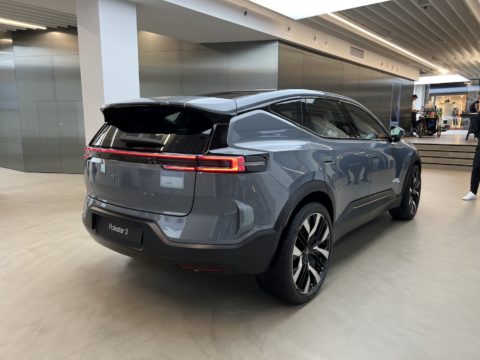
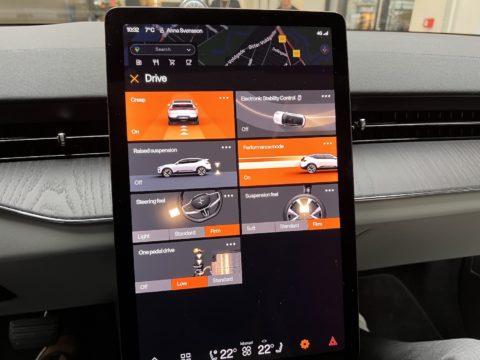
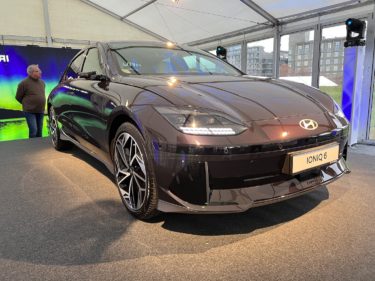
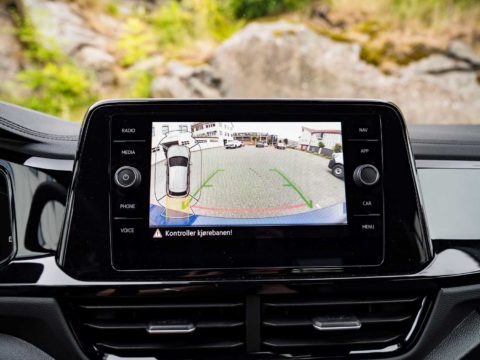
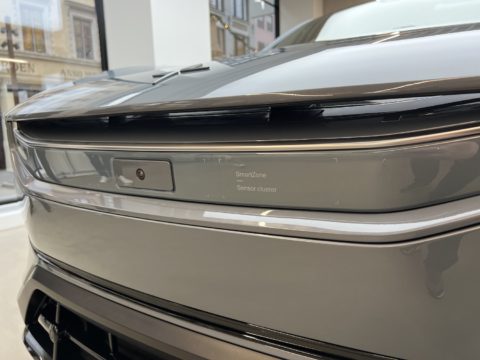
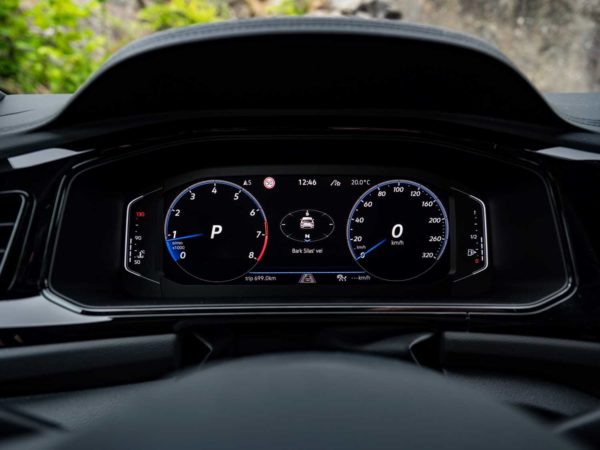
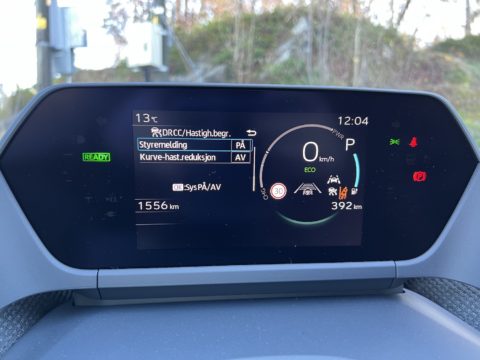
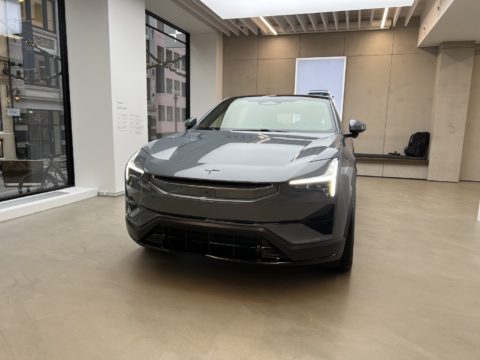
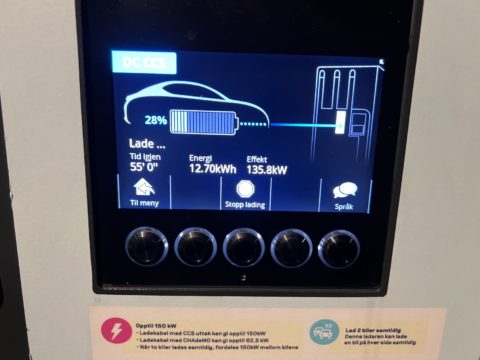
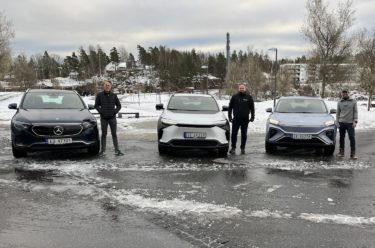
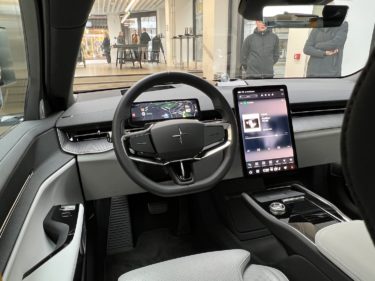
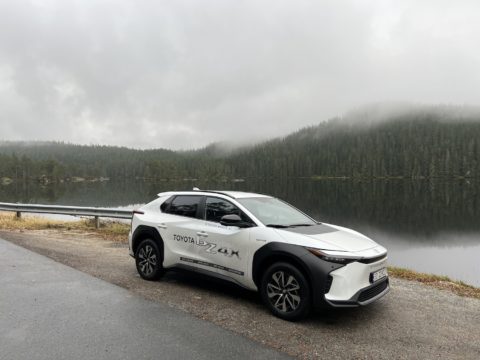
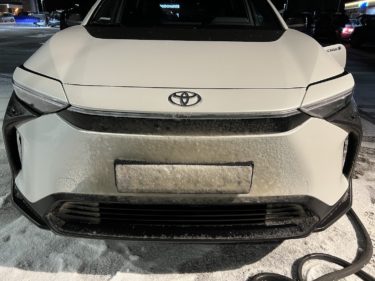
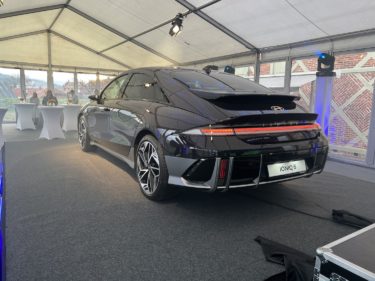
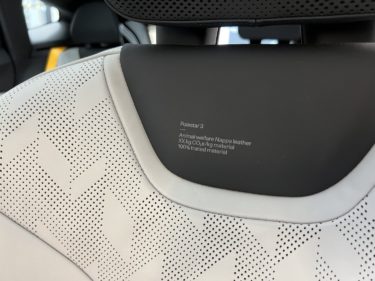
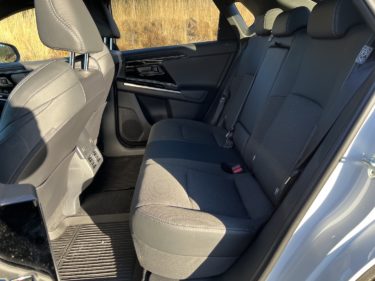
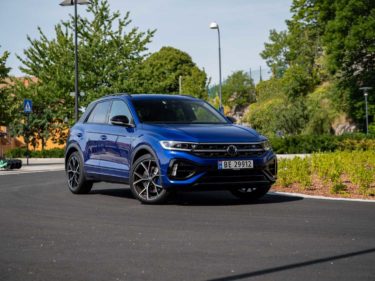
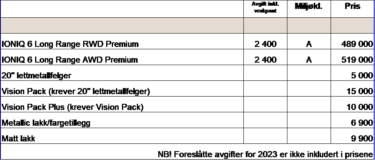
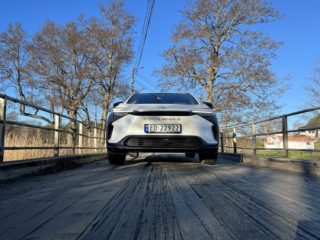
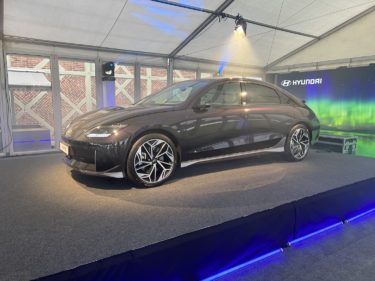
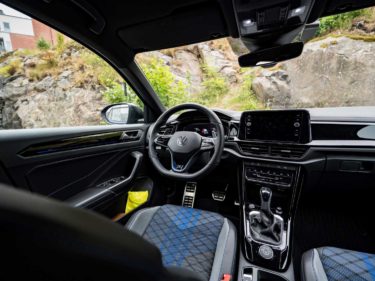
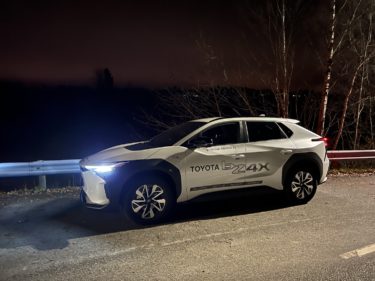
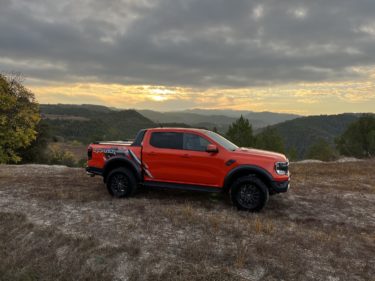
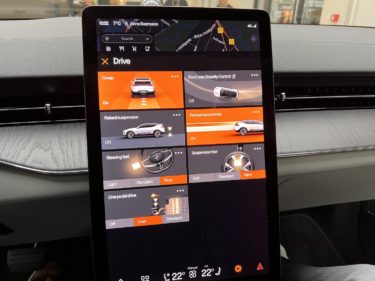
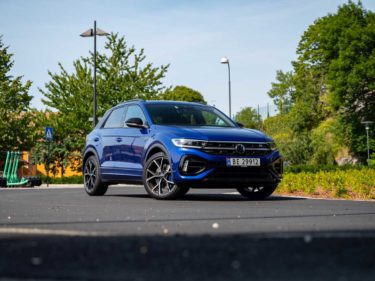
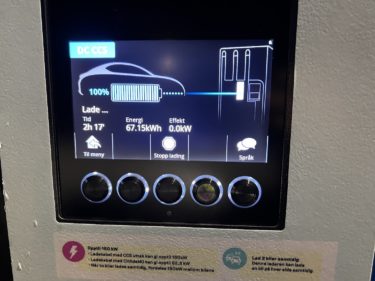
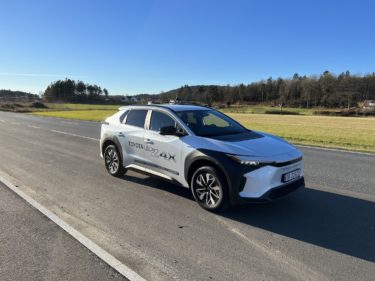
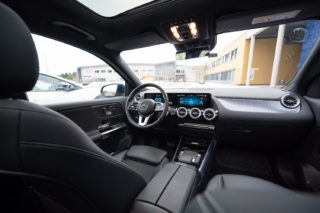
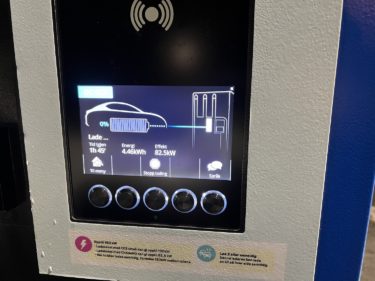
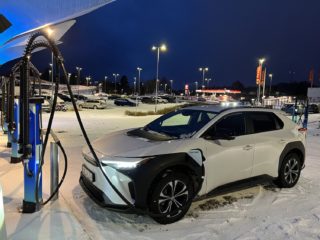
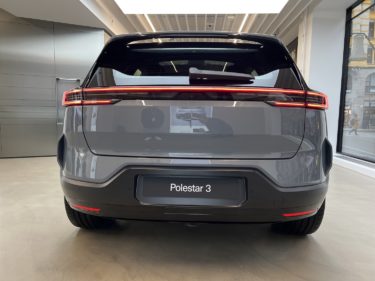
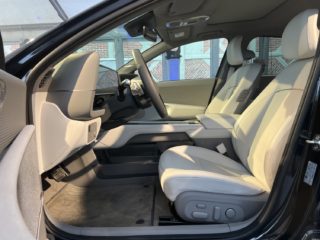
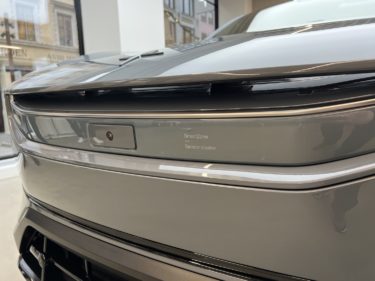
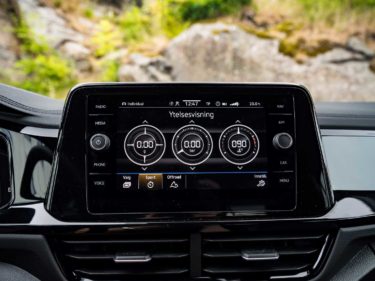
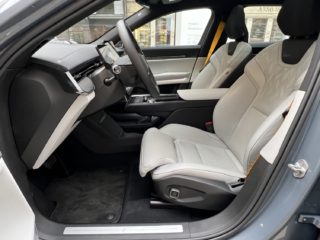
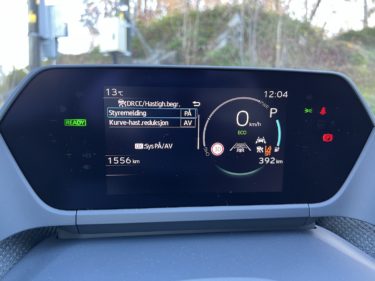
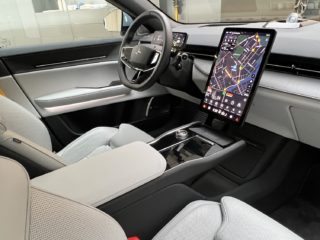
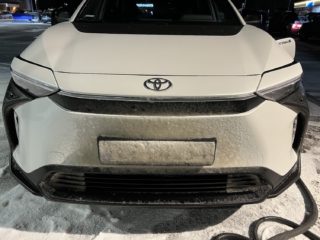
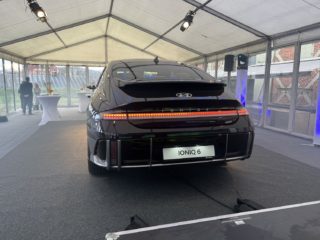
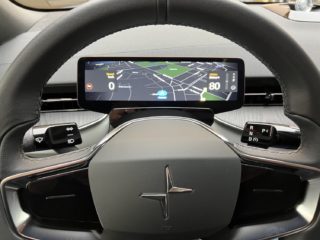
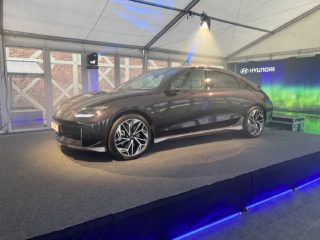
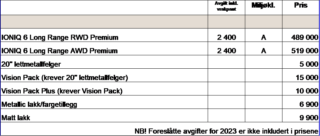
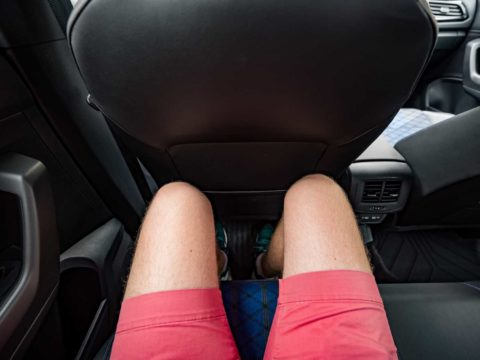
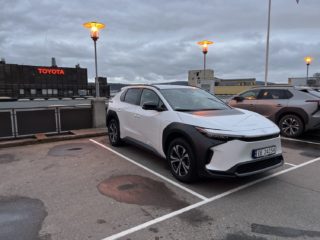
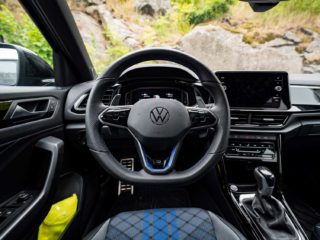
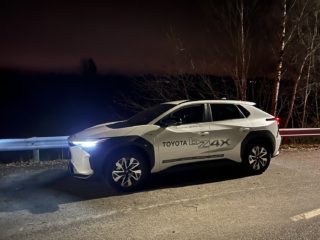
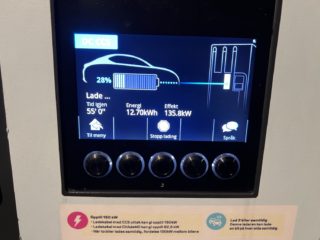
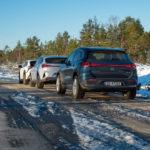
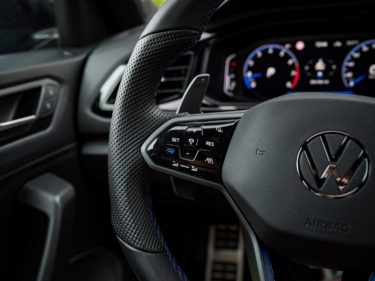
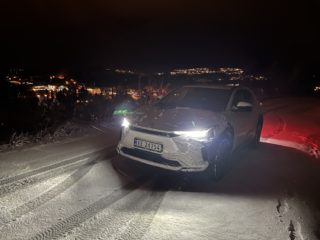
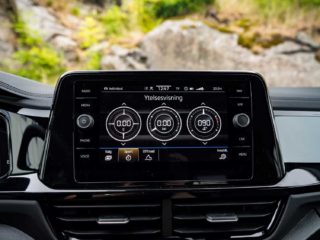
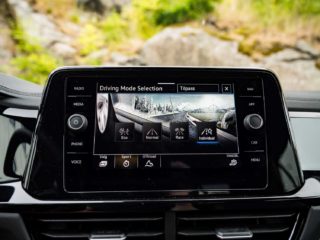
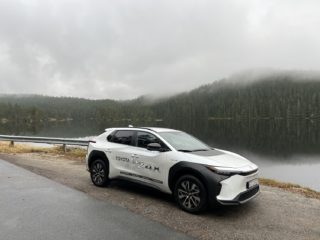
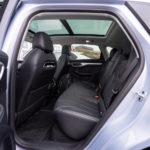
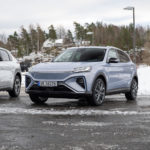
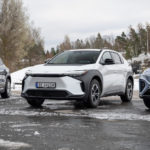
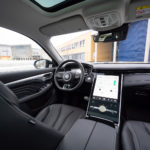
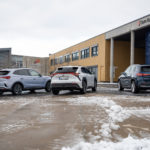
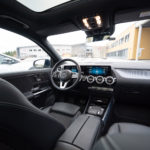
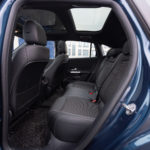
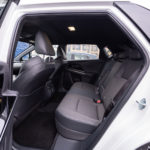
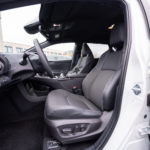
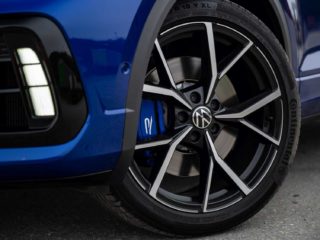
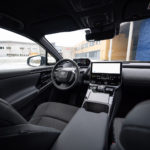
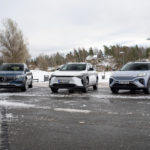
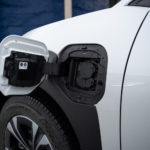
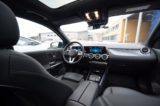
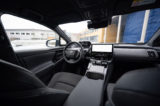
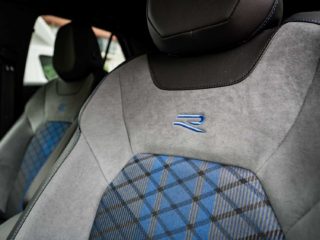
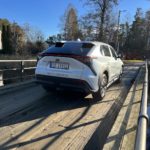
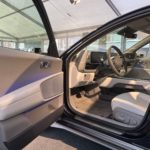
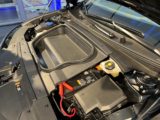
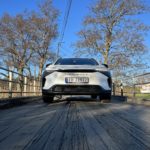
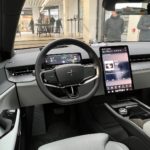
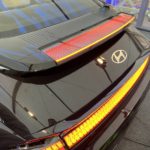
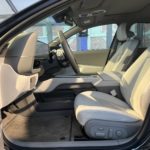
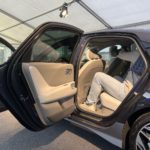
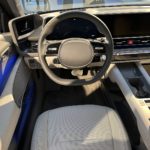
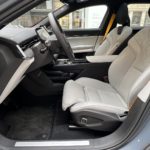
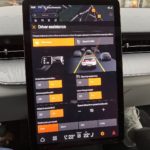
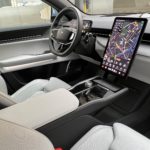
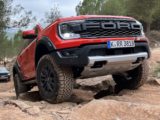
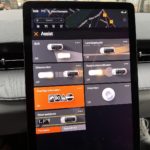
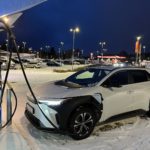
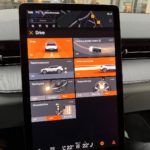
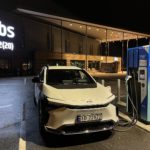
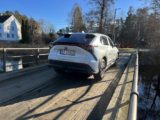
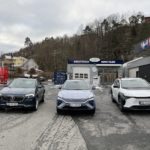
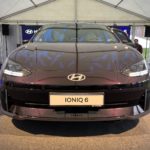
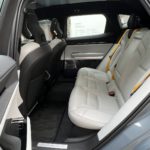
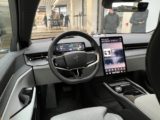
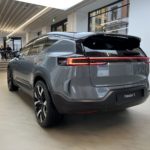
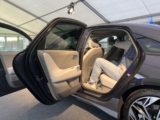
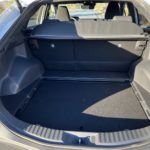
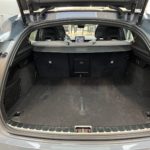
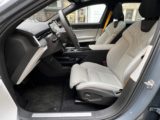
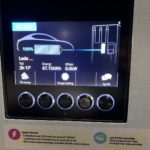
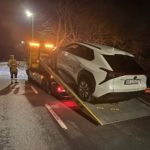
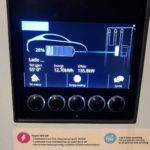
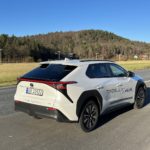
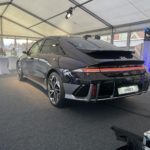
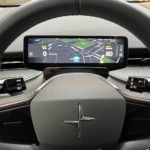
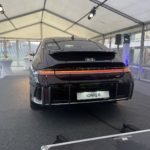
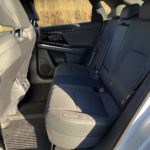
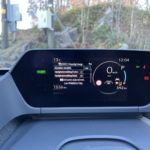
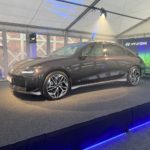
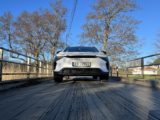
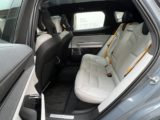
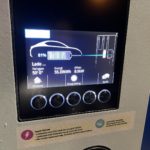
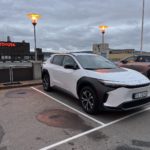
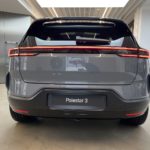
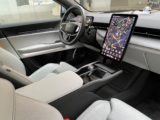
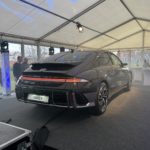
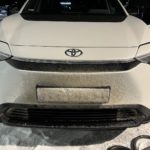
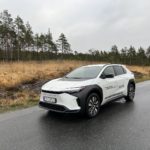
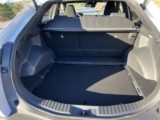
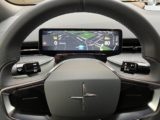
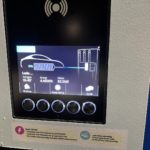
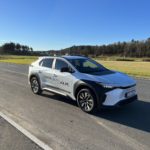
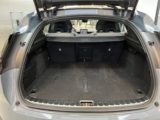
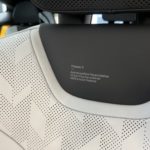
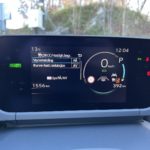
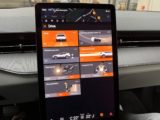
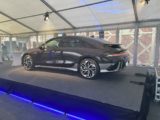
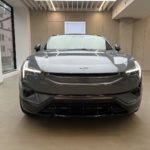
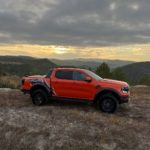
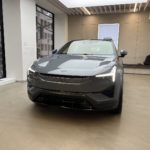
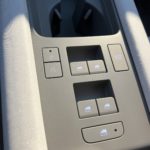
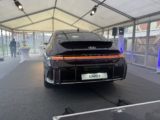
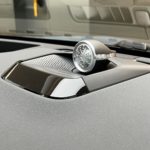
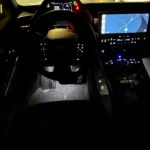
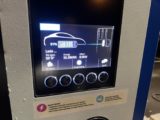
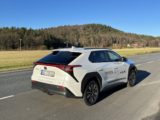
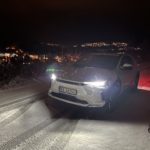
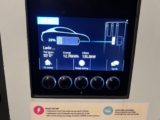
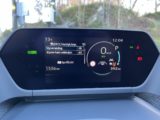
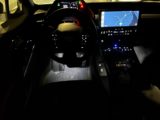
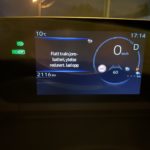
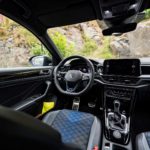
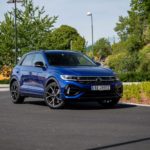
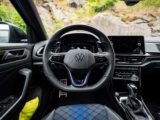
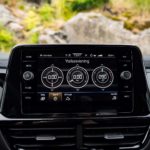
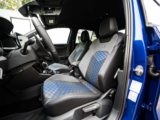
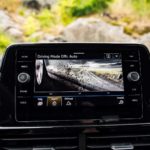
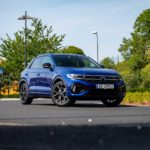
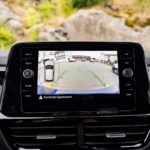
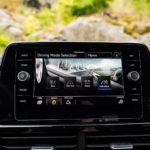
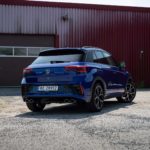
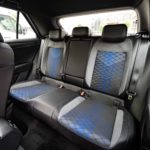
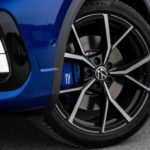
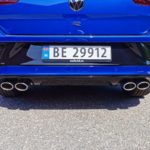
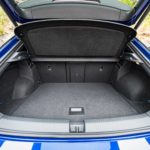
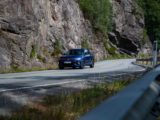
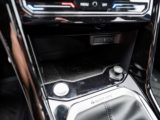
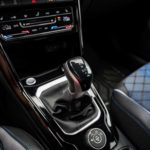
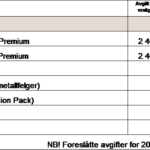
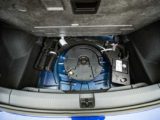
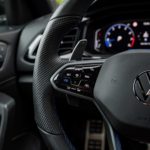
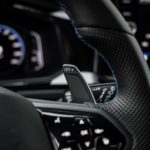
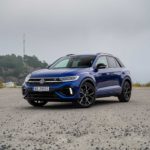
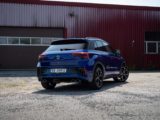
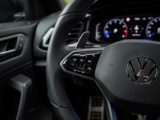
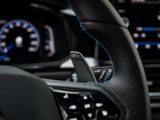
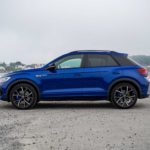
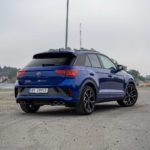
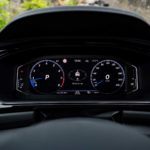
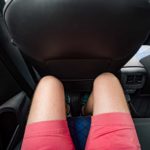
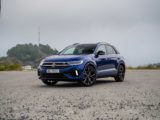
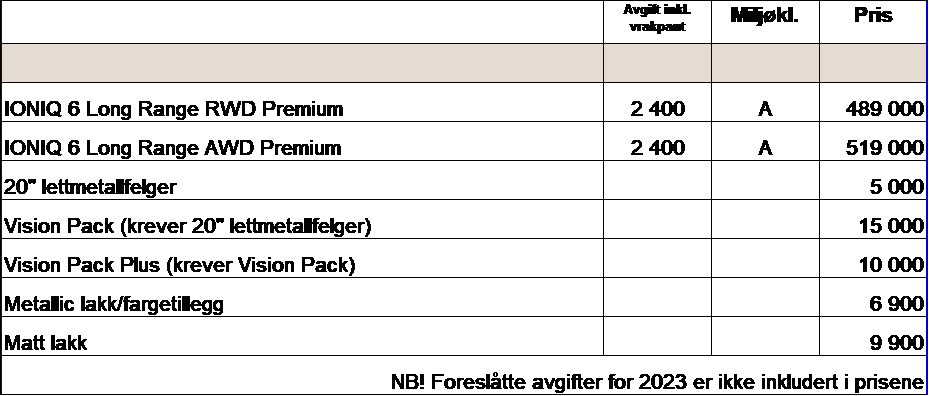